More time tonight on the AJS tonight, still working on full reassembly while I wait on the head and crank. So everything is going back together except for the motor. Goal here is to ensure that I have finally obtained everything I need to fully reassemble. I'm also going to take the opportunity to rebuild the wiring harness.
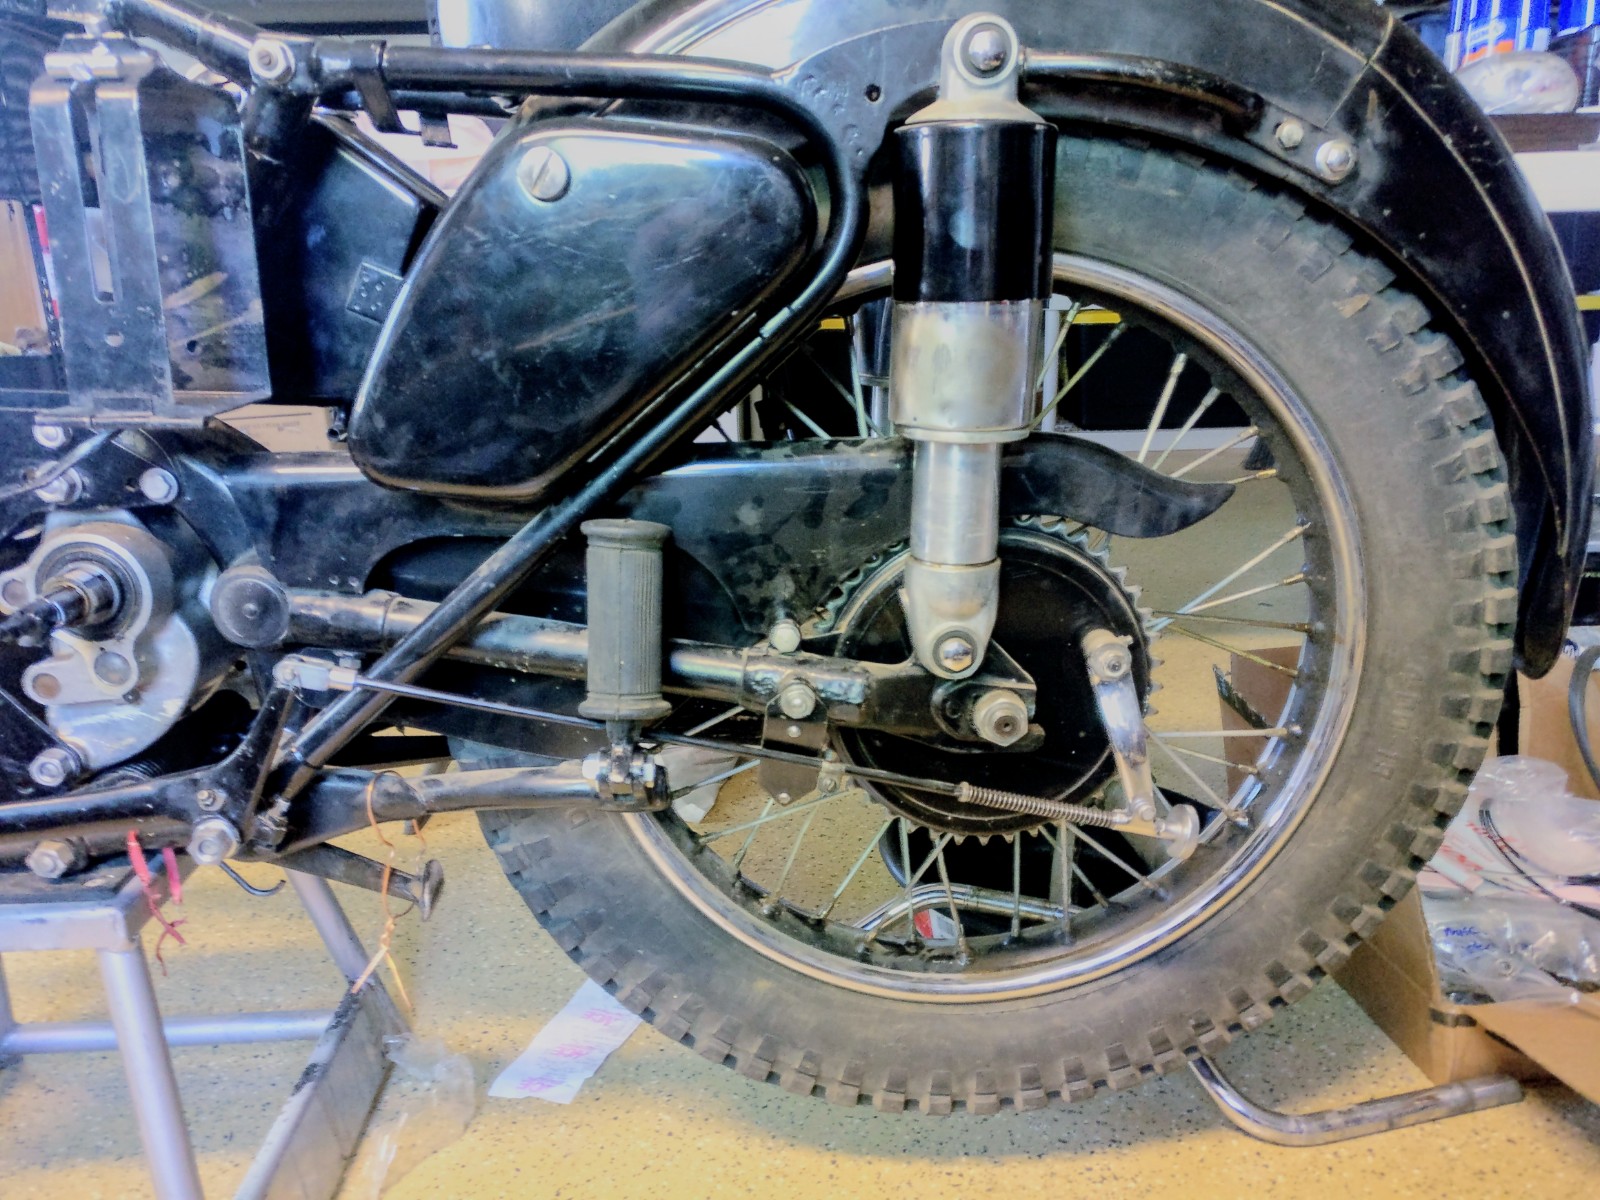
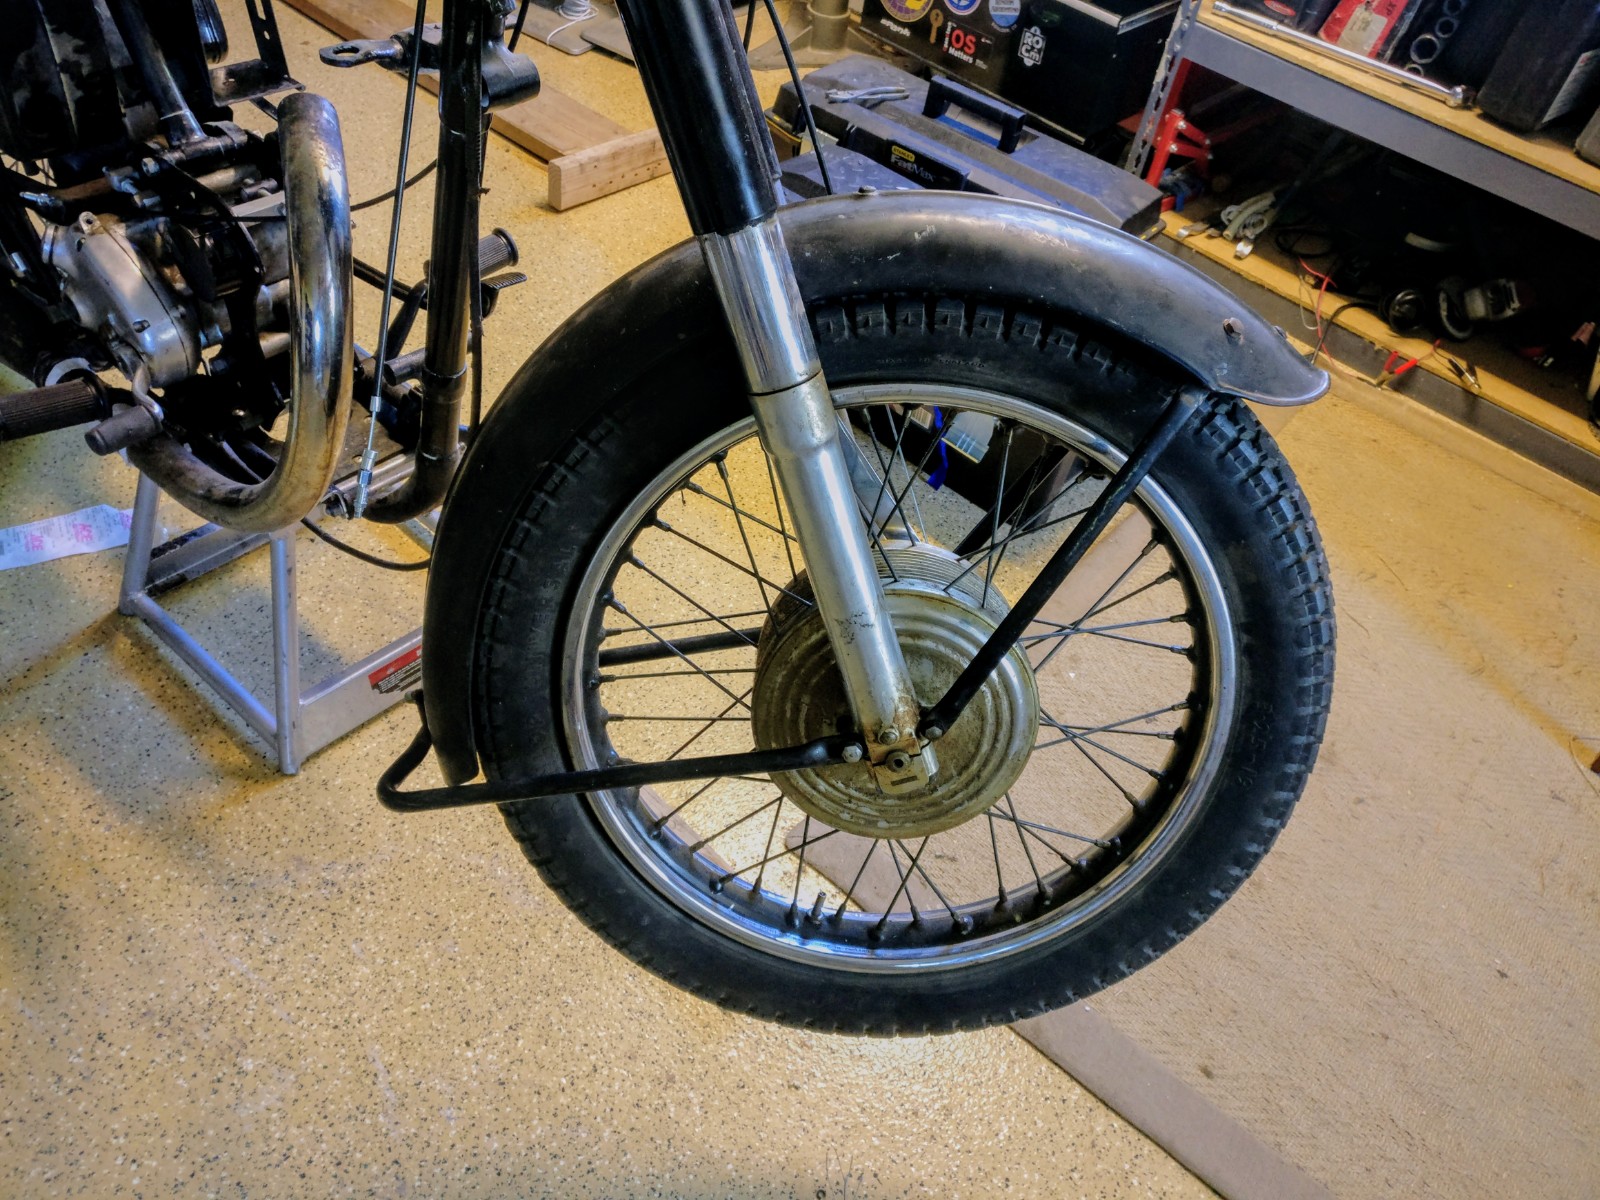
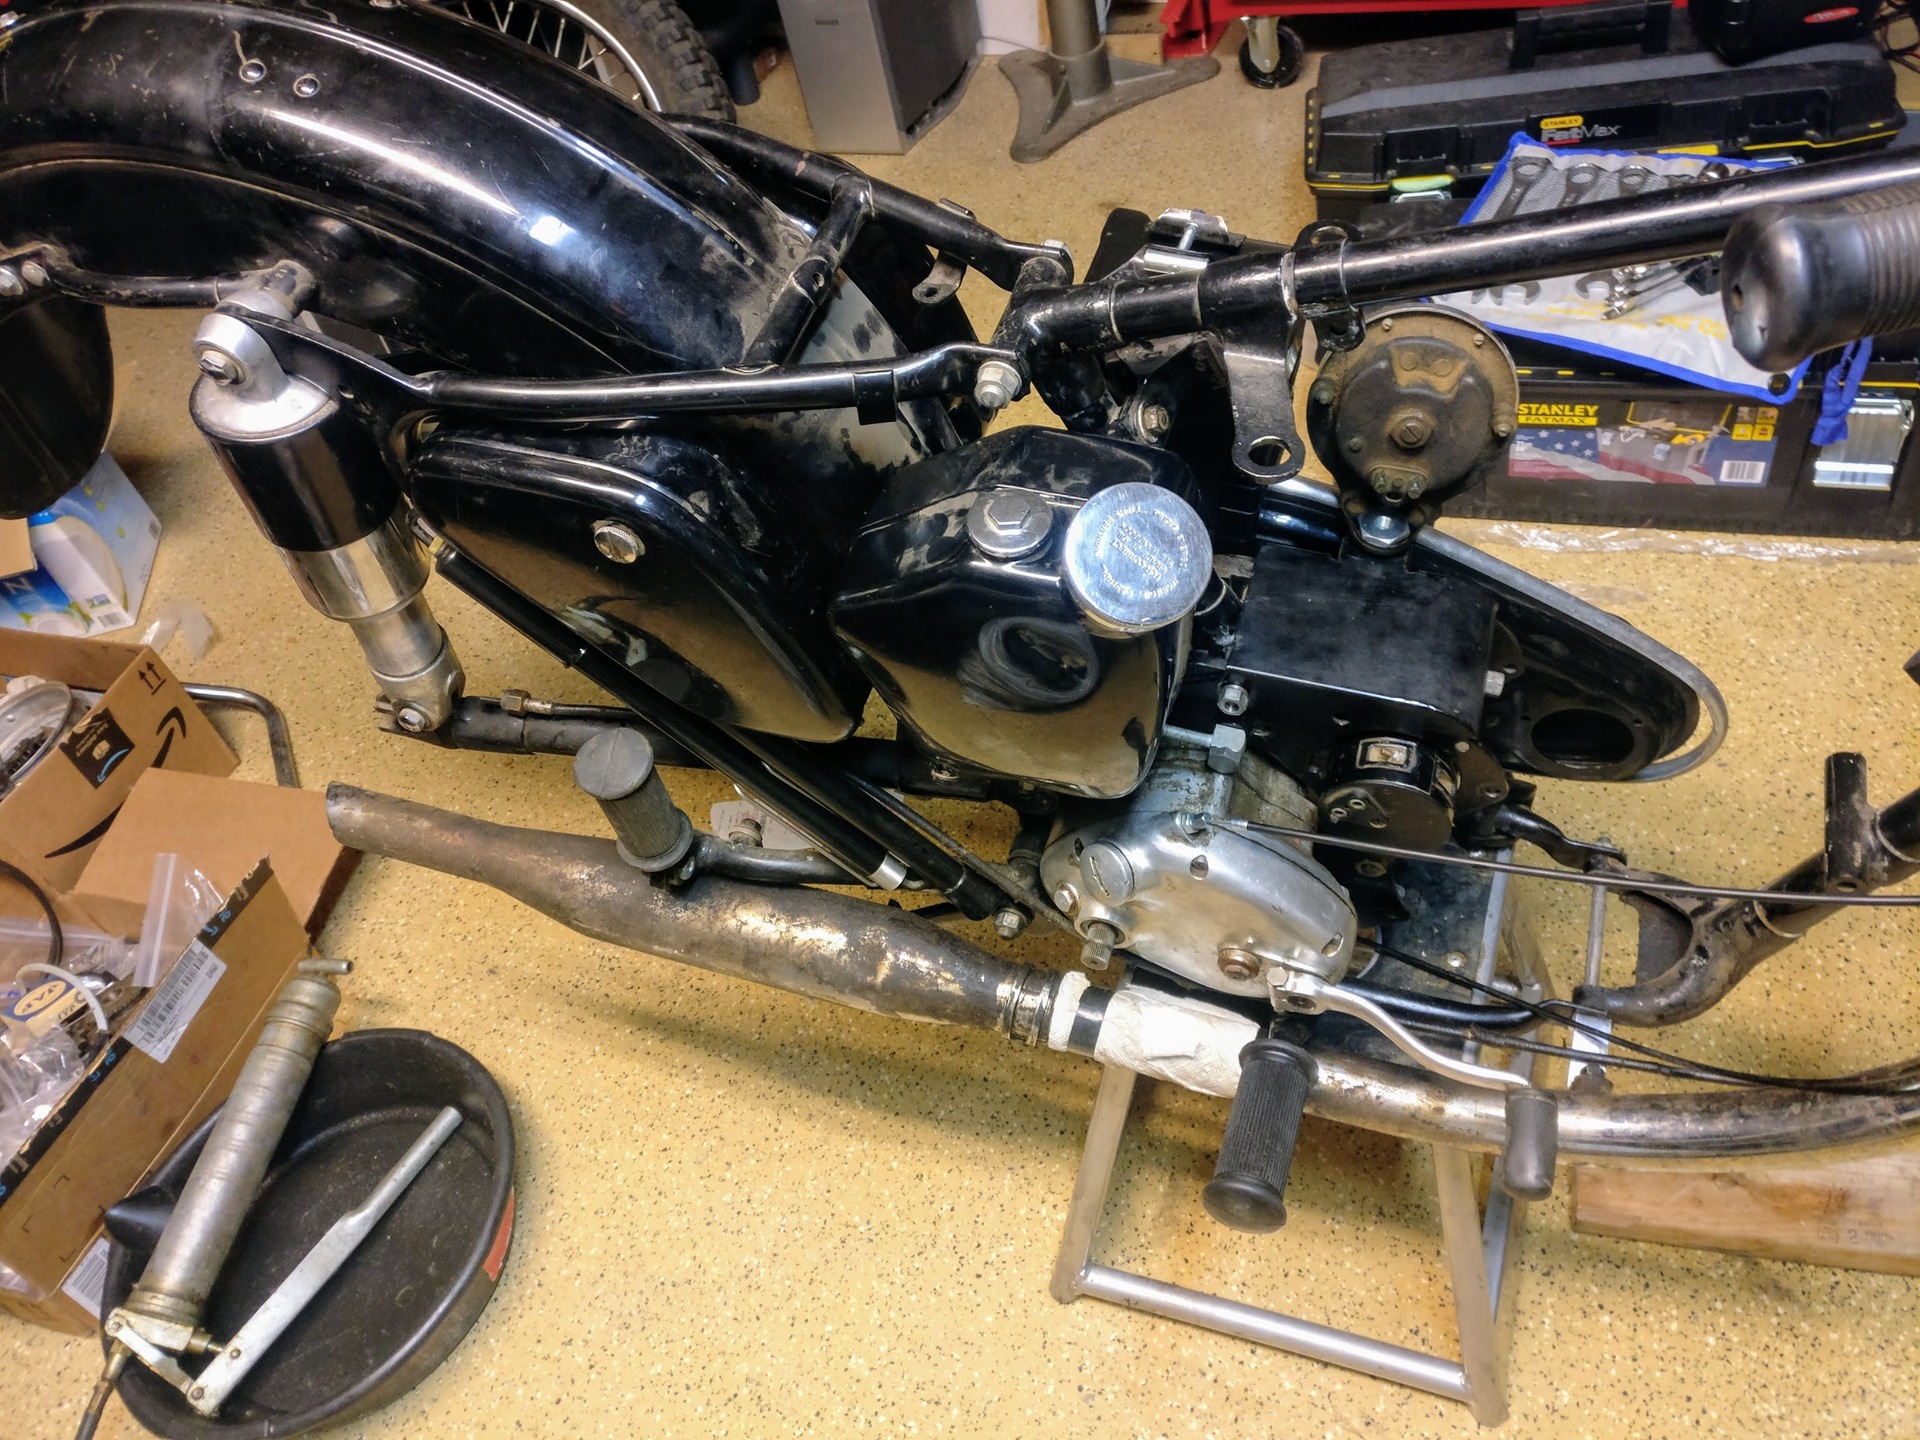
Anyways, here's the most recent mystery. What is the proper cable routing?

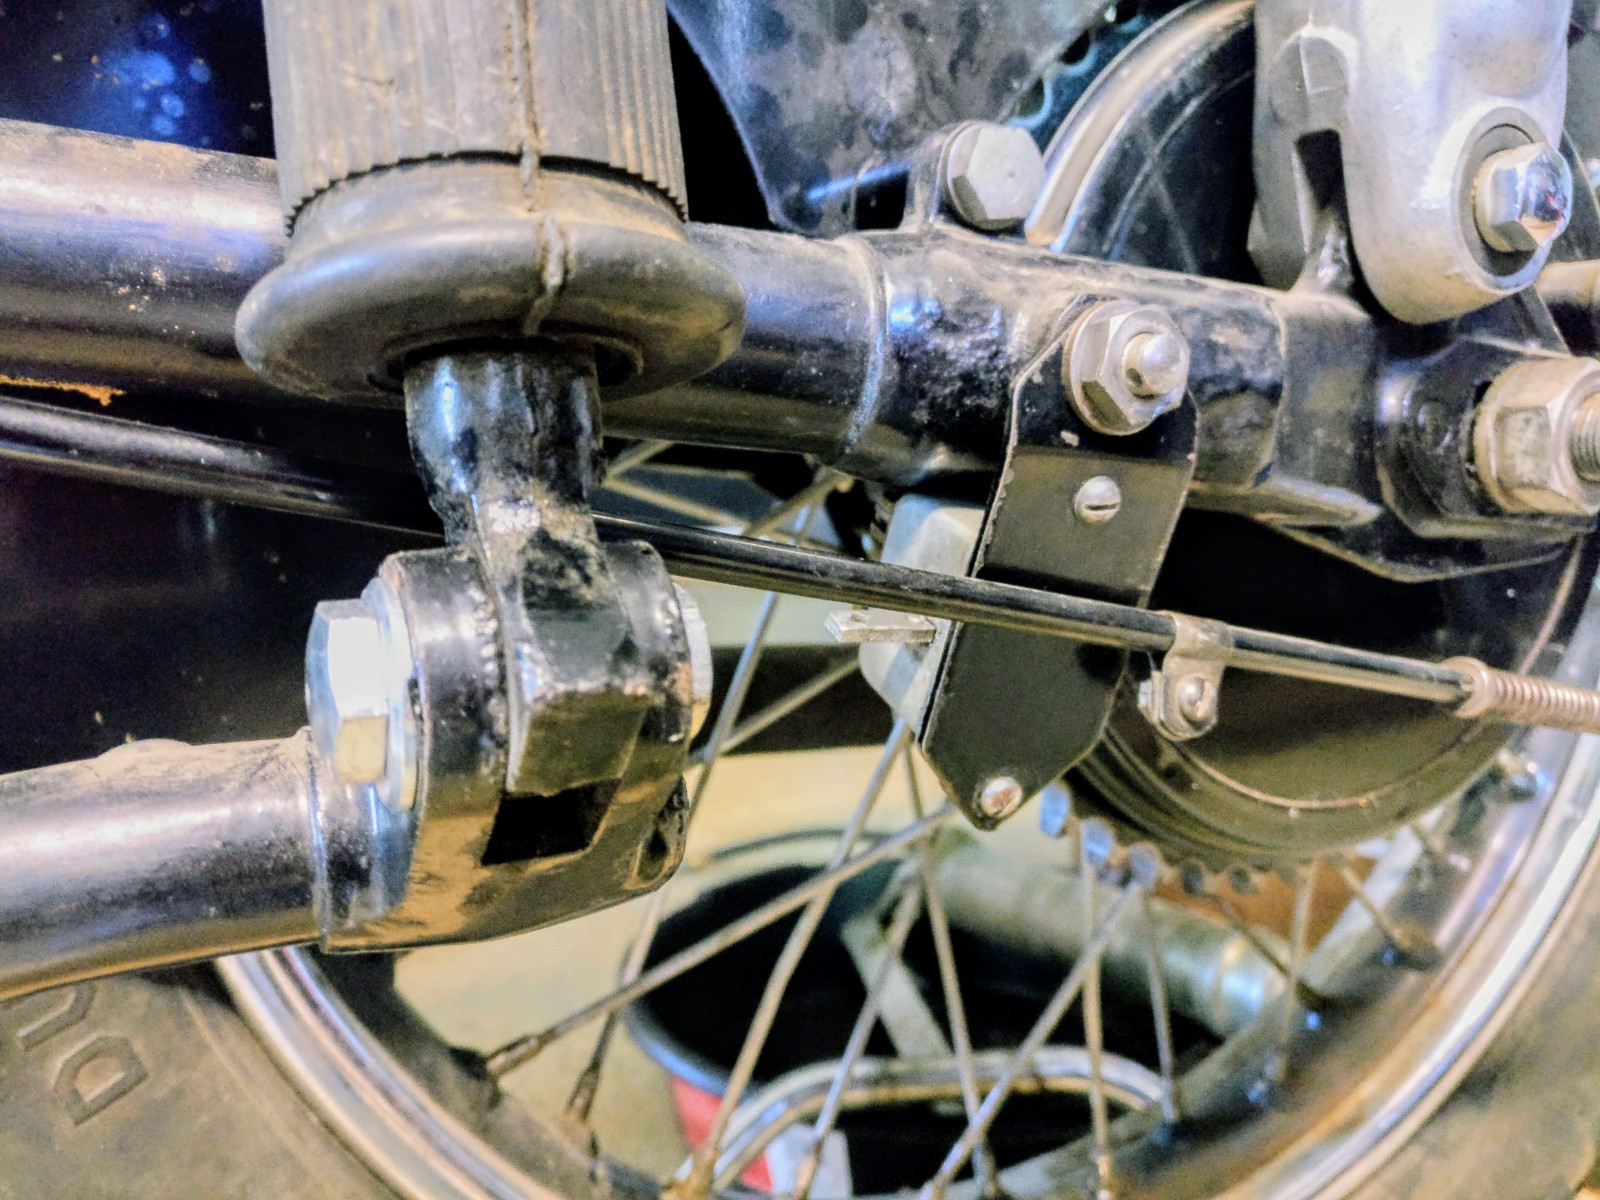
Does this seem correct? On these bikes did they route it all behind the fork?
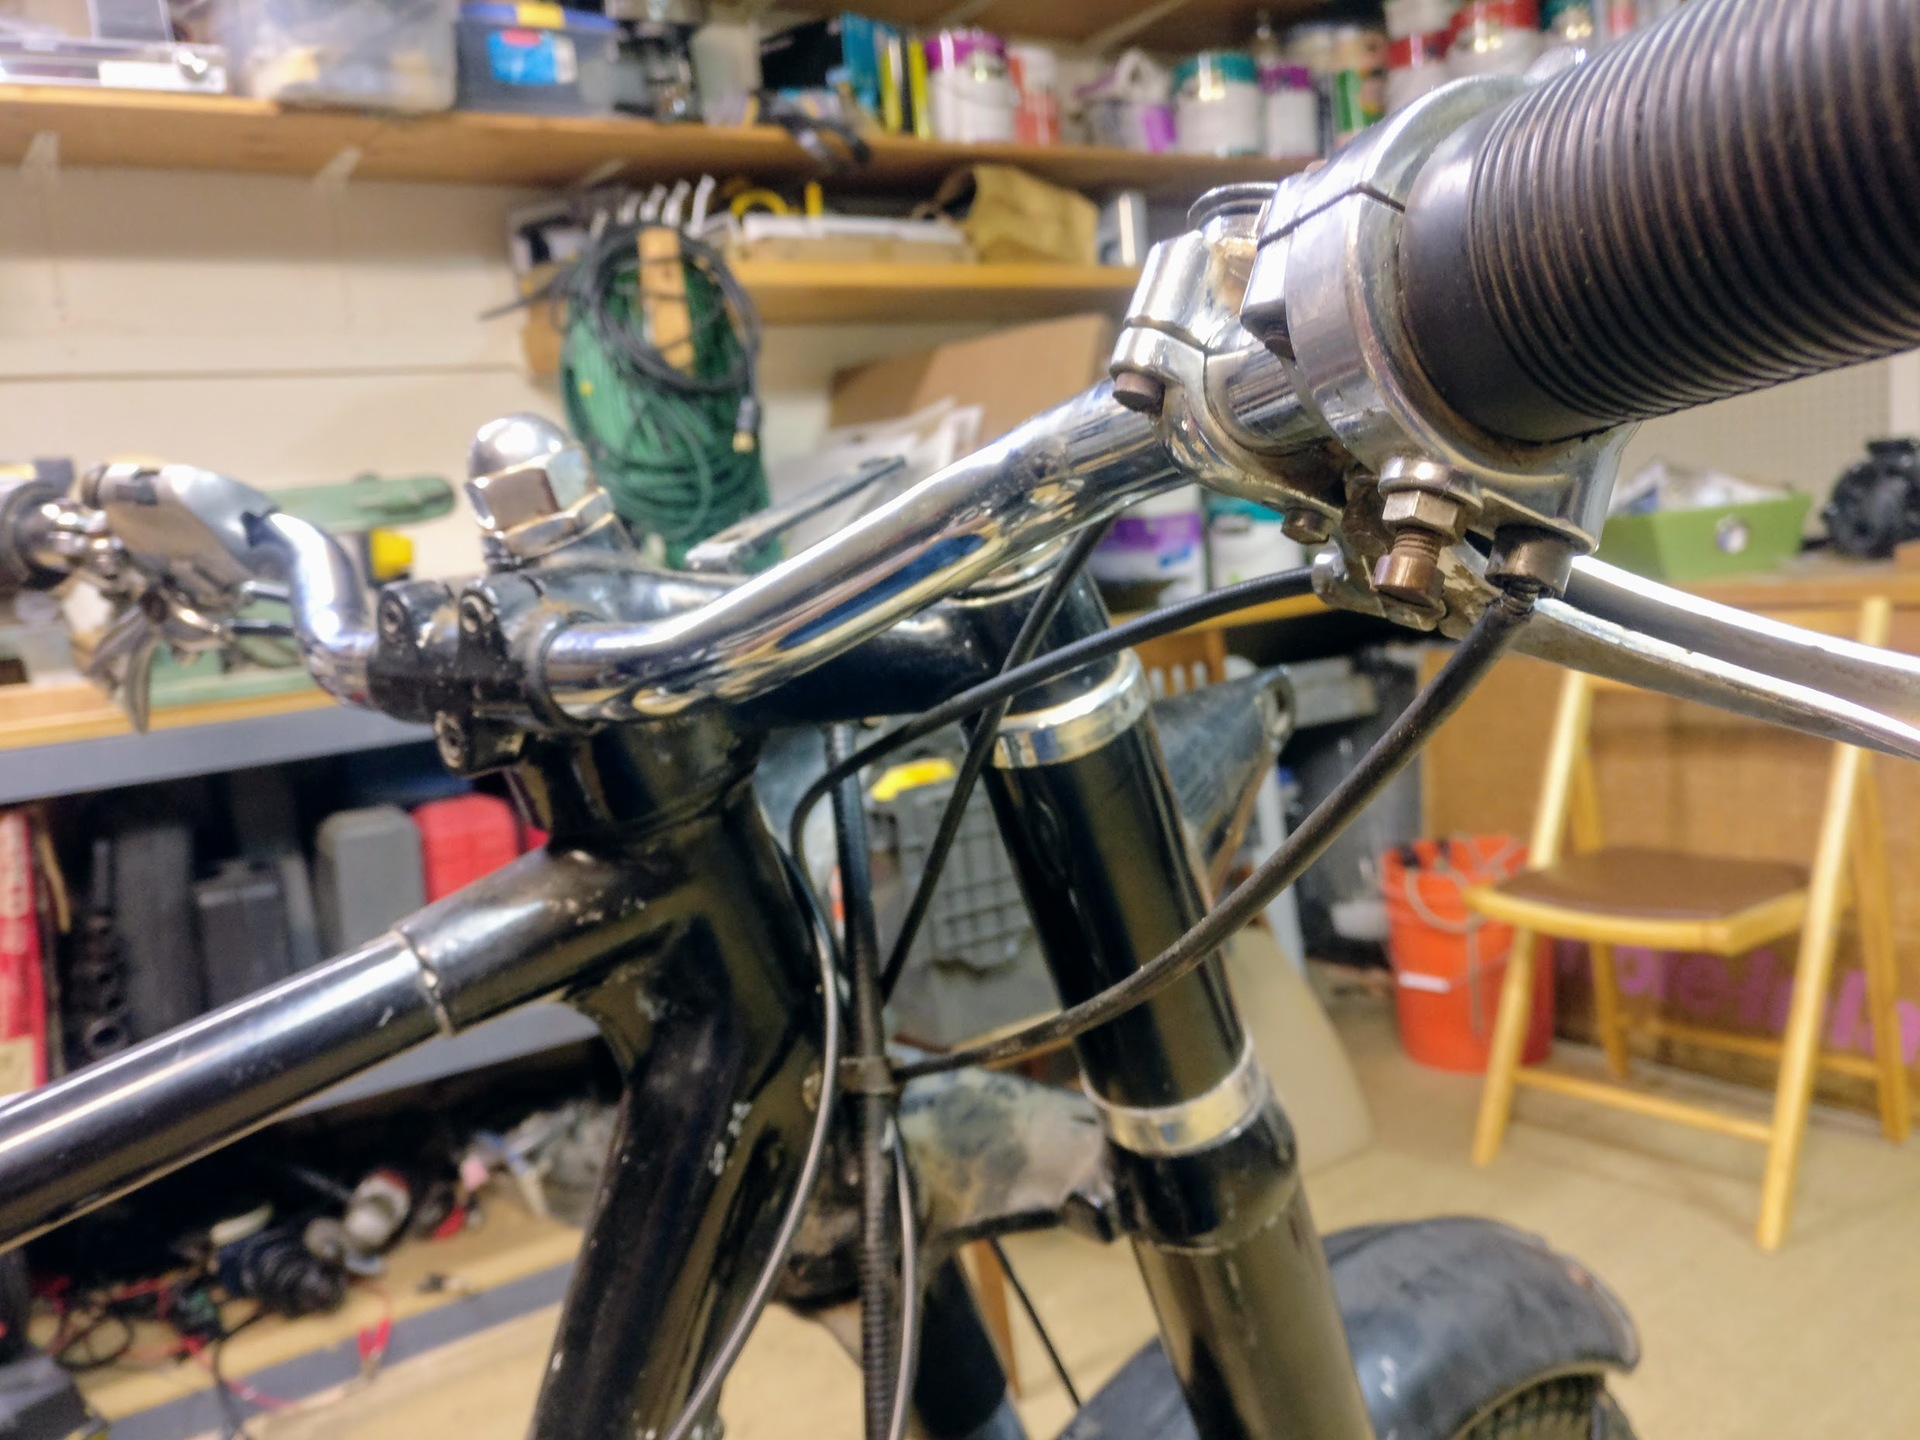
Also, with no elbow on the throttle cable, how is this setup? The original cable (shown) seems to be kinked toward the bike, should there be a bit more slack on this?
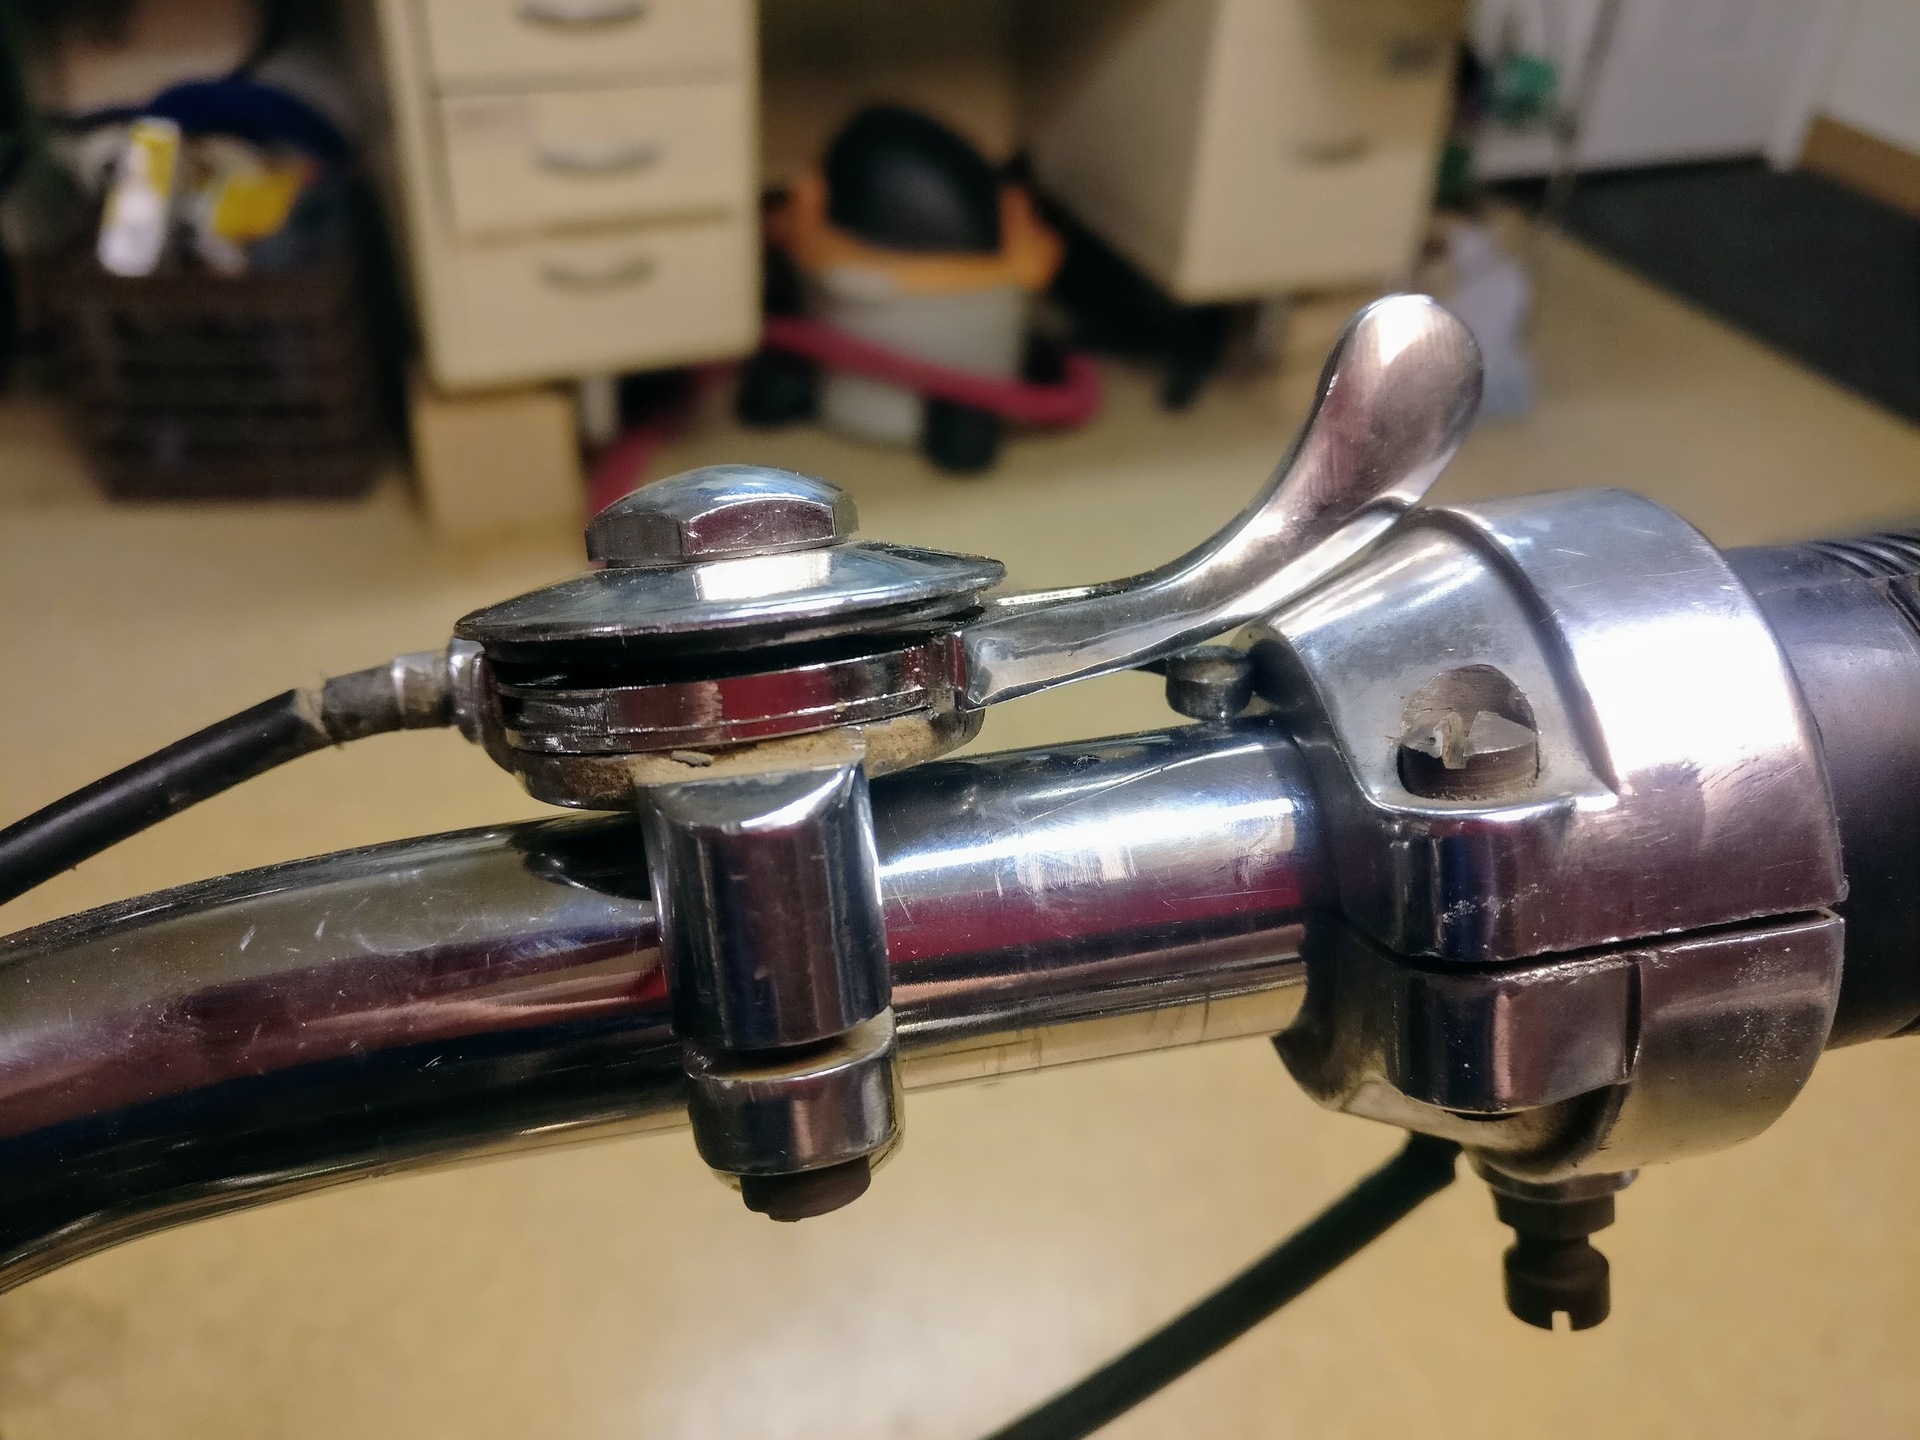
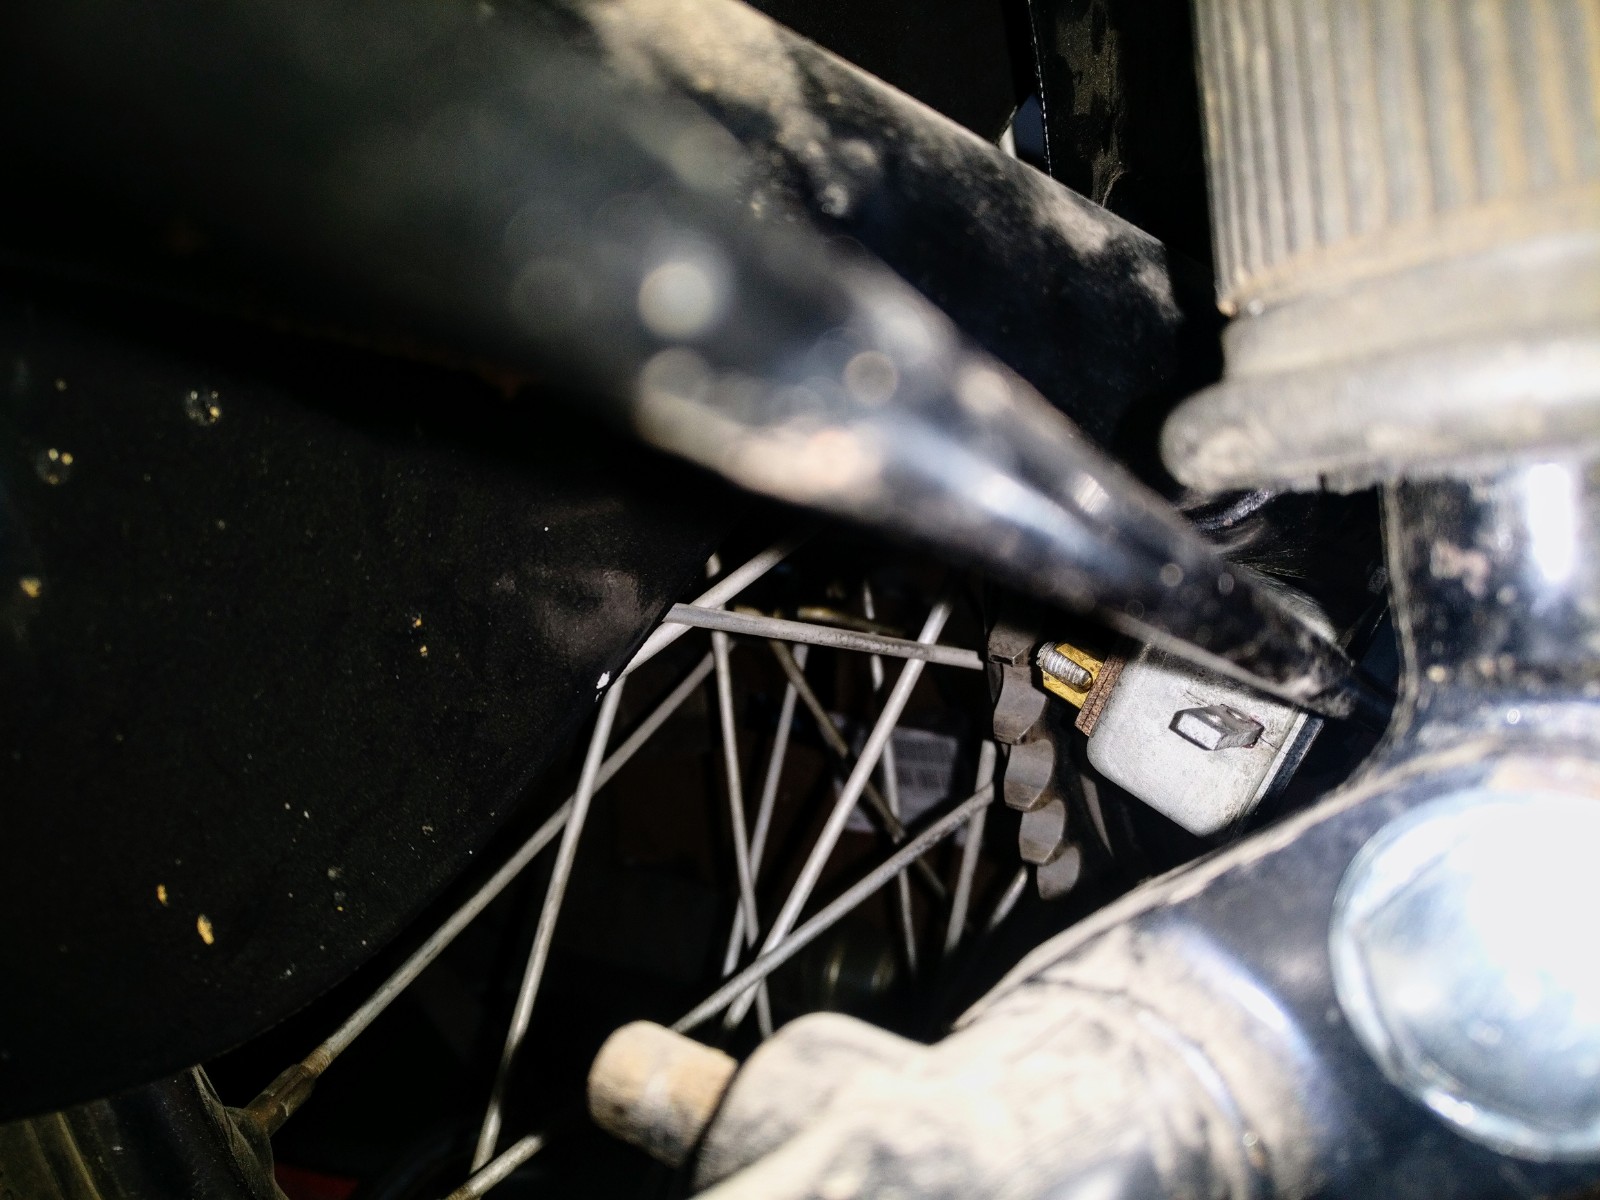
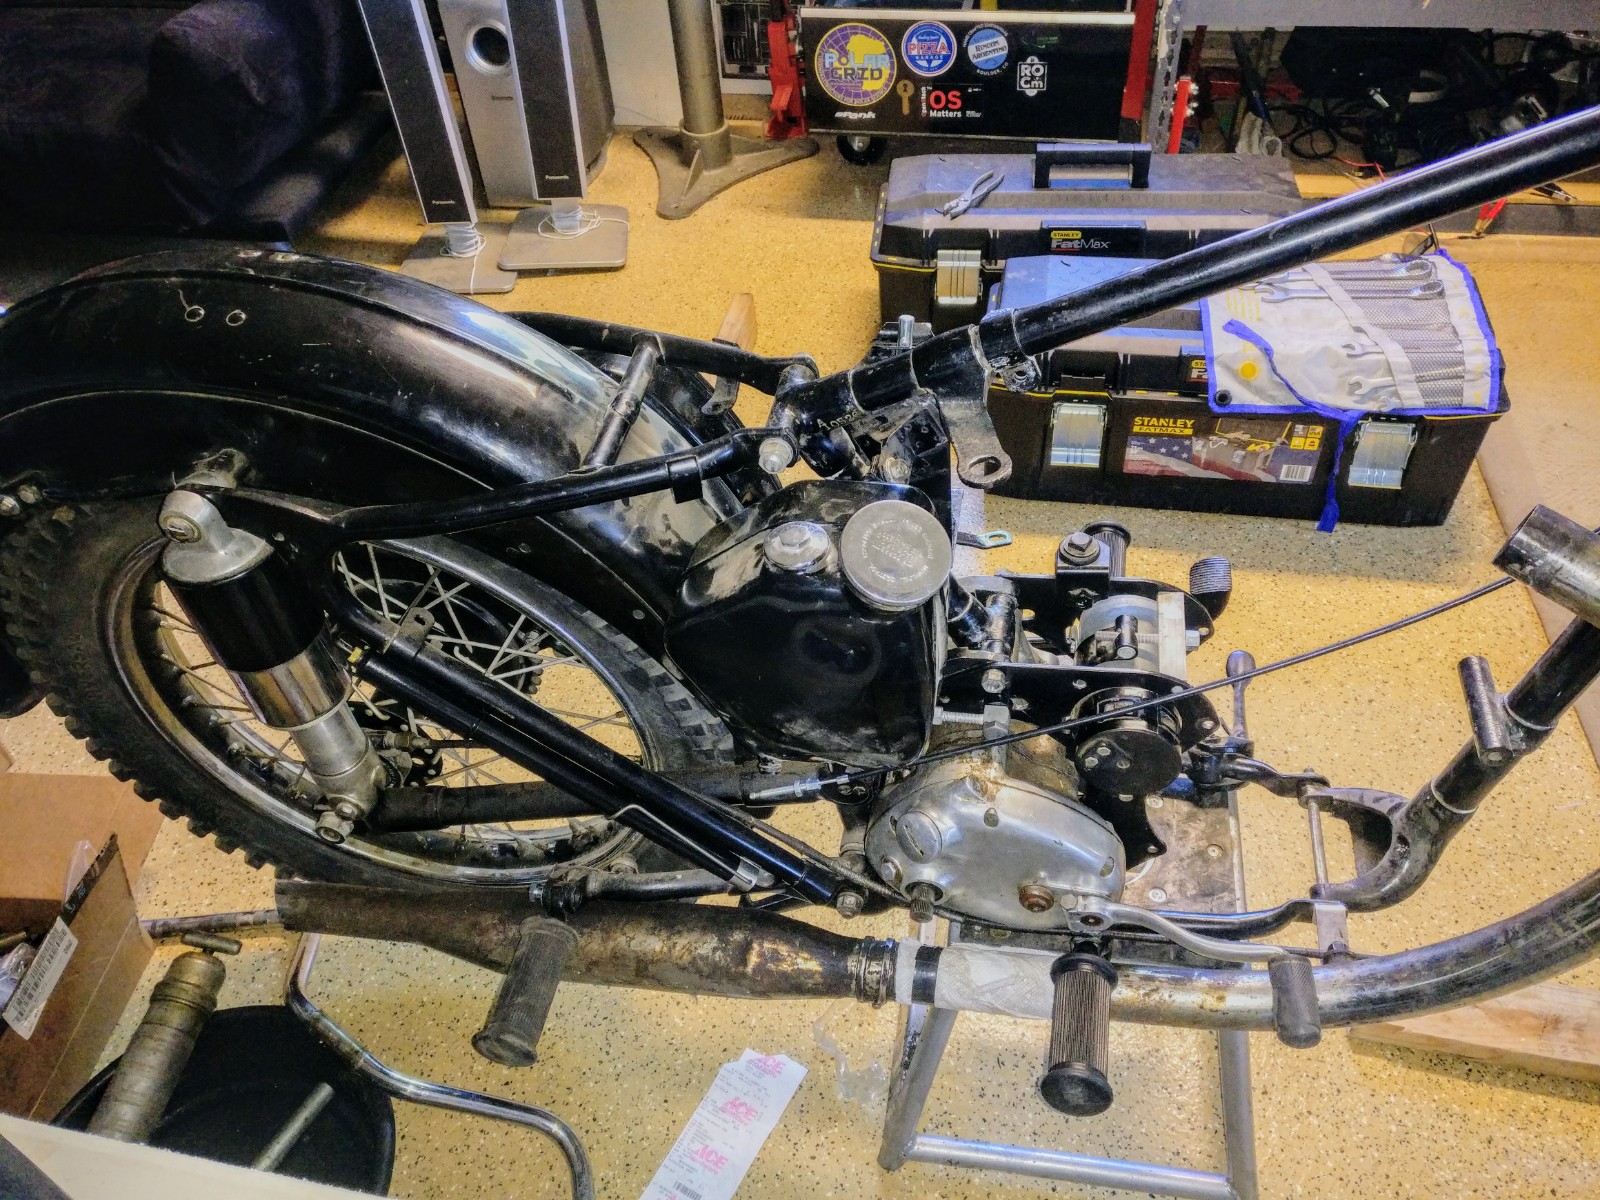
Correct position for air lever?
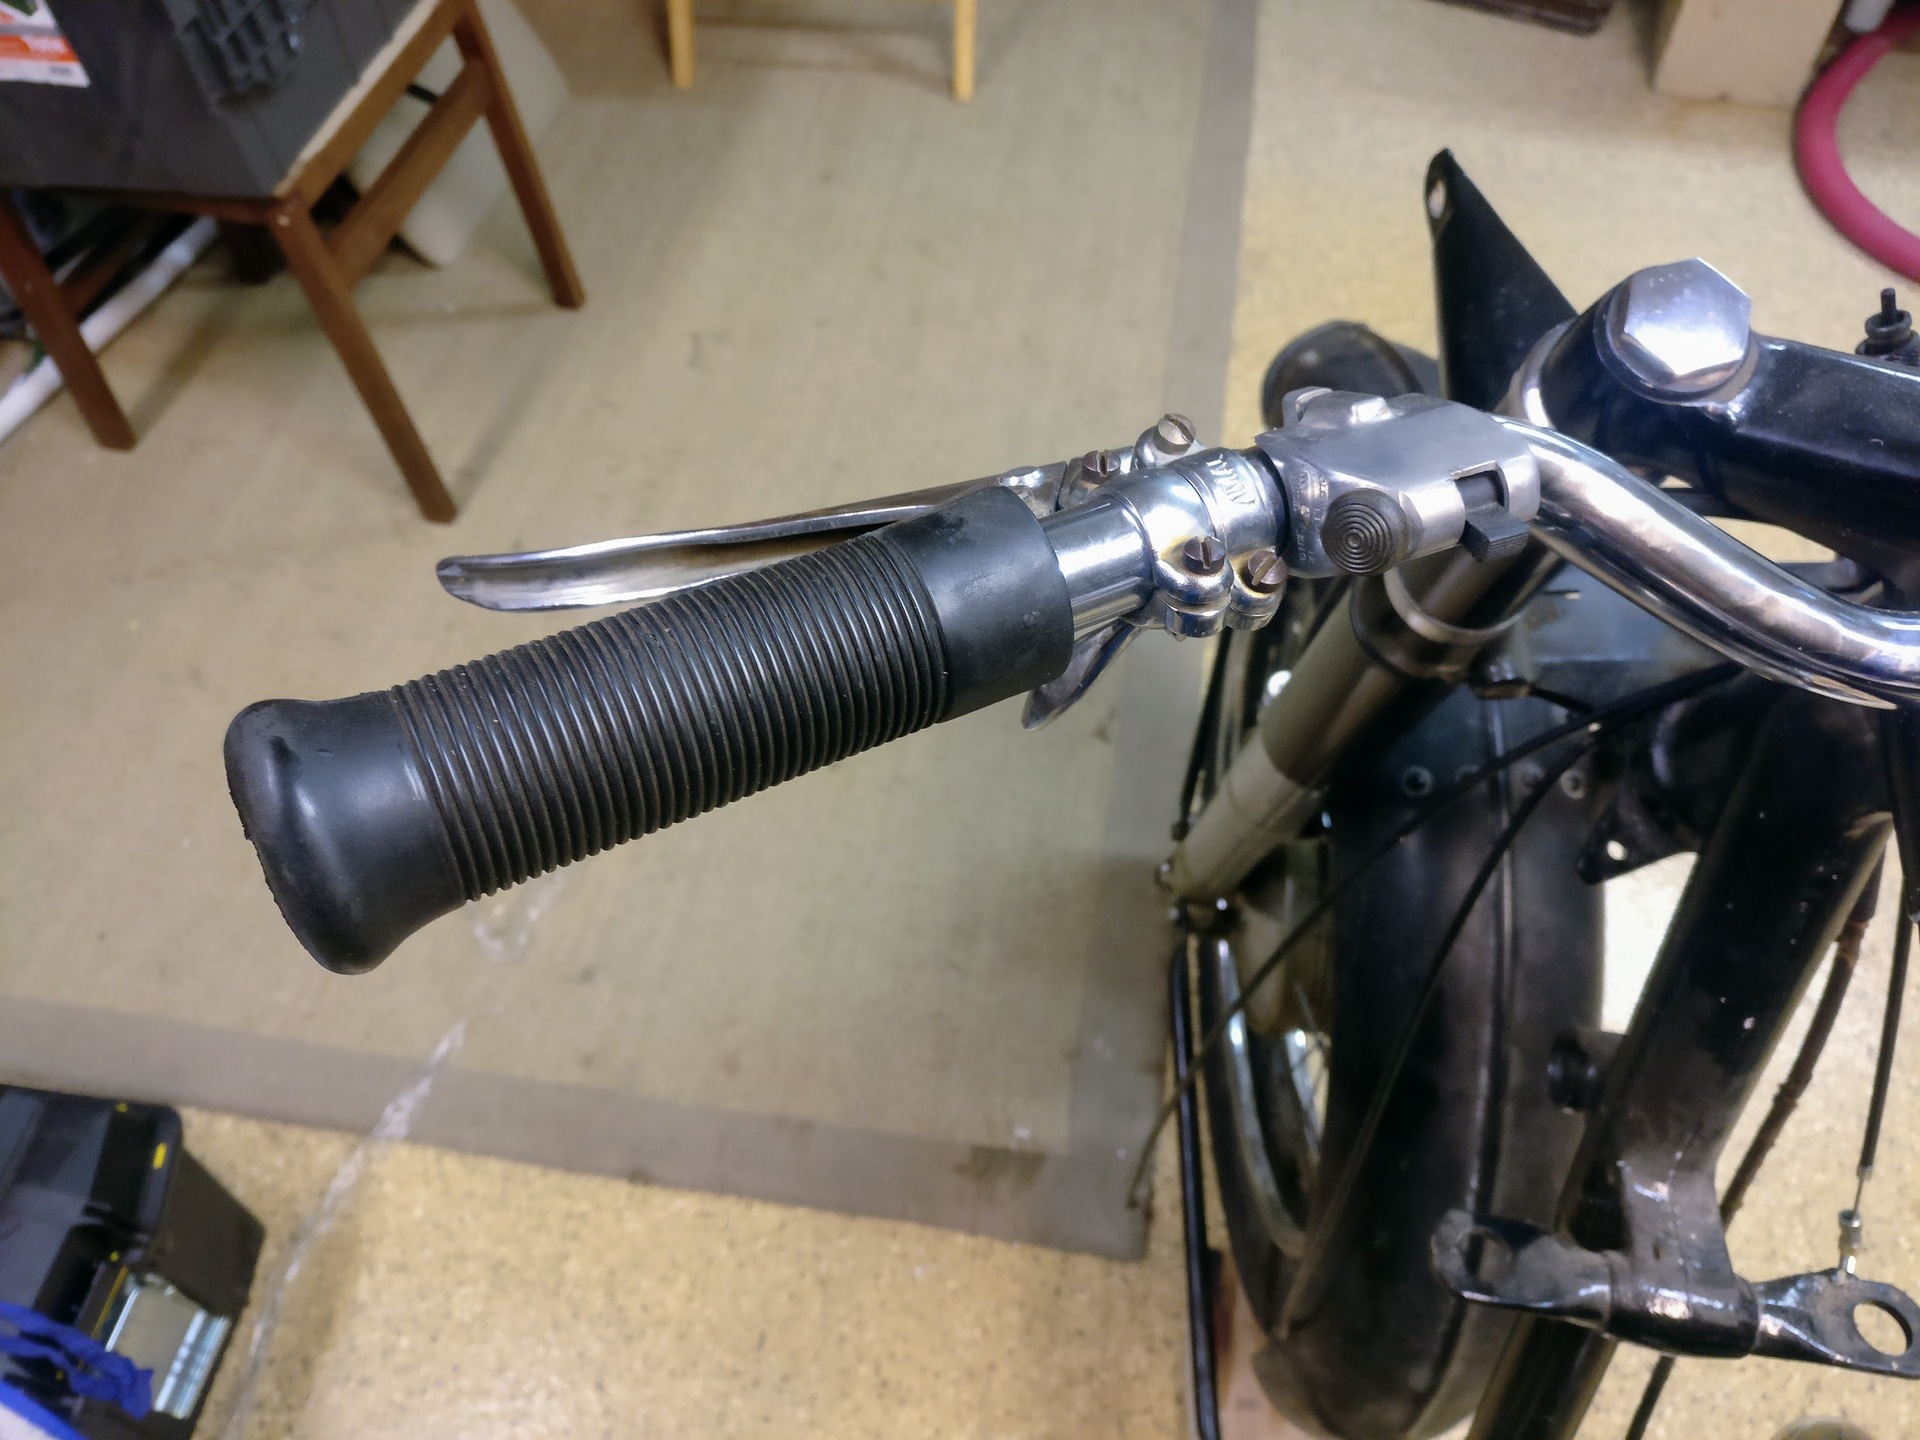
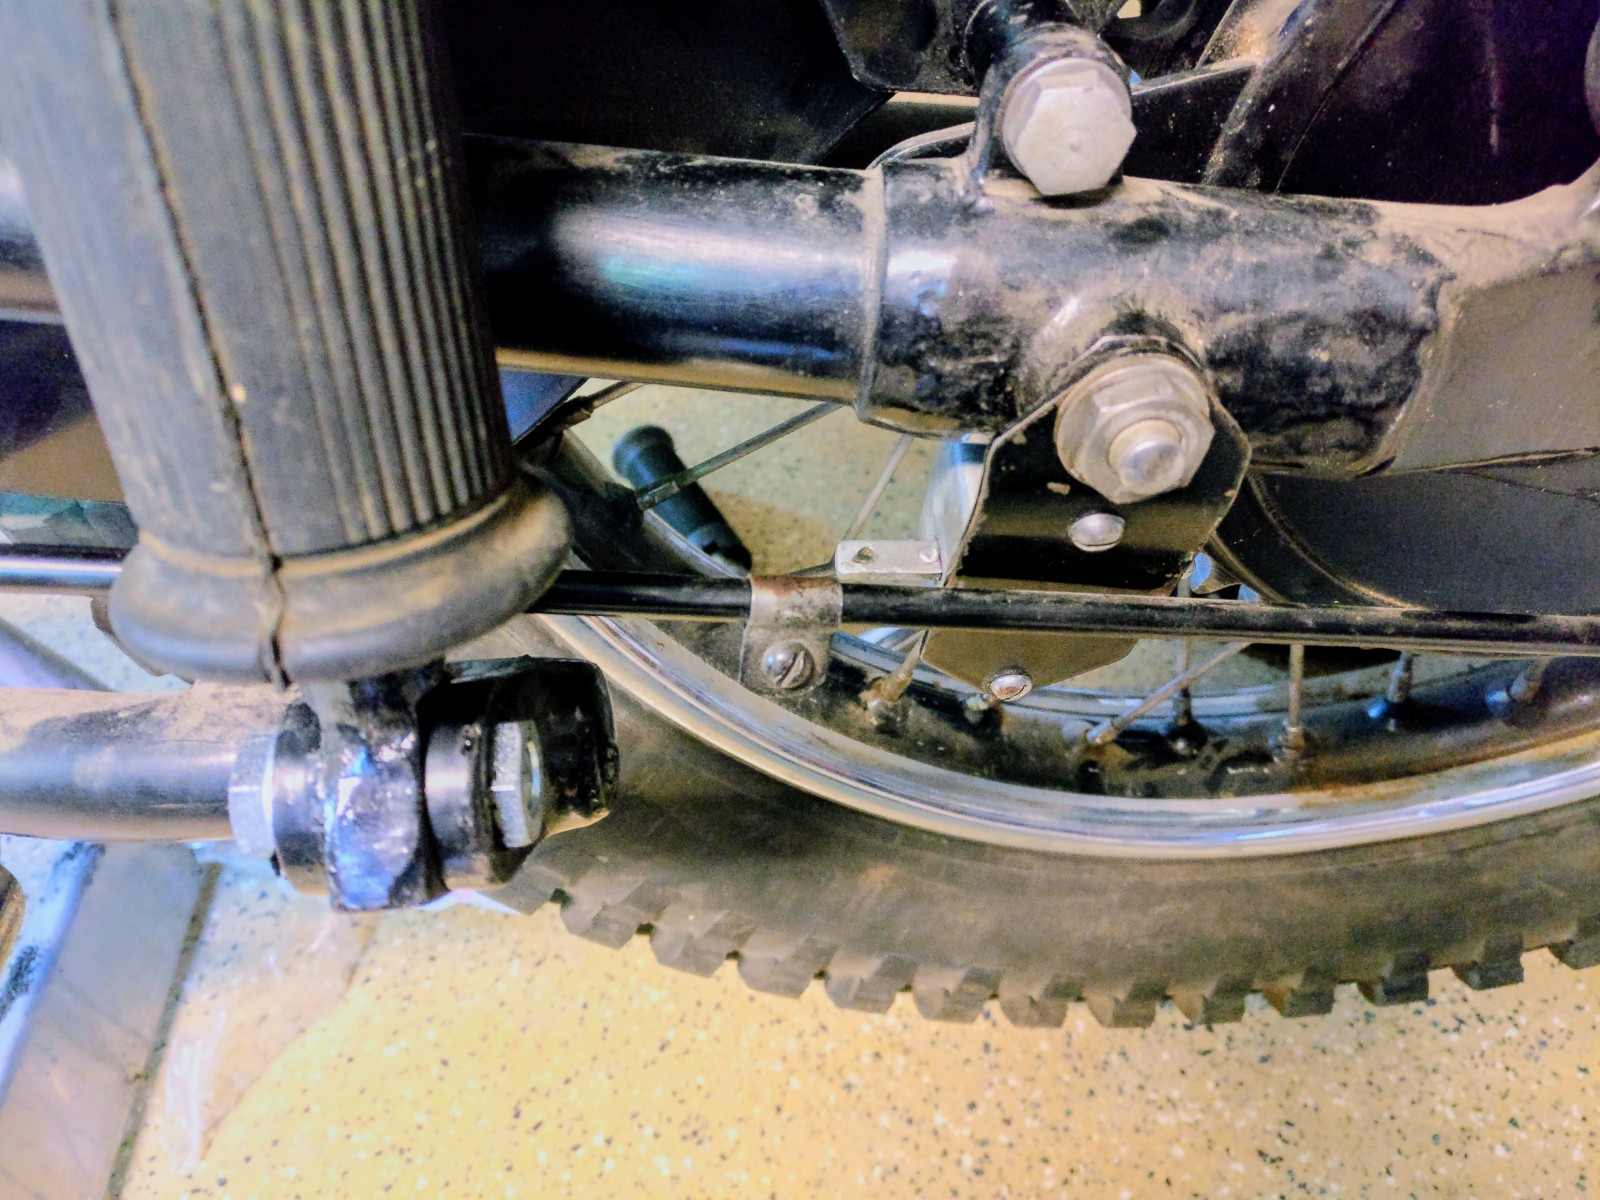
How about the decomp, brake, and dipper/horn switch?
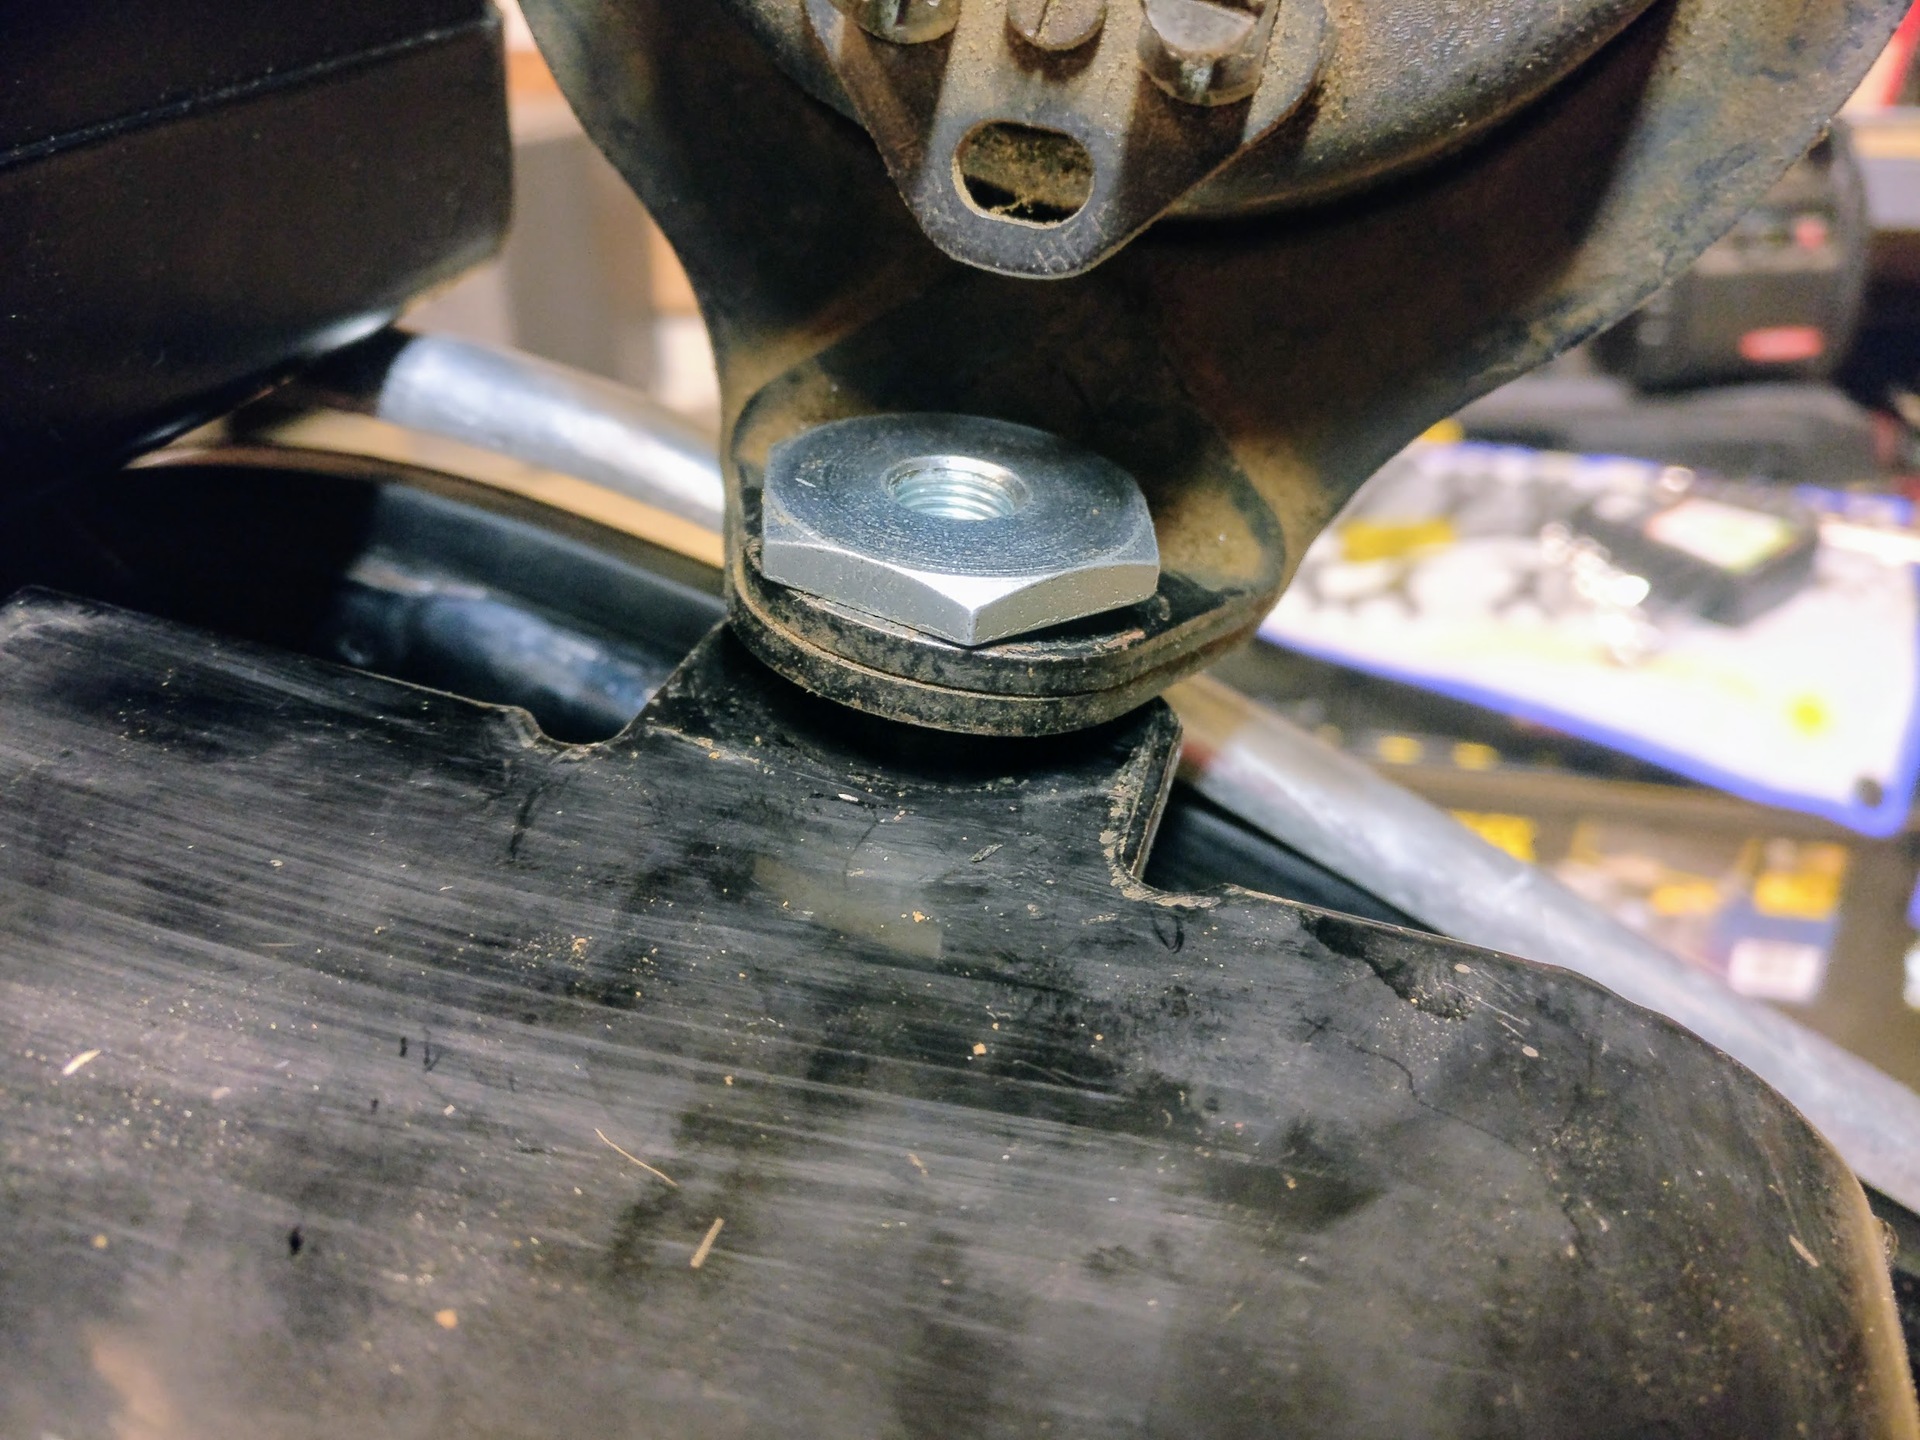
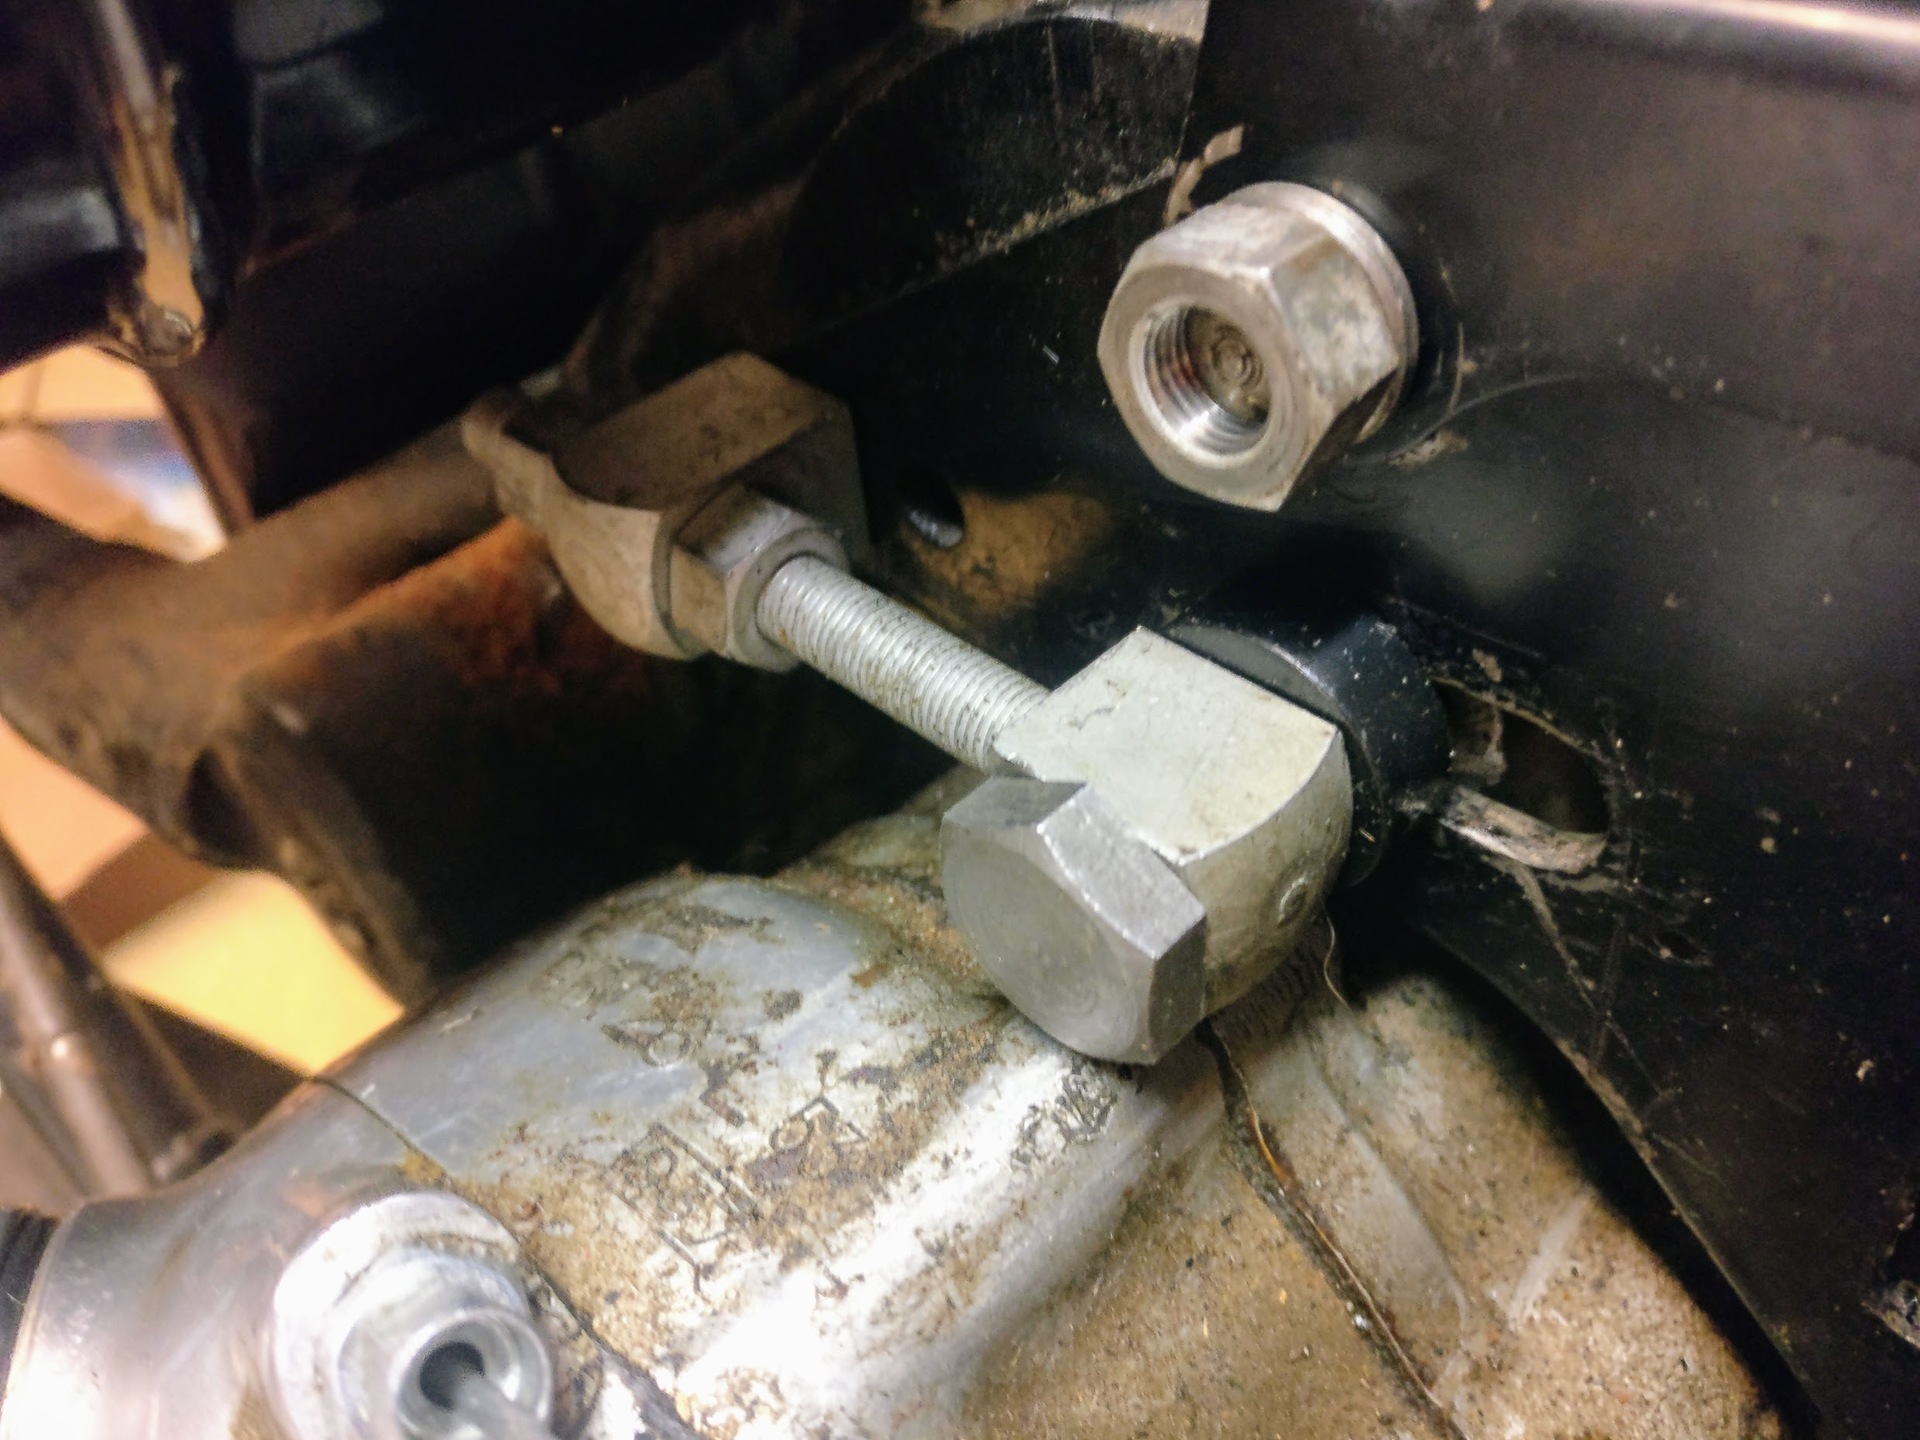
Correct position for the horn? Also is there a rubber bushing that should be here? As the morn bolt is proud of the mount by a lot.
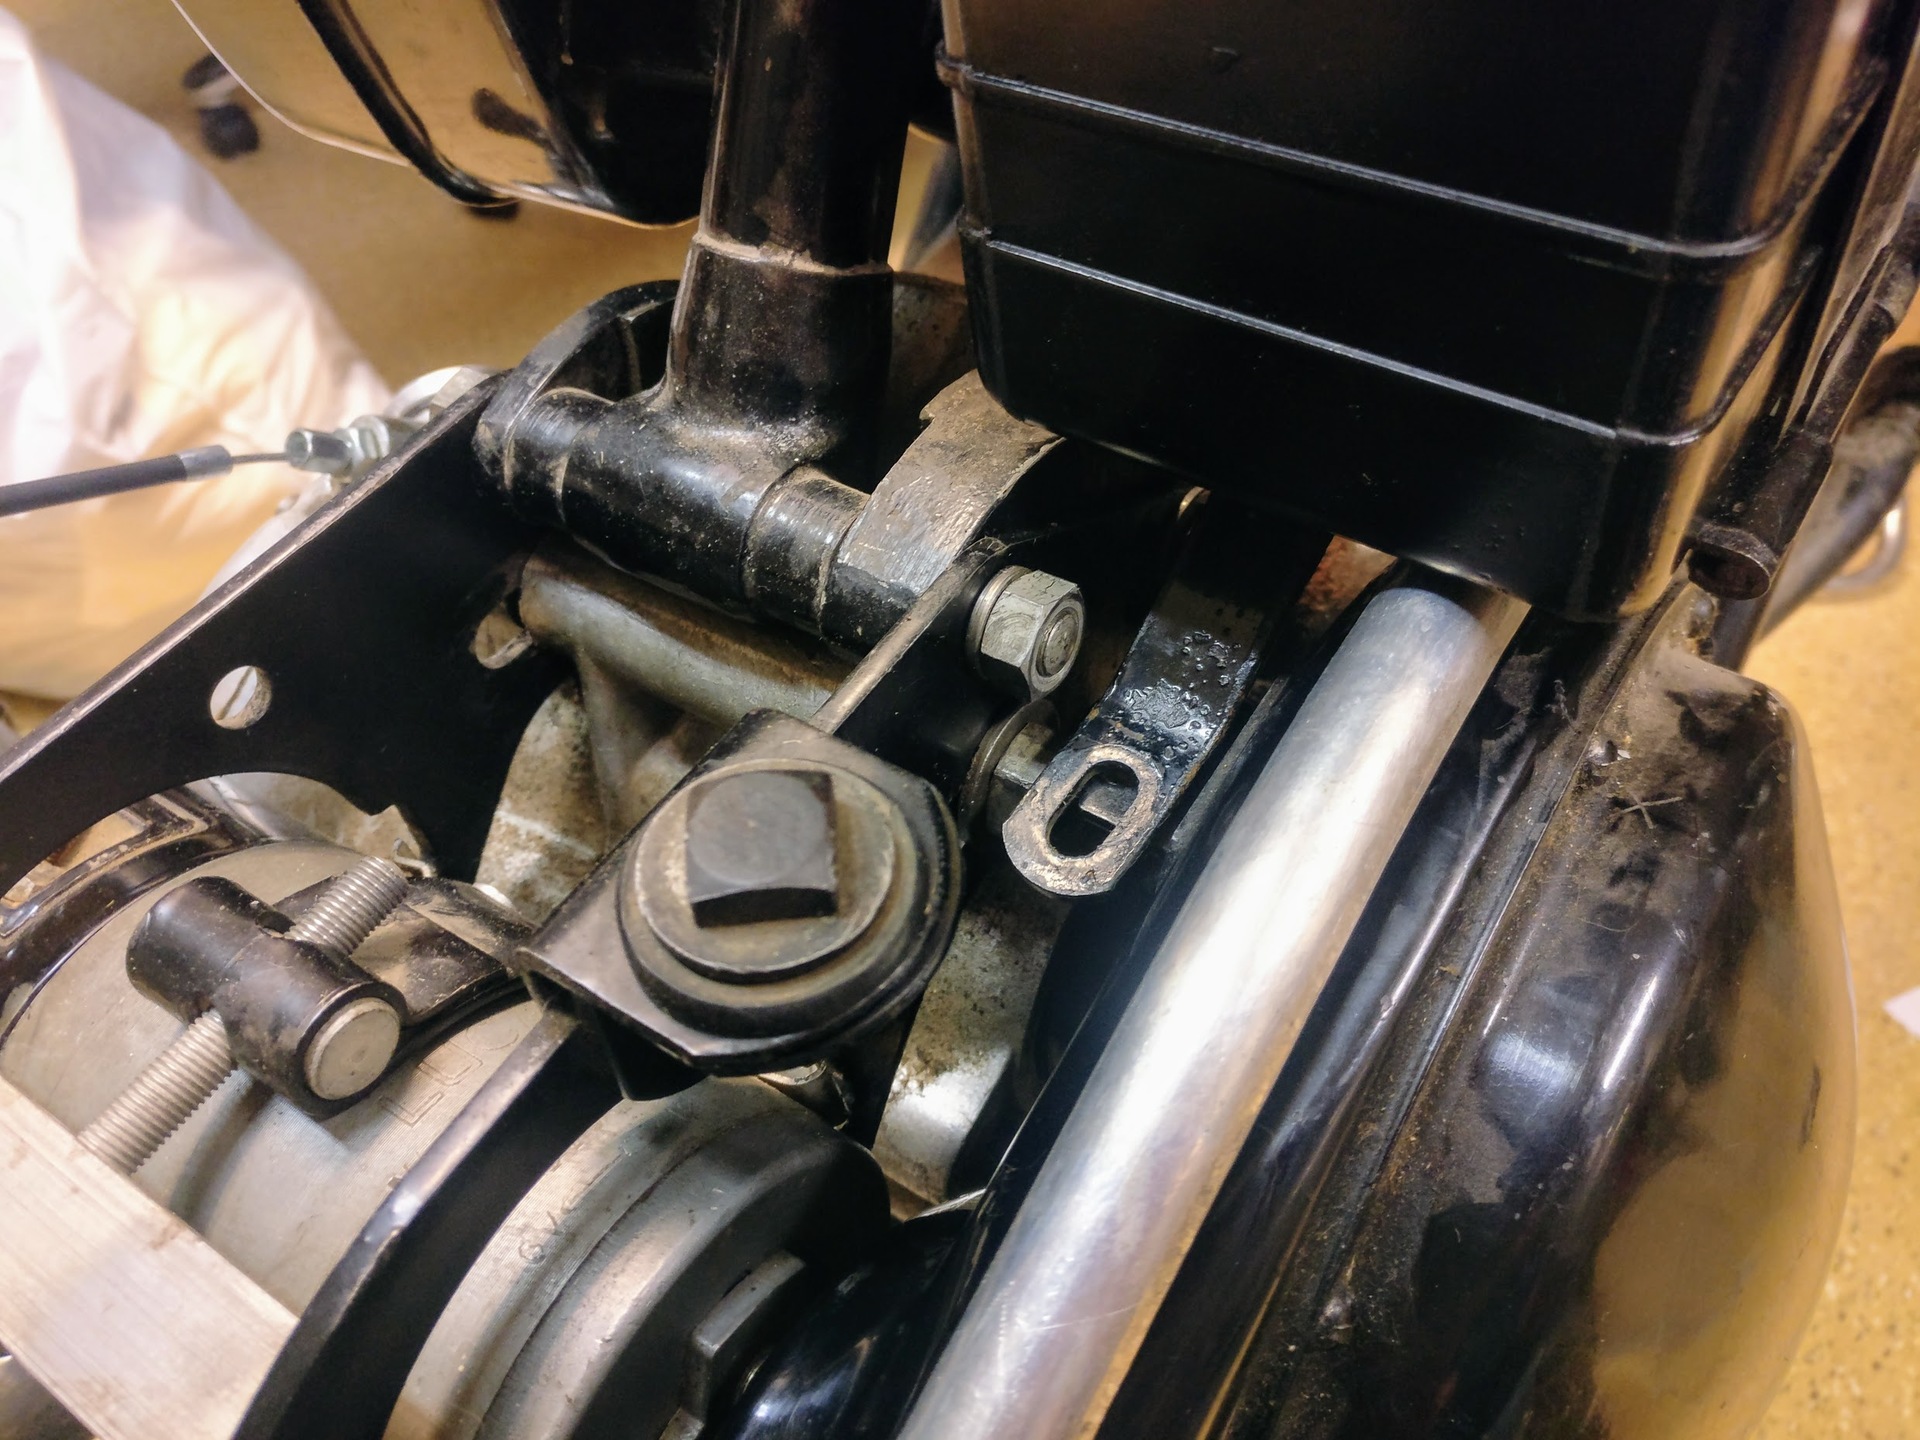
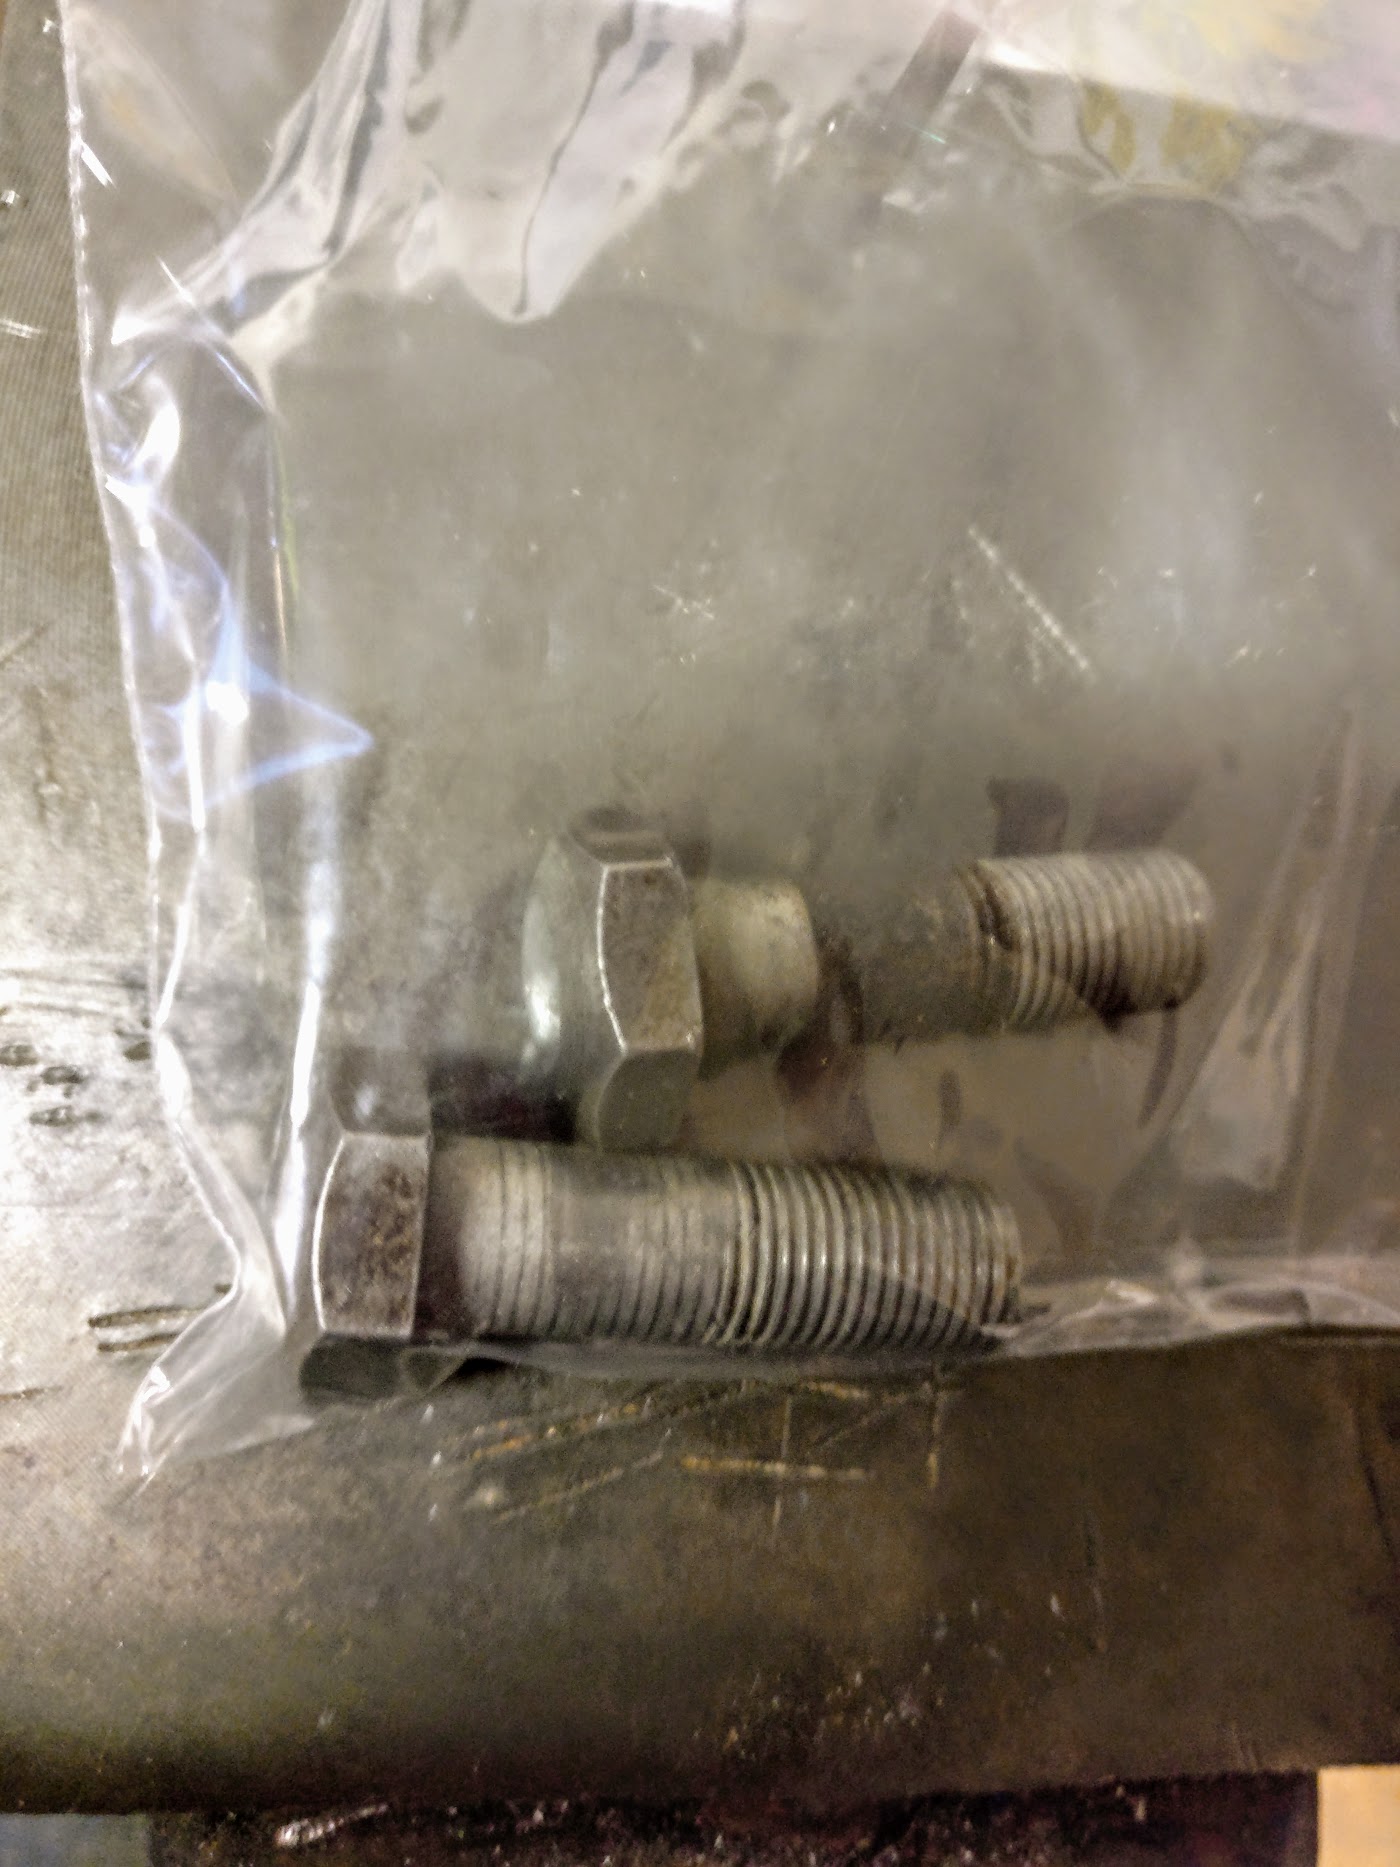
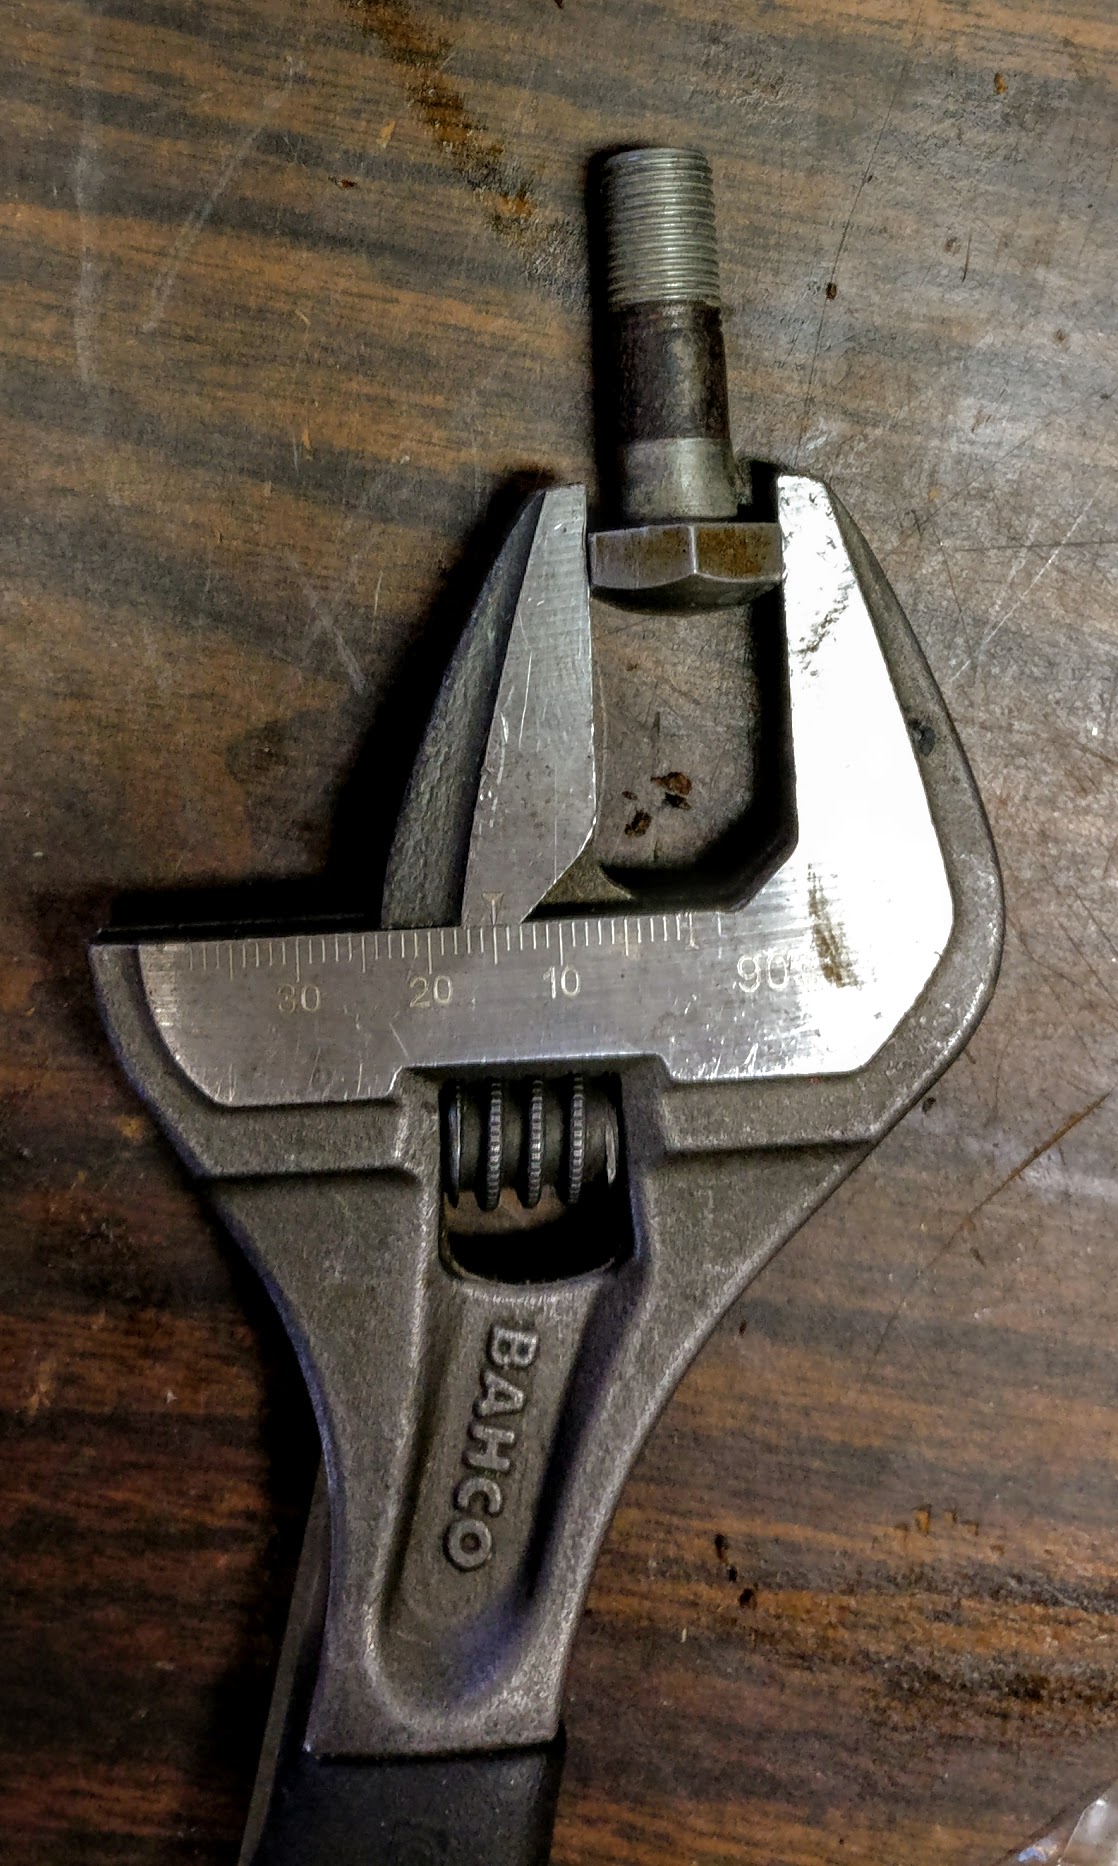
(ignore the SAE 3/4" square head, it's gone now. But how about the bolt for the stablizer piece from the battery box (yeah it needs to get moved to the rear hole on the mount). Does anyone happen to know this part number?
Got the primary adjuster mounted with it's spacer, I think this is correct.
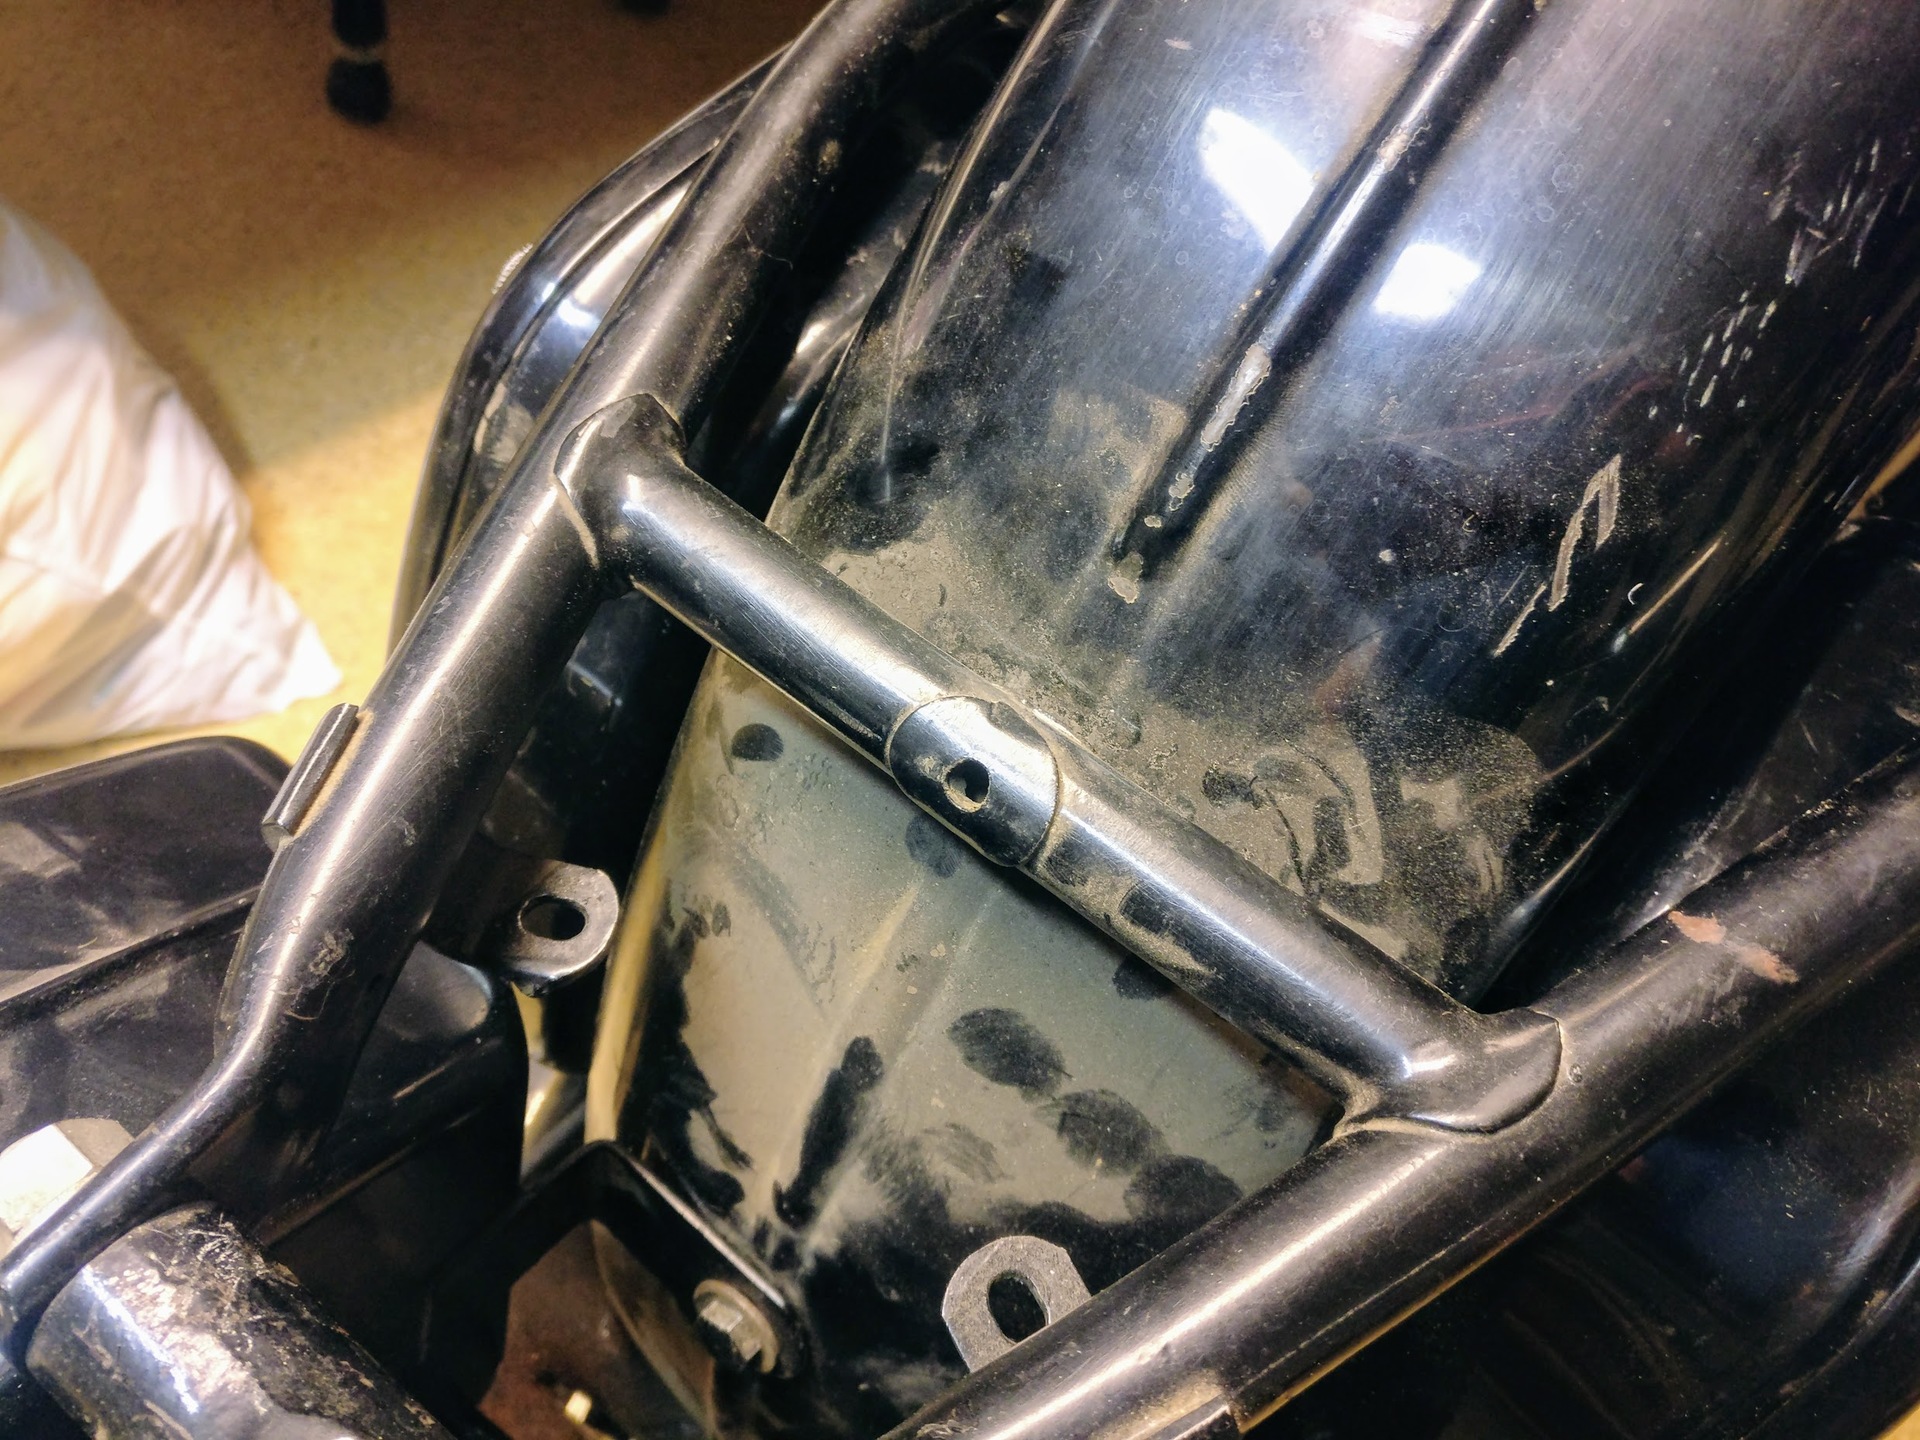
Missing a bolt here..
And both of these bolts, and some washers for both tool boxes.
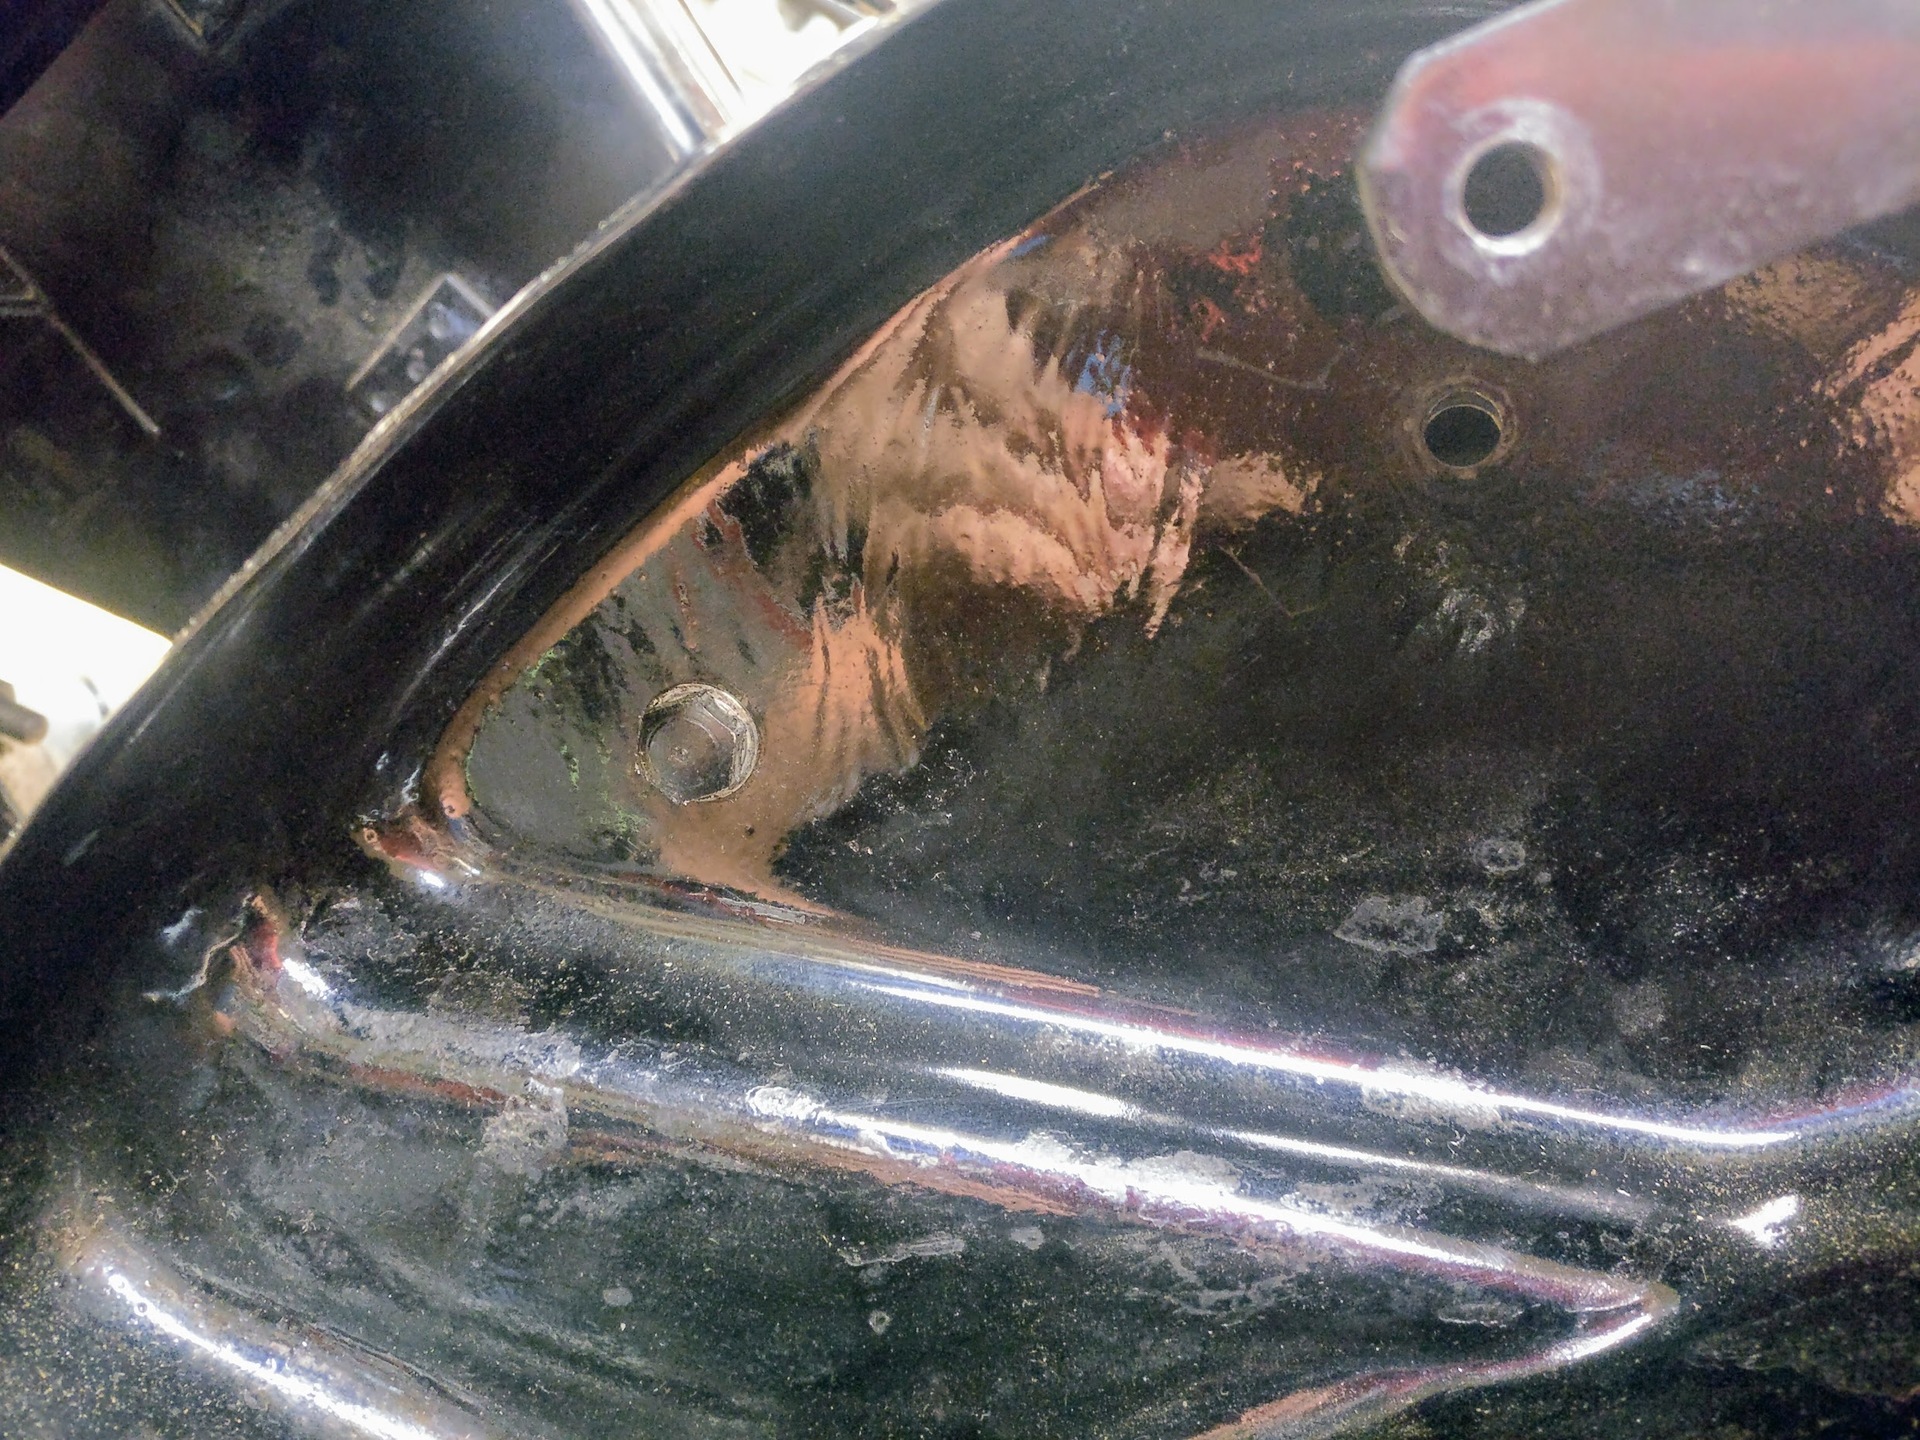
Missing the correct nickle plated bolt and washer for this side. Also need to work on the fitment a bit apparently..
You can also see, the previous owner had drilled (sloppily) a large hole in the tank to route the brake wires through, now I'm trying to find a paint that is as close as possible to what's already there.
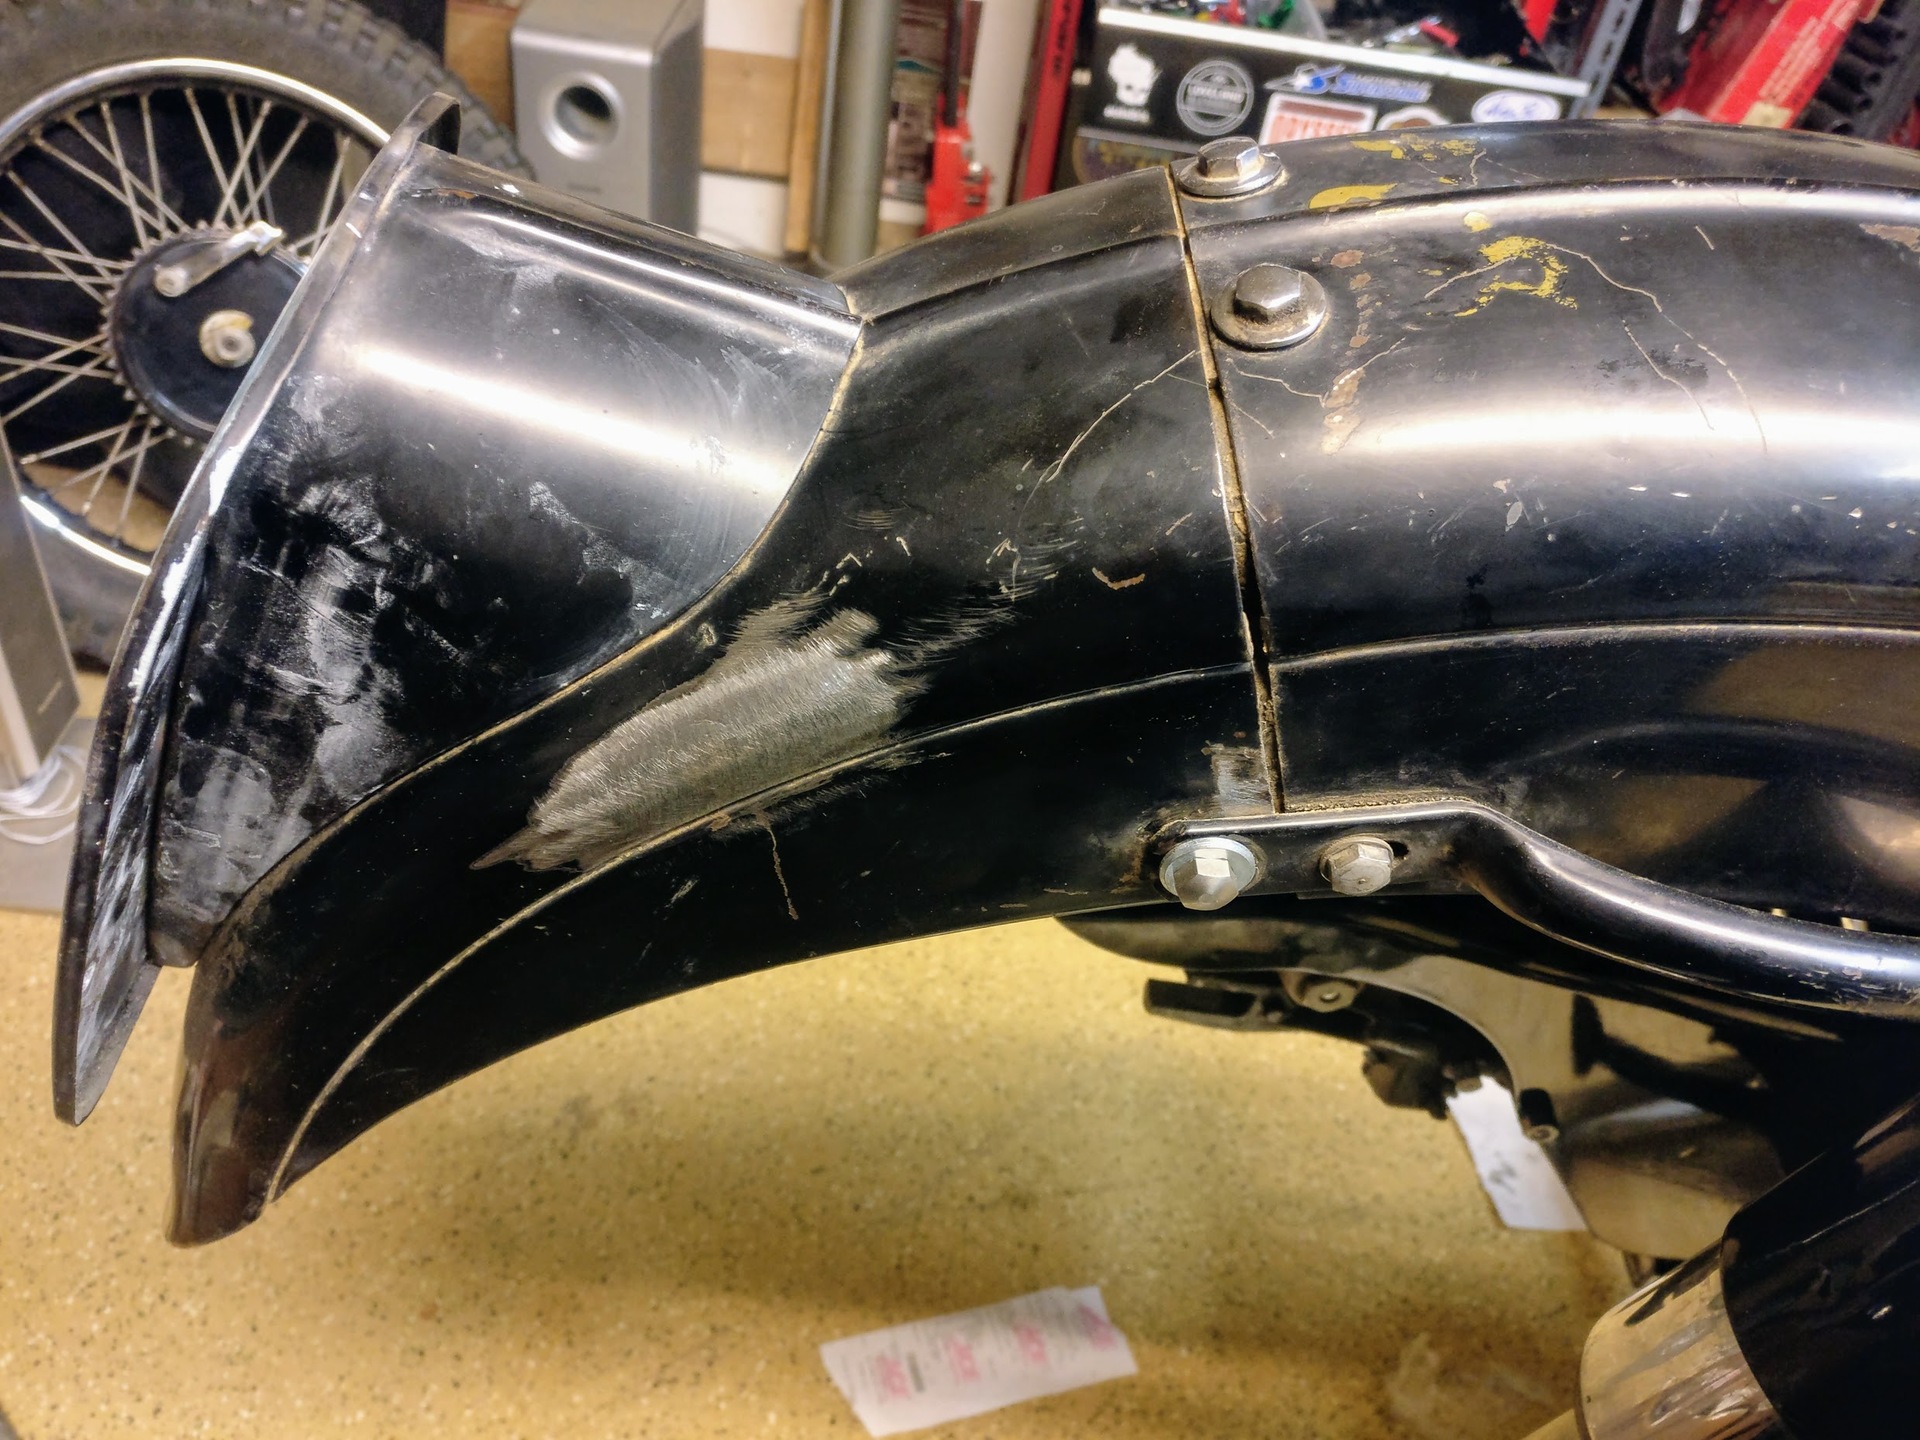
Also have to repaint the back of license plate holder, it was in bad shape and had to be cut off, worked back to it's original shape and welded back on to the bracket.
But it's coming together. I haven't decided what I'm going to do about the dent in the oil tank.