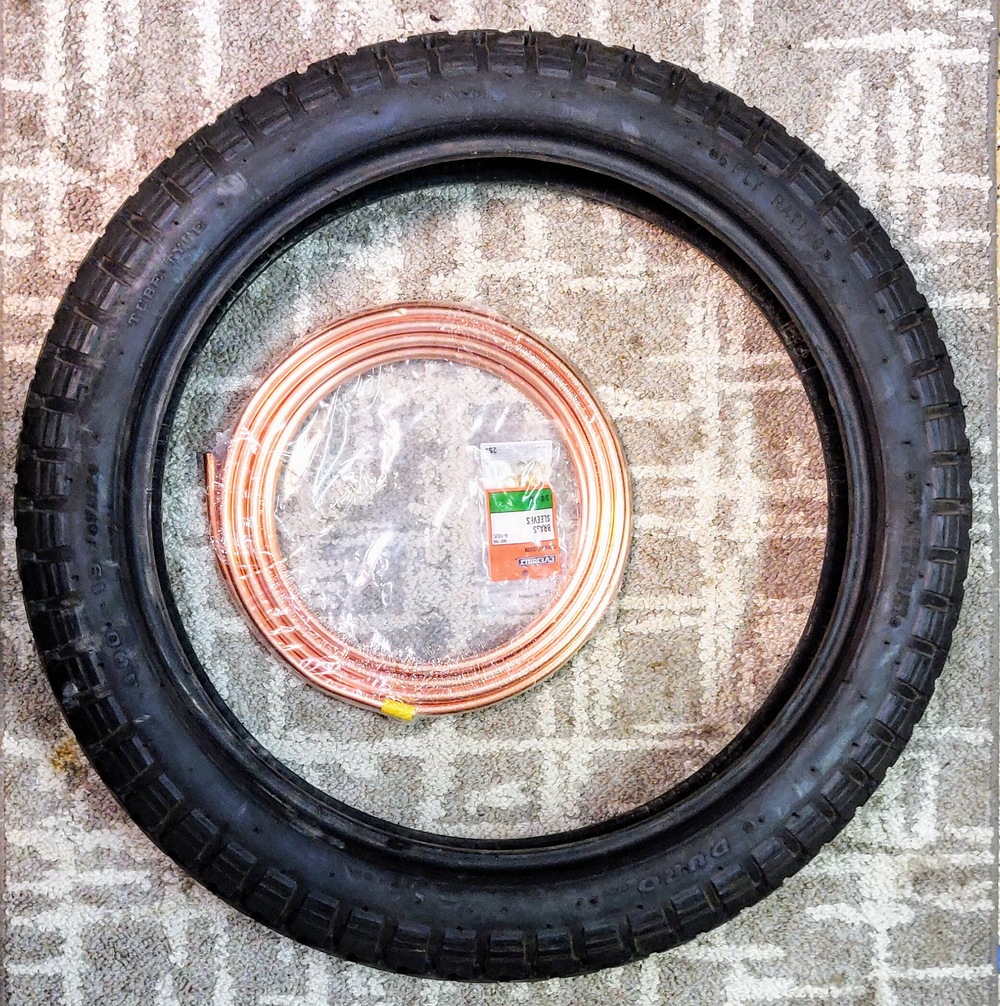
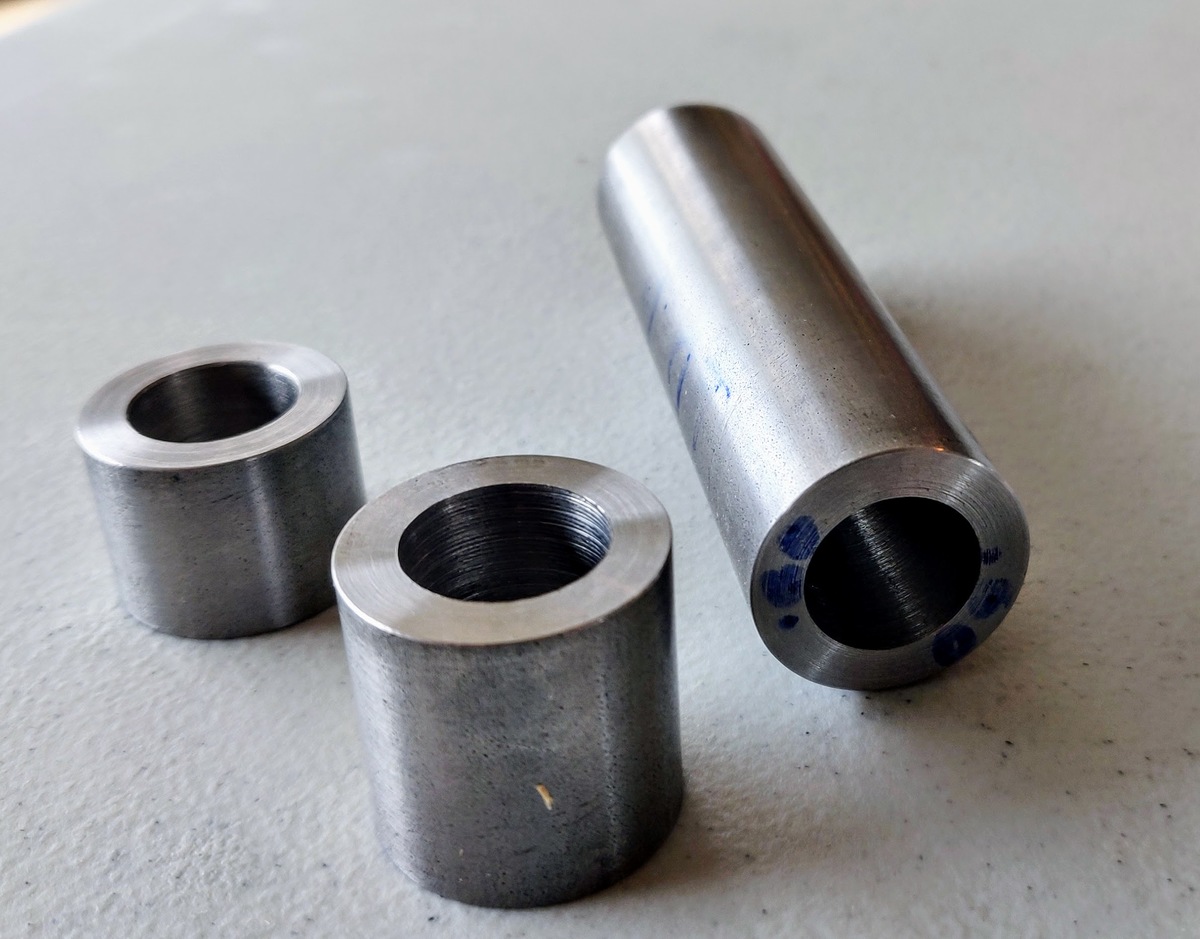
My machinist buddy also had these waiting for me today
So I spent a bit of time tonight doing this
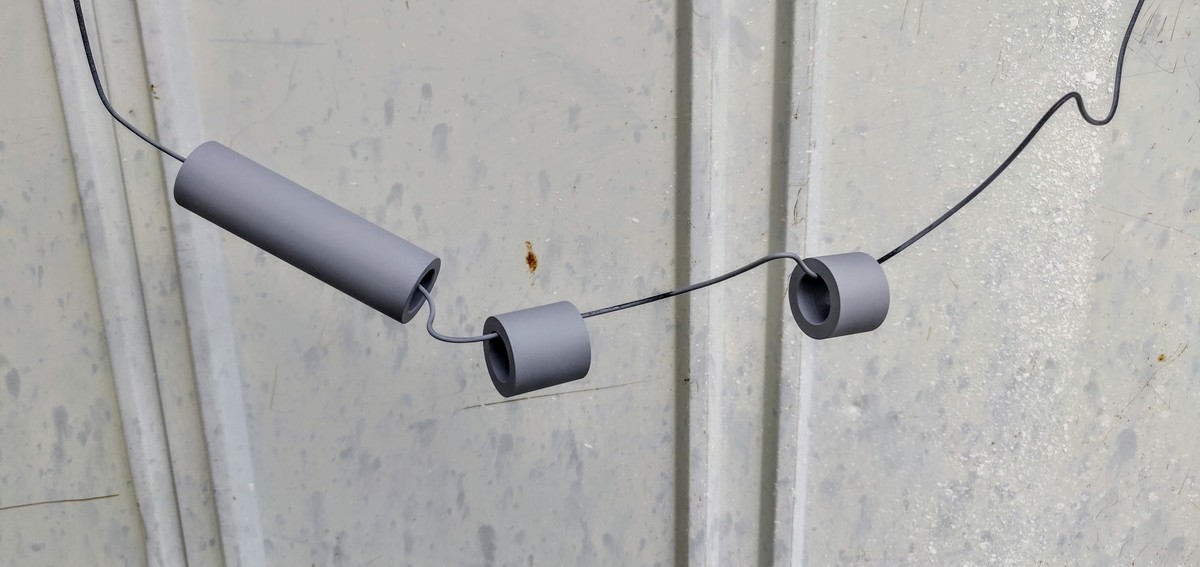
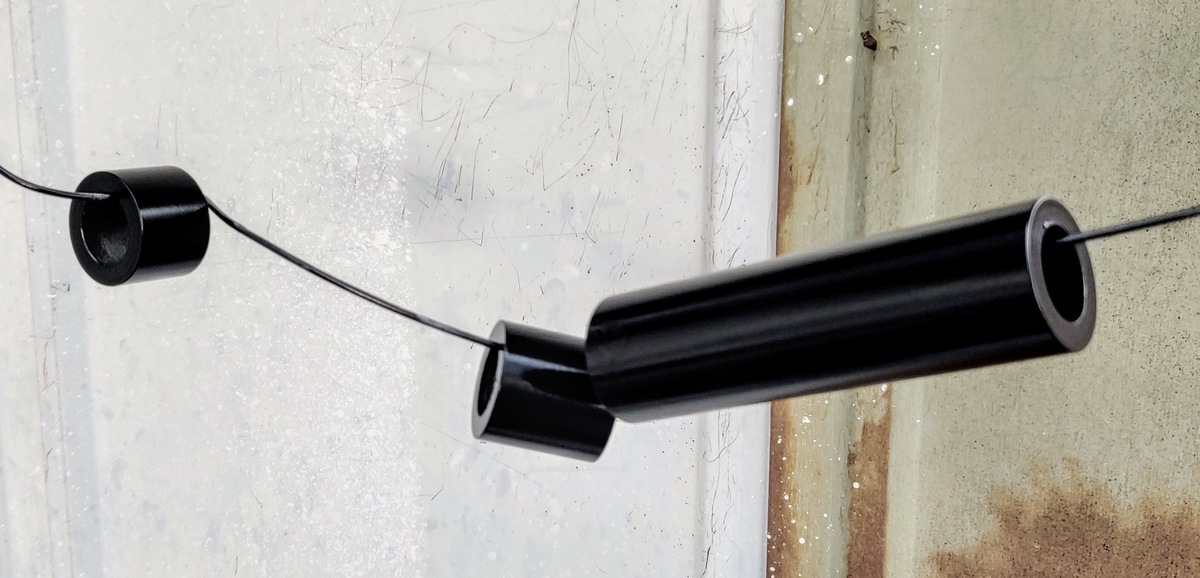
I'll do another coat in the morning then fit them to the bike.


Likewise Nev, done exactly the same on the cables of my Comps, nice little bracket and smooth cable run and operation.SPRIDDLER wrote:I'm not into correct or pretty, just practical.
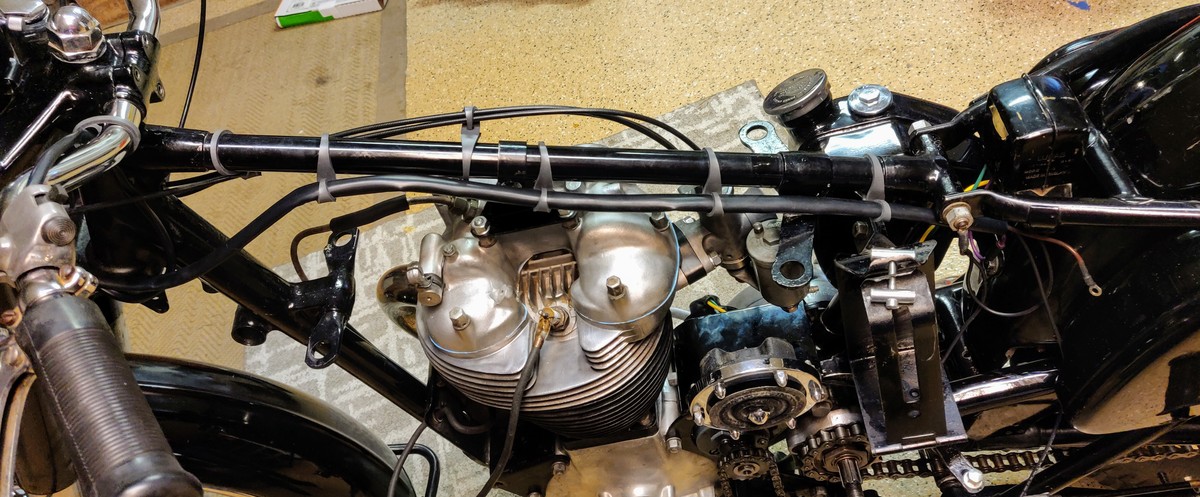
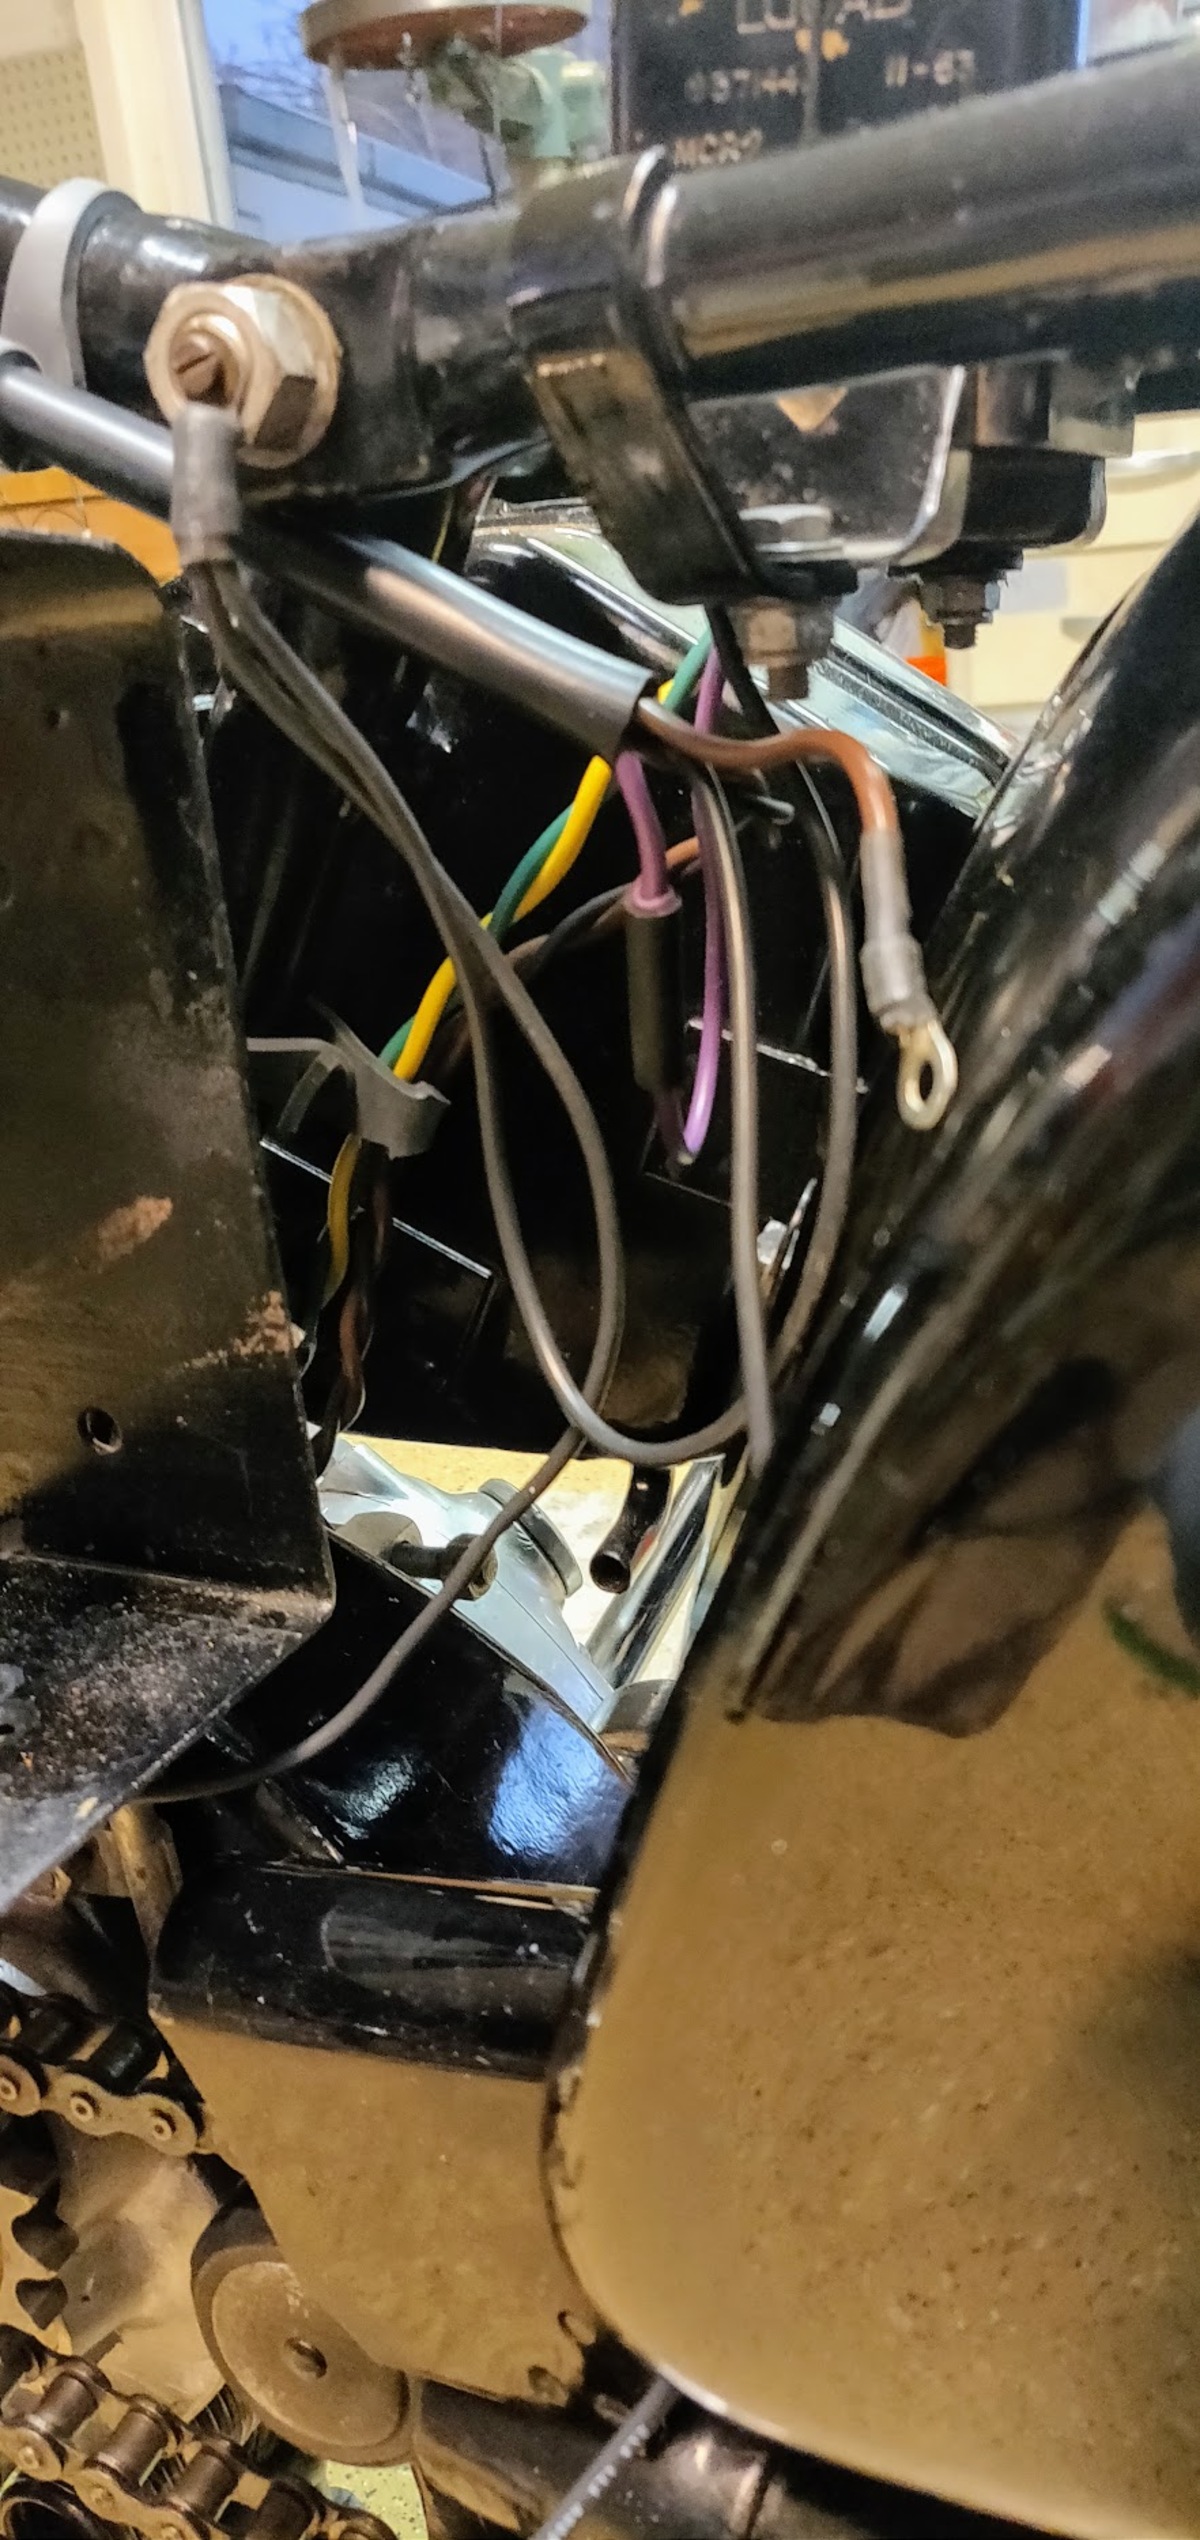
As Dick mentioned, best to leave cable ties loose so that you can pull a replacement cable through (at the roadside most likely) without removing the tank, by taping it to the broken one. To prevent them from slipping out of position each loose cable tie is held in place by another which is pulled tight to the frame tube.
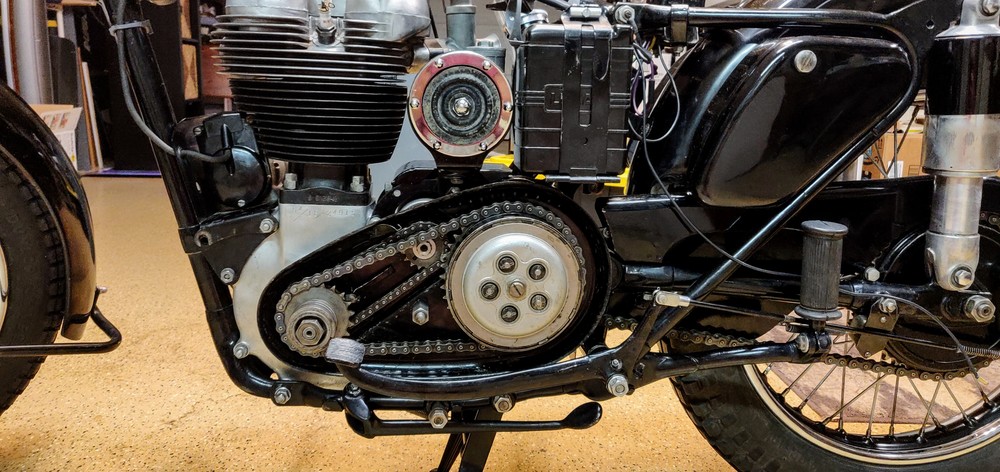
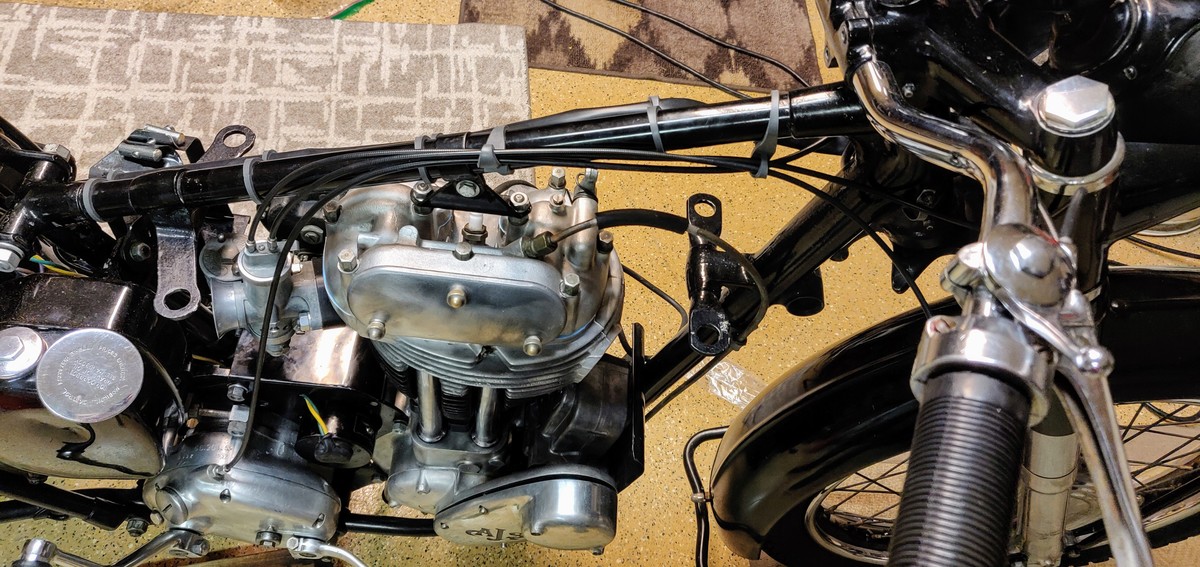
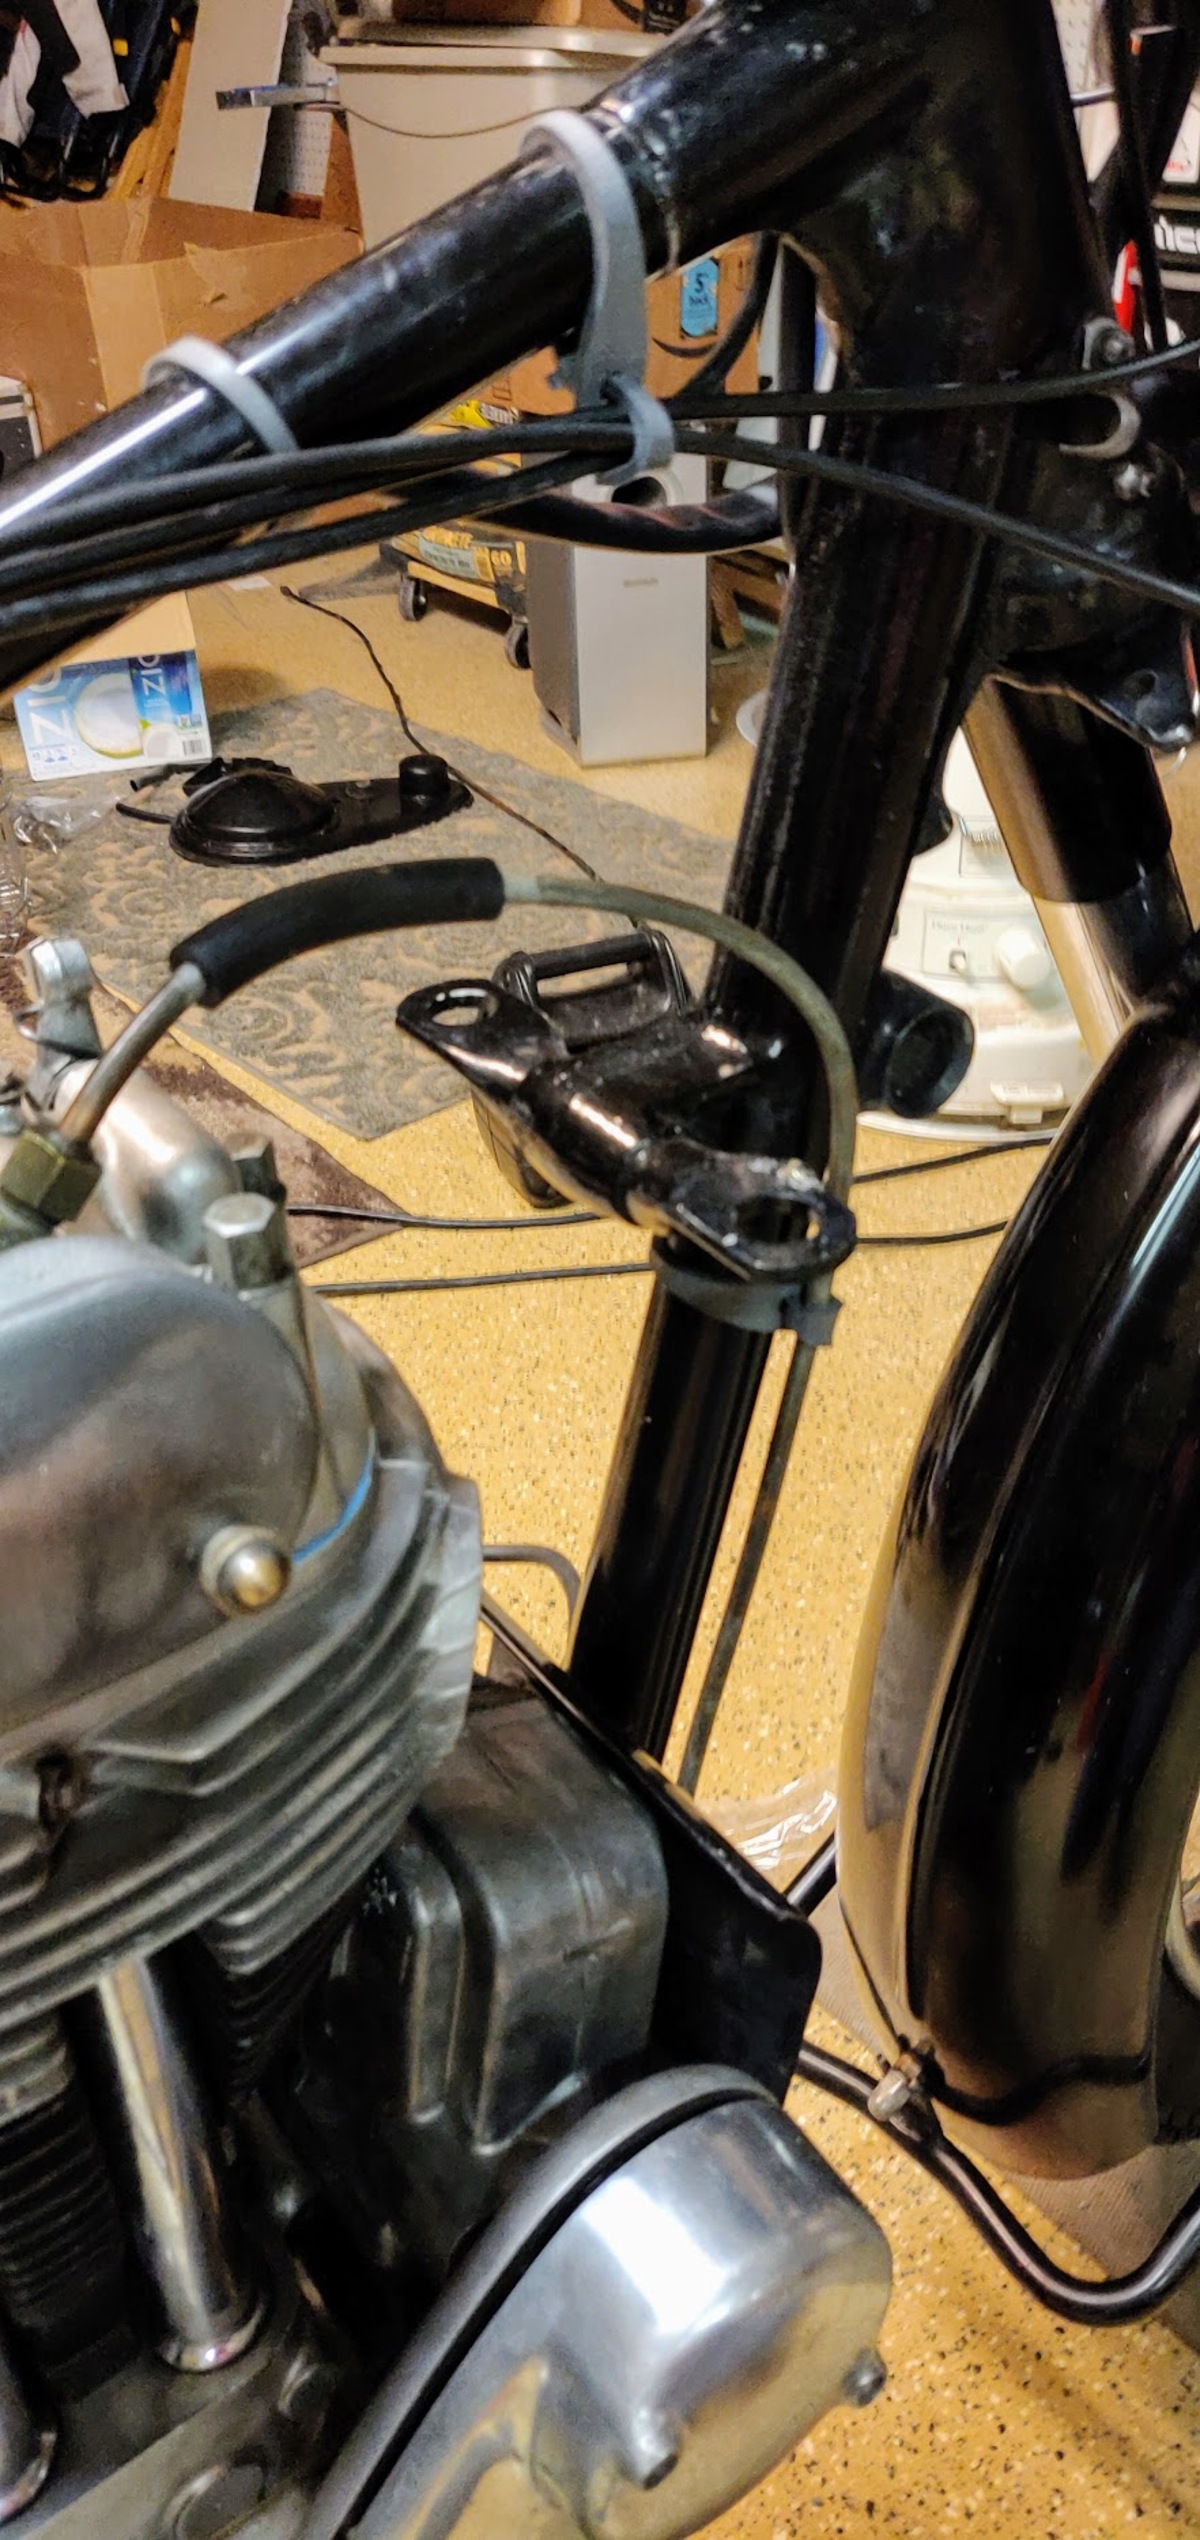
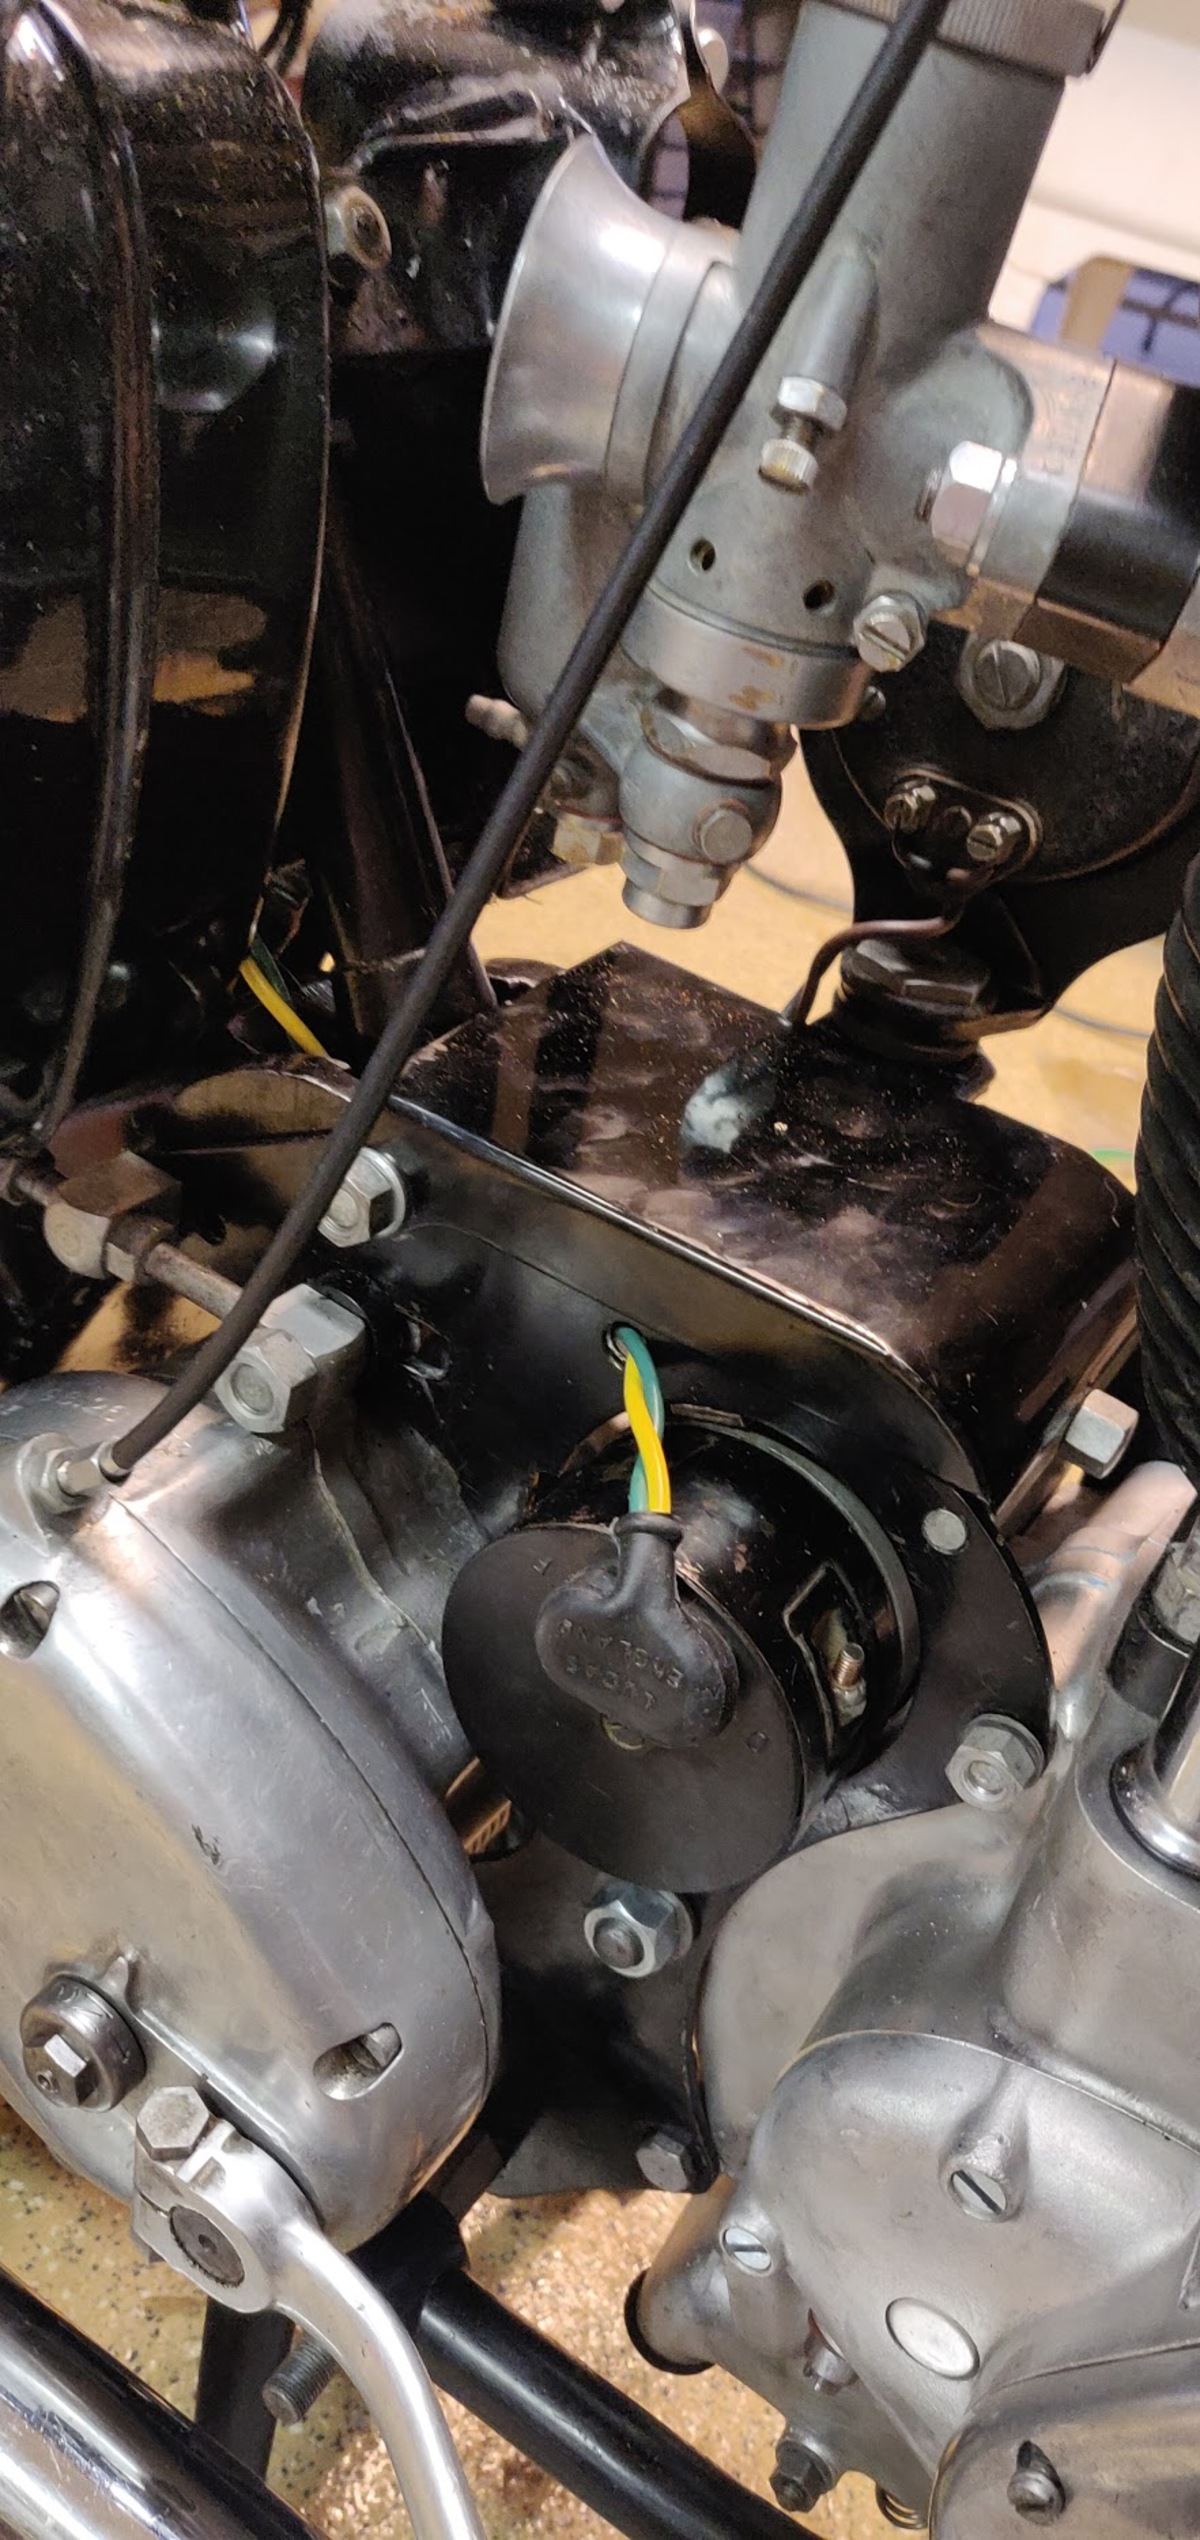
I have to operate the clutch with just my little and ring fingers so I've routed the cable outside everything with a small bracket on the acorn nut at the rocker inspection cover and which holds it away from the hot cyl head. The h/bar lever action is as light as a feather.
On the left, then you can decompress and operate the twistgrip at the same time. E.g. some like to turn the engine over a couple of times with the engine decompressed and the throttle open to get a fresh charge into the cylinder.cfaber wrote:Thanks for the advise guys, I'll reroute the cabling.
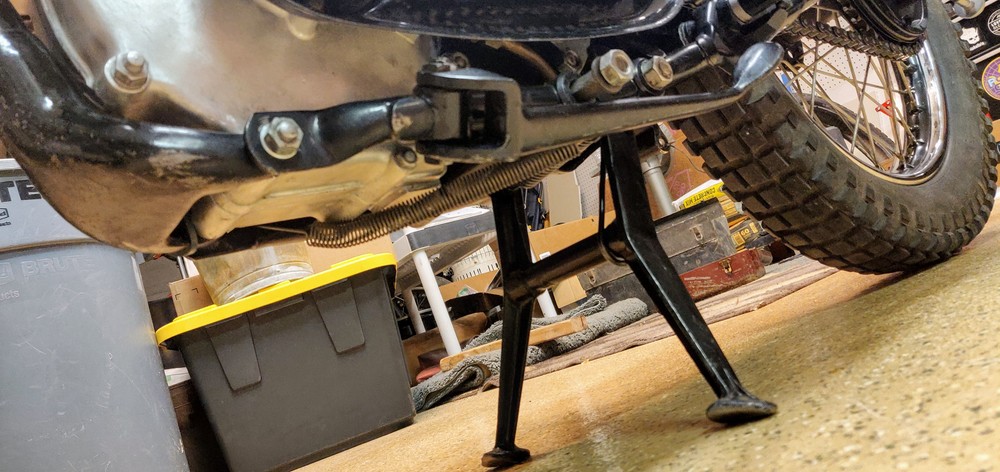
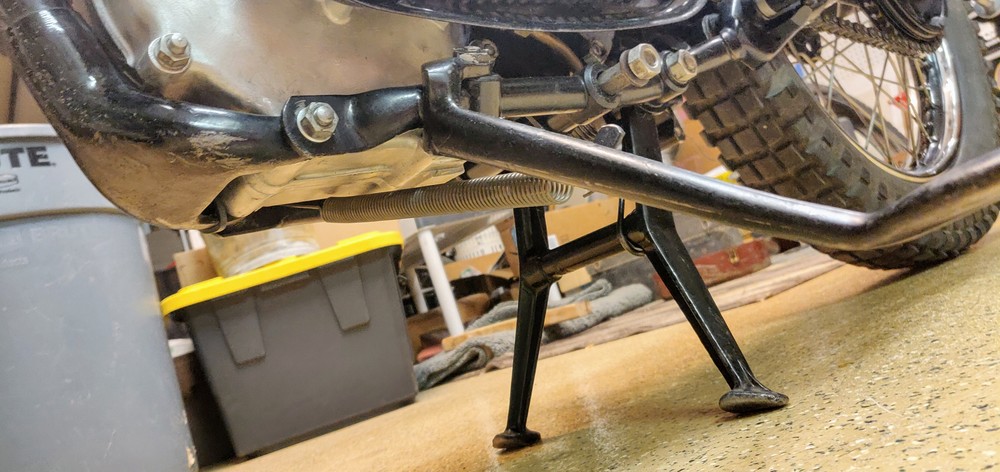
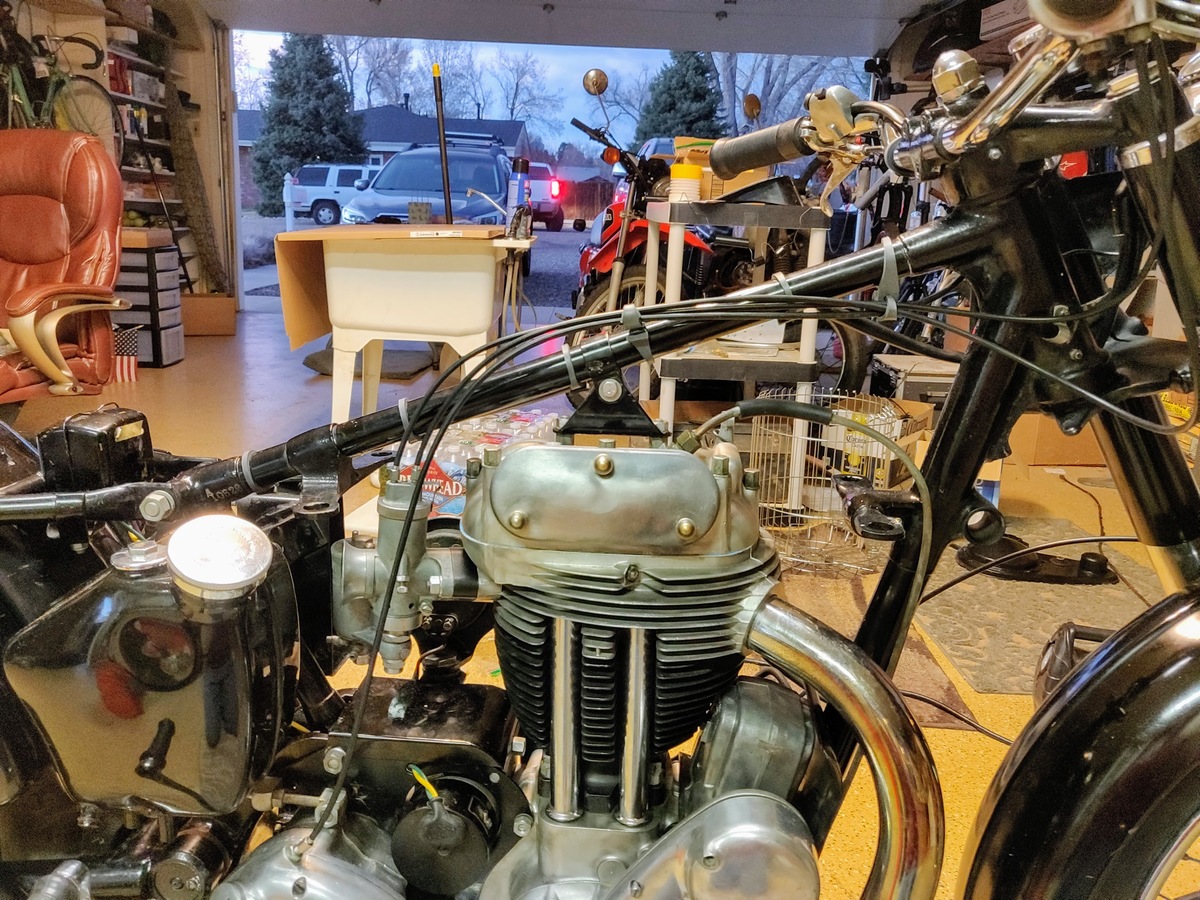
How about the decompression cable? Which side should the lever go on? It appears based on cable length it should be on the left side, however I've noticed that its a bit long and drags some because of the bend angle headed toward the engine.
Thanks, sounds like a great way to burn up valve seats =)SPRIDDLER wrote:On the left, then you can decompress and operate the twistgrip at the same time. E.g. some like to turn the engine over a couple of times with the engine decompressed and the throttle open to get a fresh charge into the cylinder.cfaber wrote:Thanks for the advise guys, I'll reroute the cabling.
How about the decompression cable? Which side should the lever go on? It appears based on cable length it should be on the left side, however I've noticed that its a bit long and drags some because of the bend angle headed toward the engine.
(Some do it out of devilment at rally siesta time since if the engine fires with the valve lifted you can get a very satisfying mighty bang!)