Page 4 of 15
Re: My new restoration project
Posted: Sat Dec 30, 2017 11:55 am
by dave16mct
Hi Colin,
love the photos, thanks for posting them. What fluid are you using in your Ultra Sonic cleaner? I use tap water with a squirt of washing up liquid in mine.
Cheers, Dave.
Re: My new restoration project
Posted: Sat Dec 30, 2017 8:10 pm
by cfaber
For dirt / grime removal just tap water and a bit of dish soap (non-chlorinated). For the bright work, I replace the solution with half a teaspoon of washing soda (baked baking soda) and distilled water. I add a small bit of aluminum sheet to the cleaner so that the harder metals being cleaned have something to steal electrons from and that leaves everything nice a bright. I also use a few grades of wire brush (nylon, brass and steel) to get the extra hard stuff off.
One thing not noted here was when I reinstalled the mixing chamber core, I left it in the freezer for about half an hour to get nice and cold, then I warmed up the entire mixing body (which was bear) with a heat gun, got it nice and warm and then the two pieces slid together without any effort, once they equalized temperature, it was nice and tight and correctly aligned.
Re: My new restoration project
Posted: Sun Dec 31, 2017 2:59 am
by cfaber
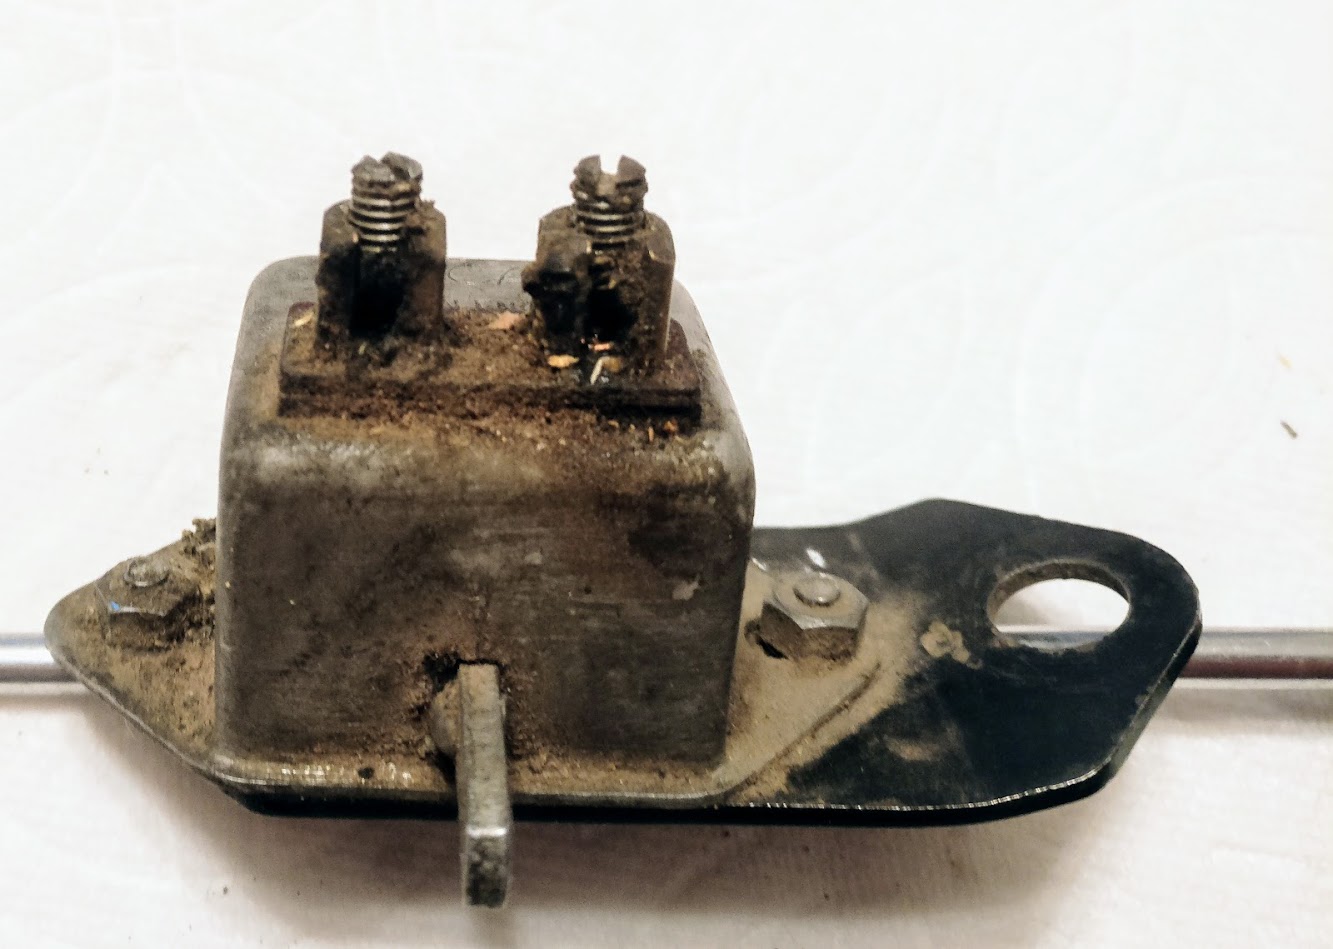
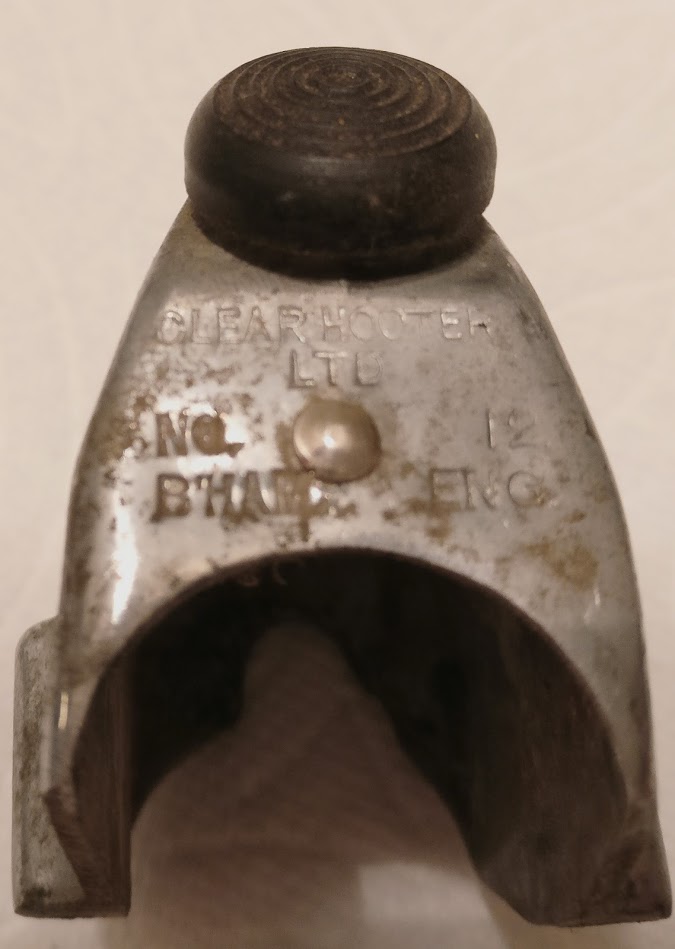
Had some more free time today so I decided to fix the clearhooters dipper / horn switch which came with my bike, Sadly, I didn't think to snap a picture of it right before, but there's probably some photo of it on one of the bike pictures, oh well

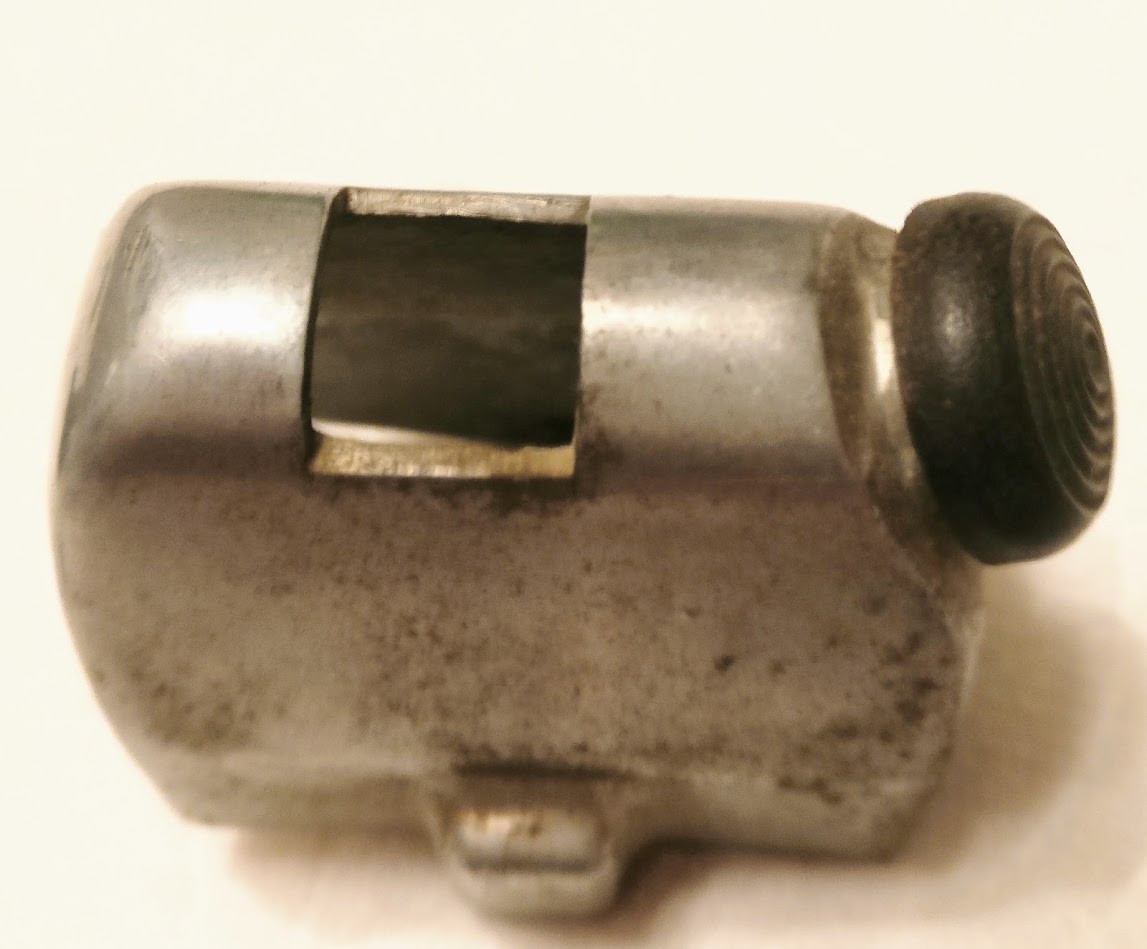
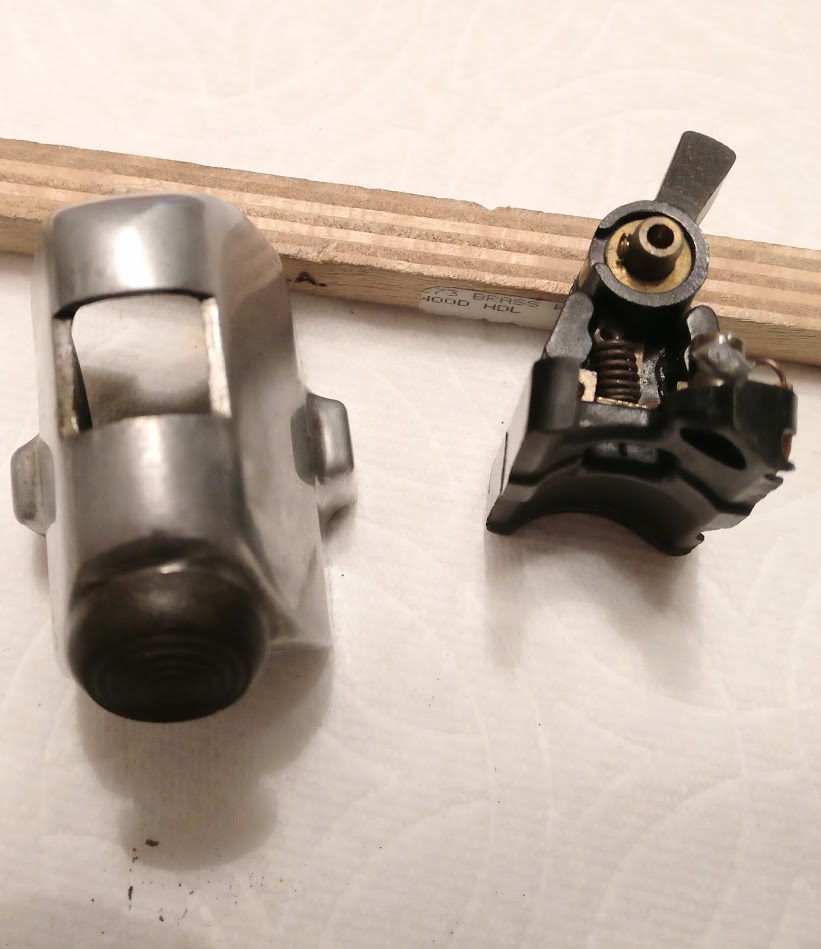
Anyways, this is what I started with, oil, rust, dirt, and broken baktelite, the outer shell wasn't too bad, and the switches themselves were in good shape
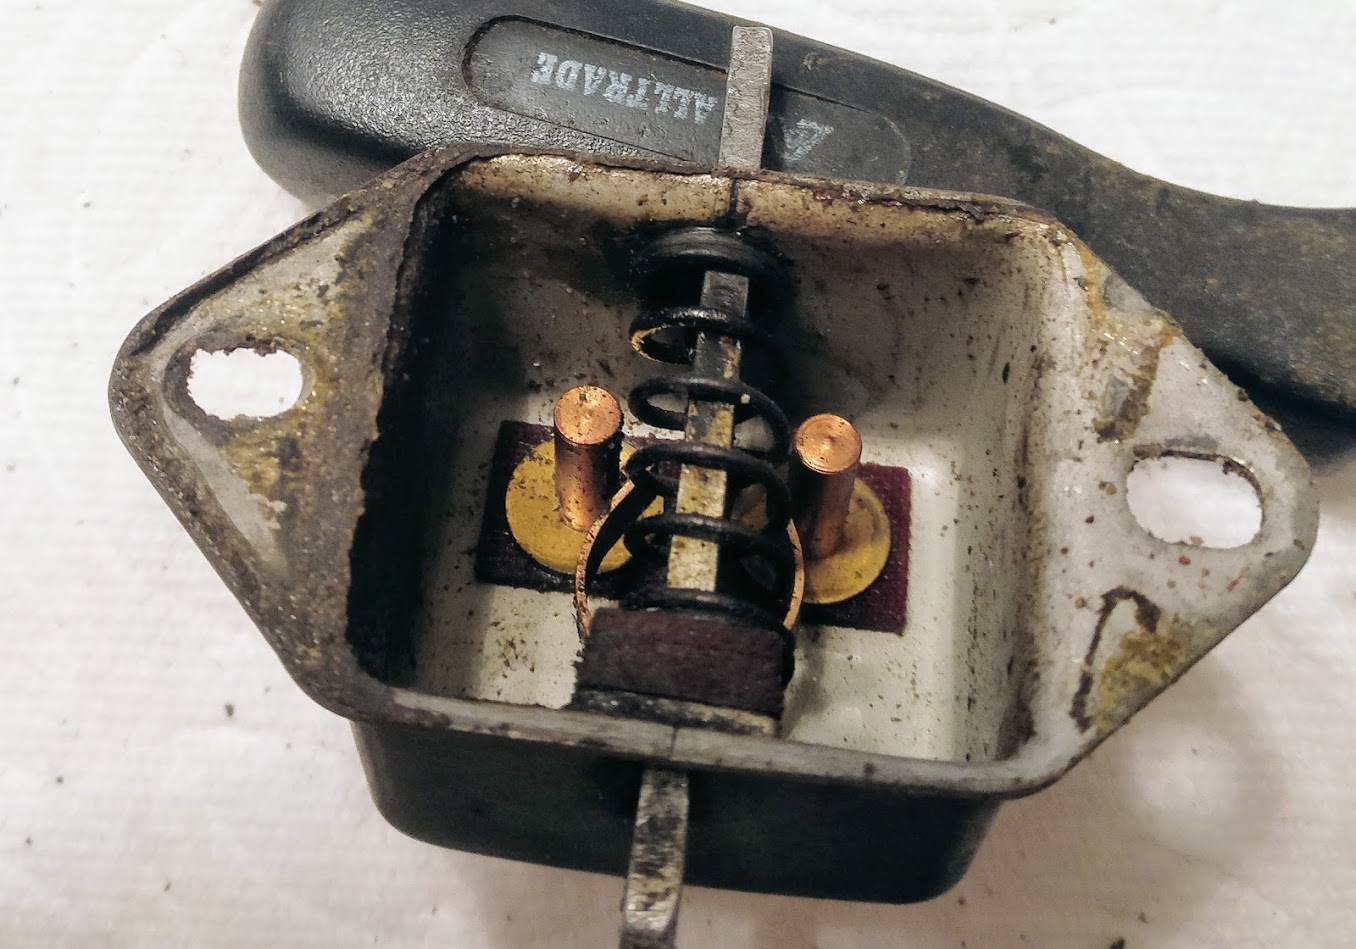
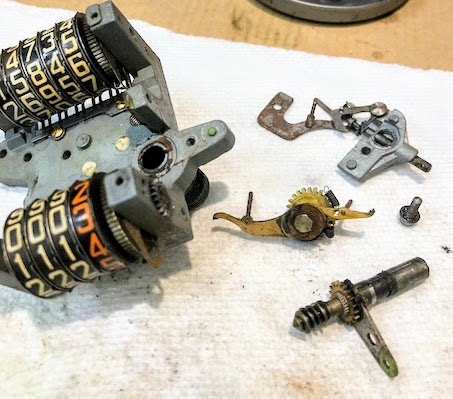
The inner core was a different story
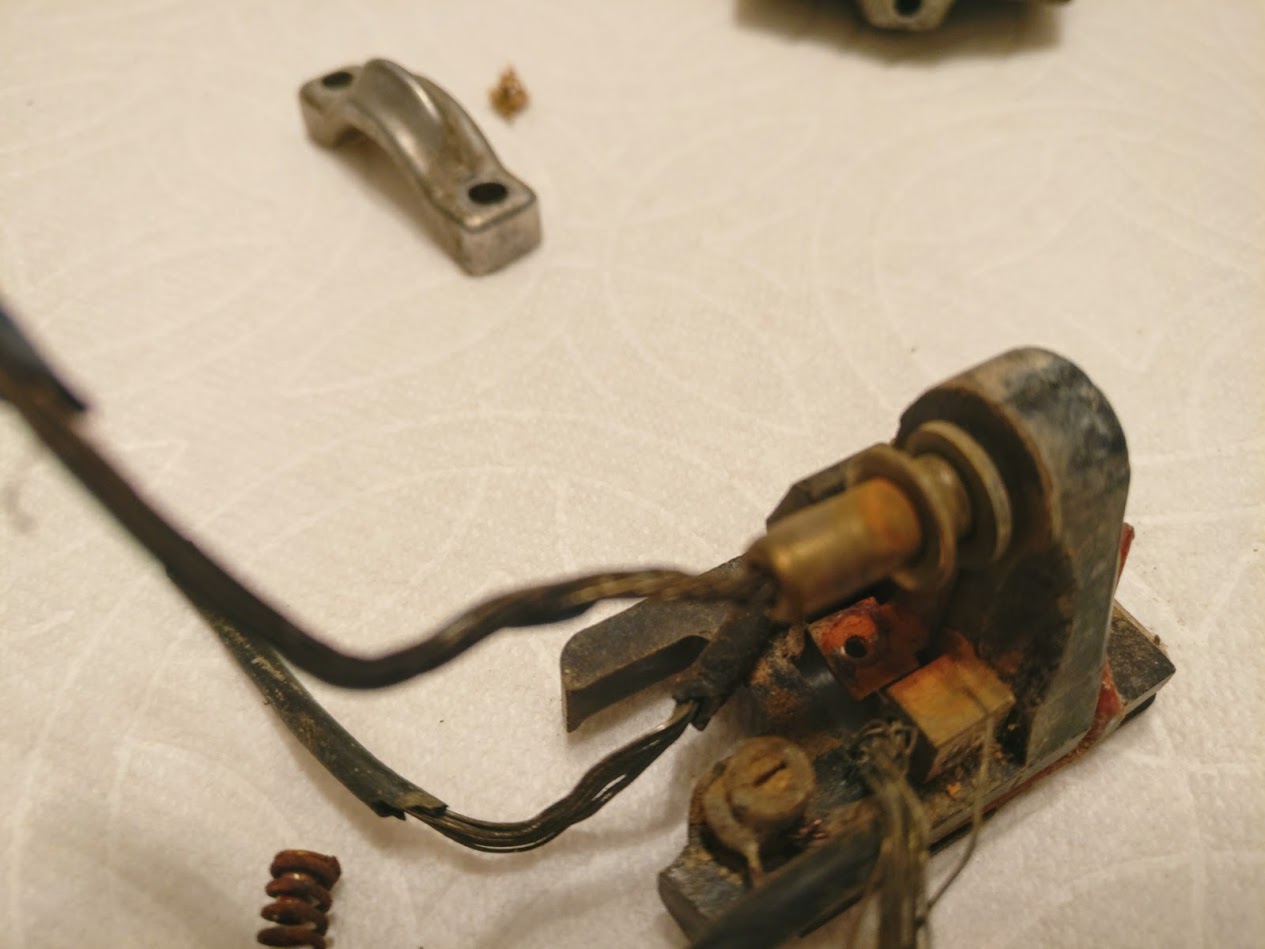
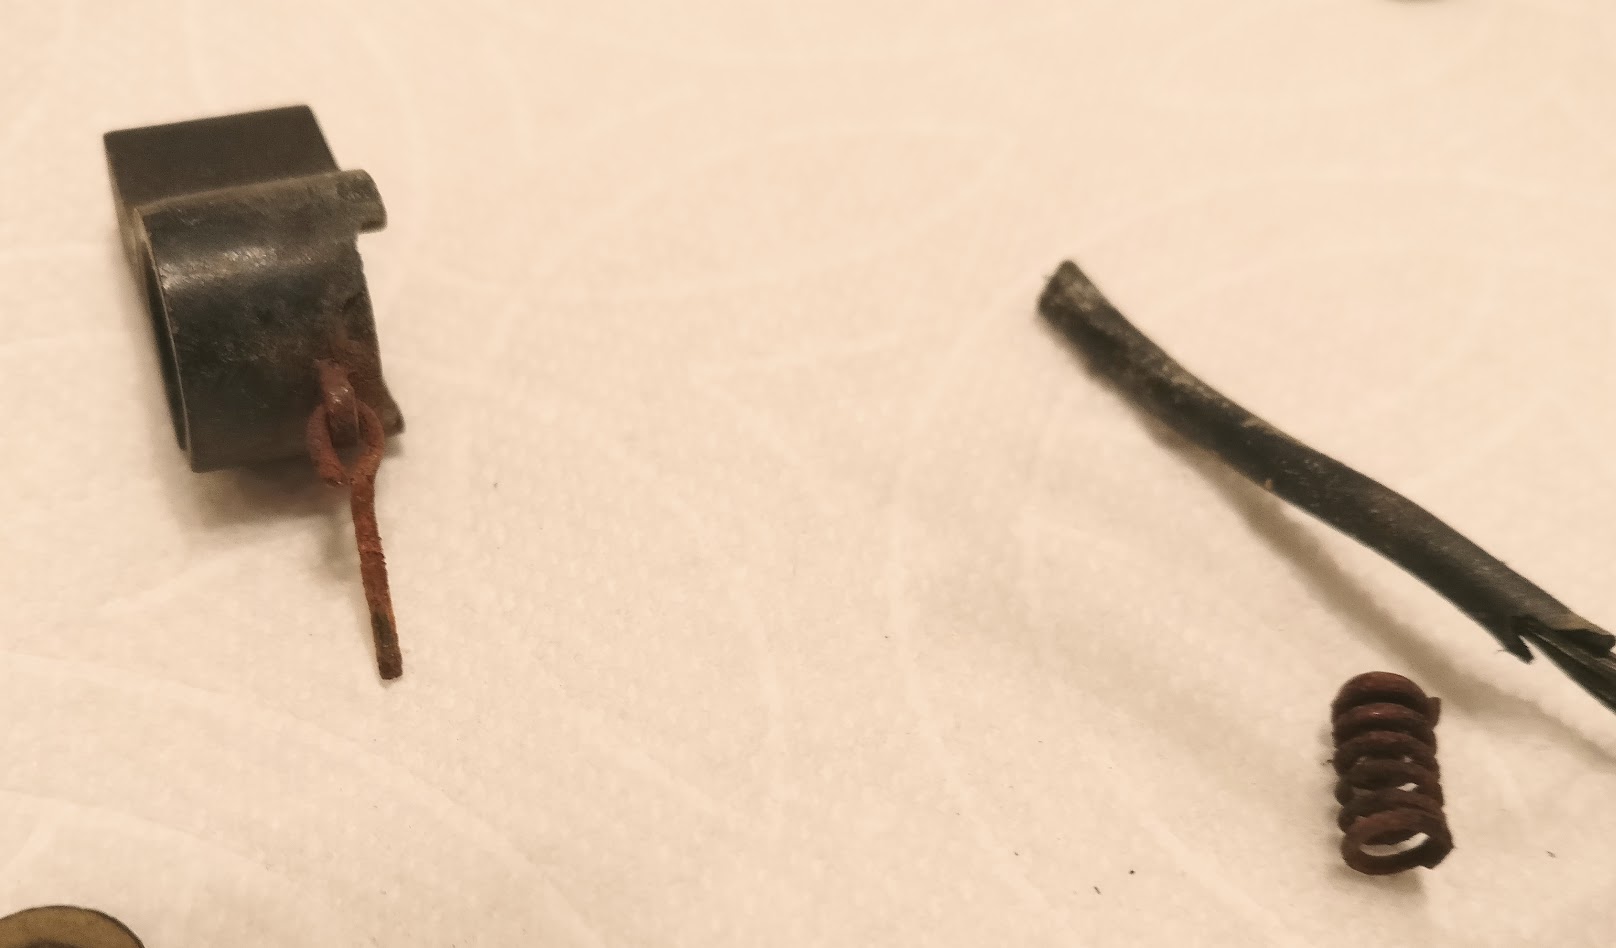
The toggle mechanism on the dipper switch was pretty hard up with a rusty spring, and rusty linkage
So I made this
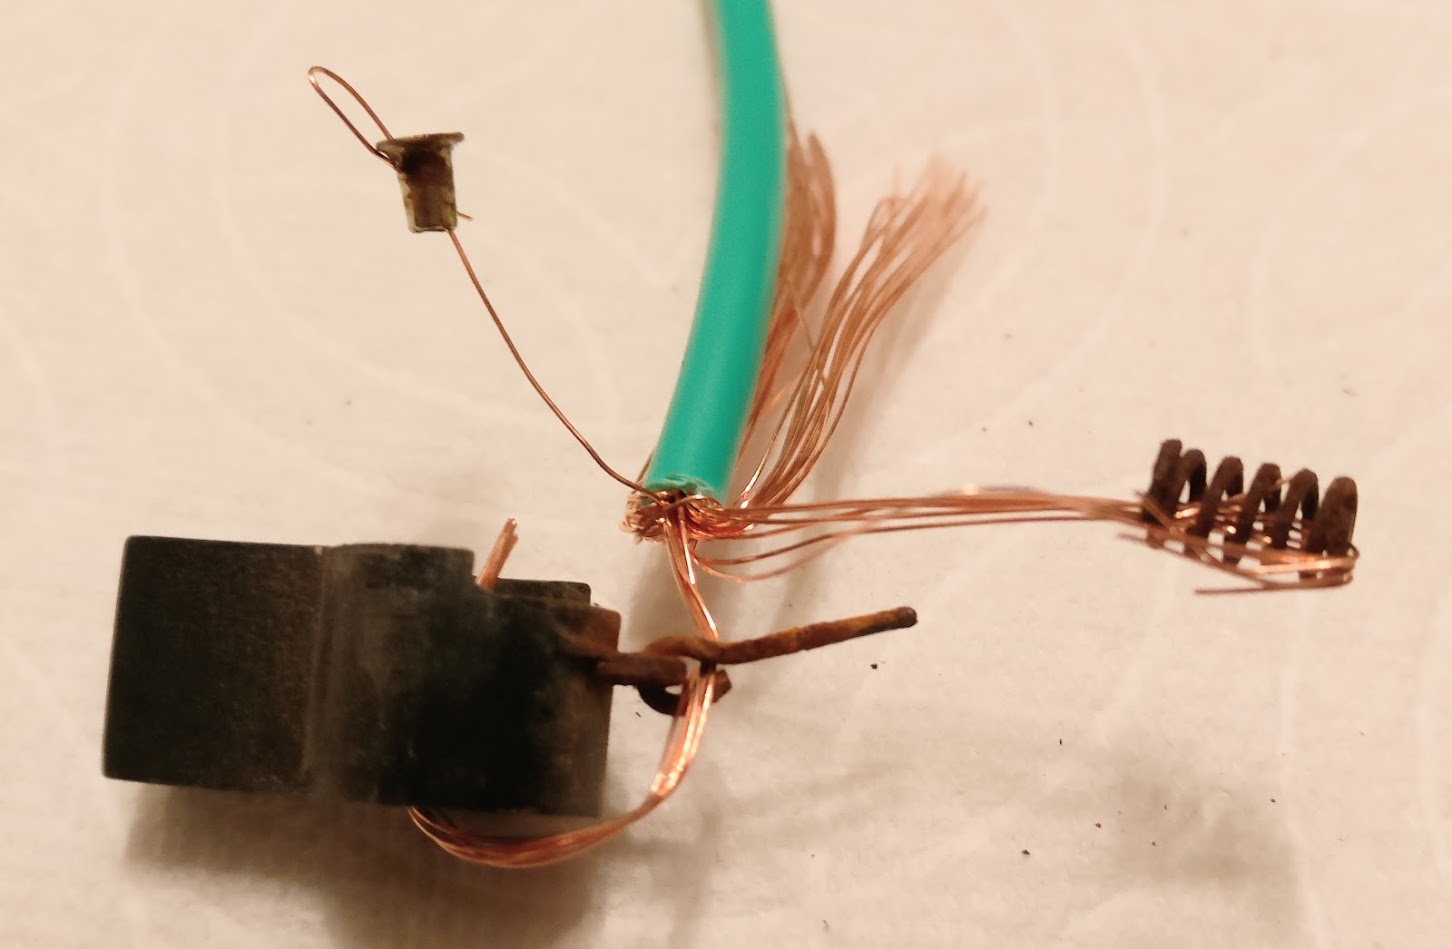
Pretty, right?
And then I applied my favorite tool, chemistry
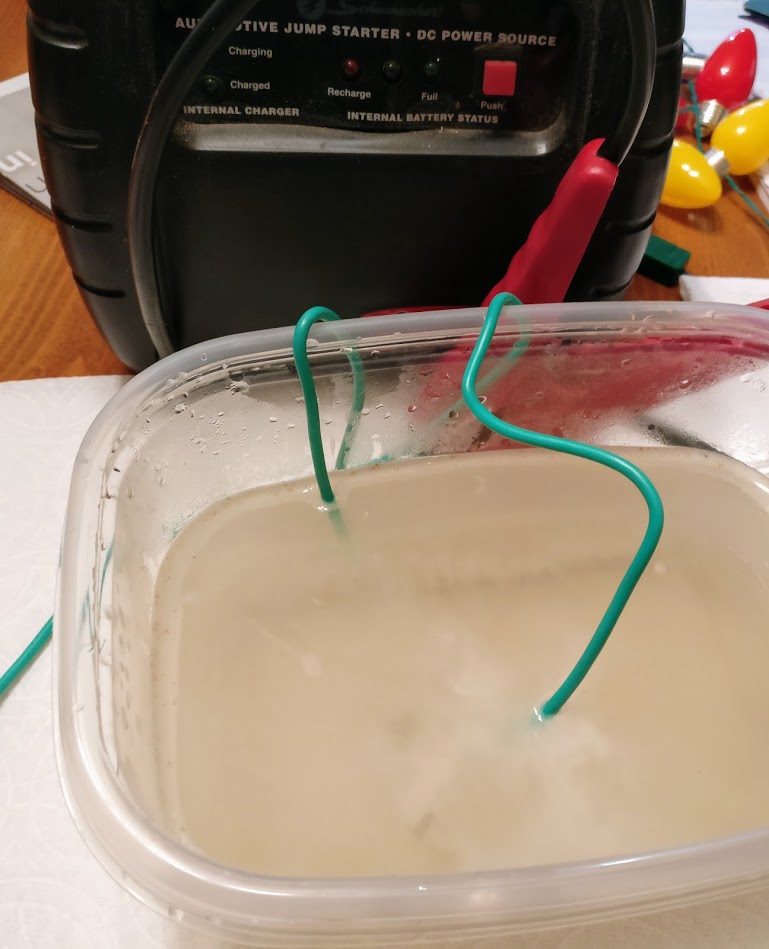
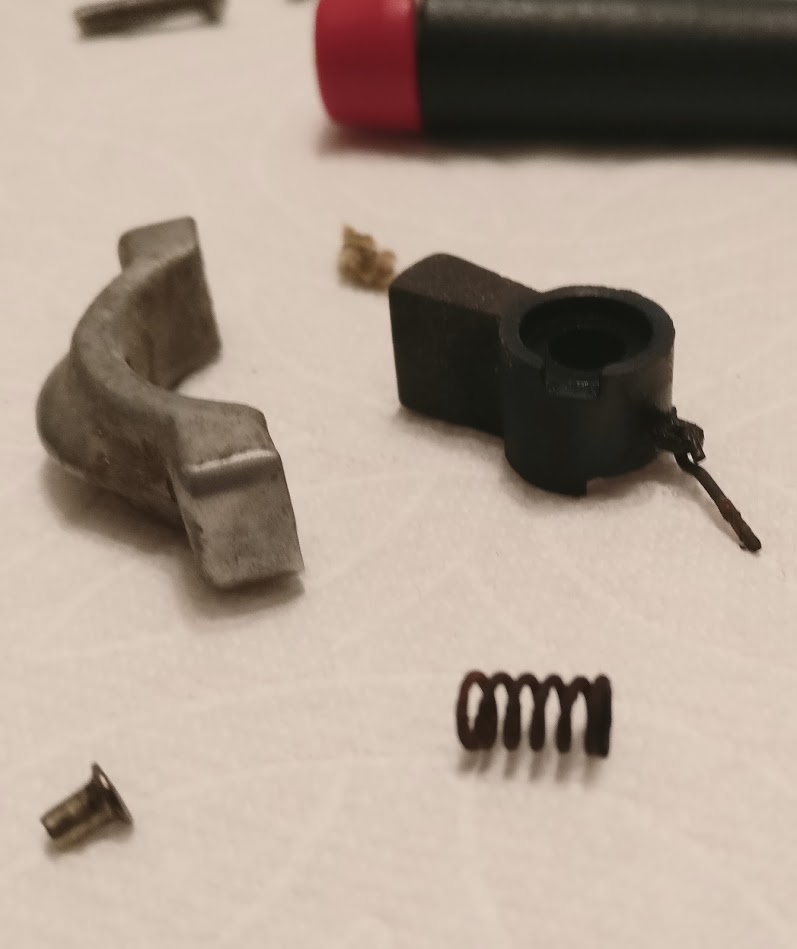
Within minutes the rust was gone, leaving only black iron
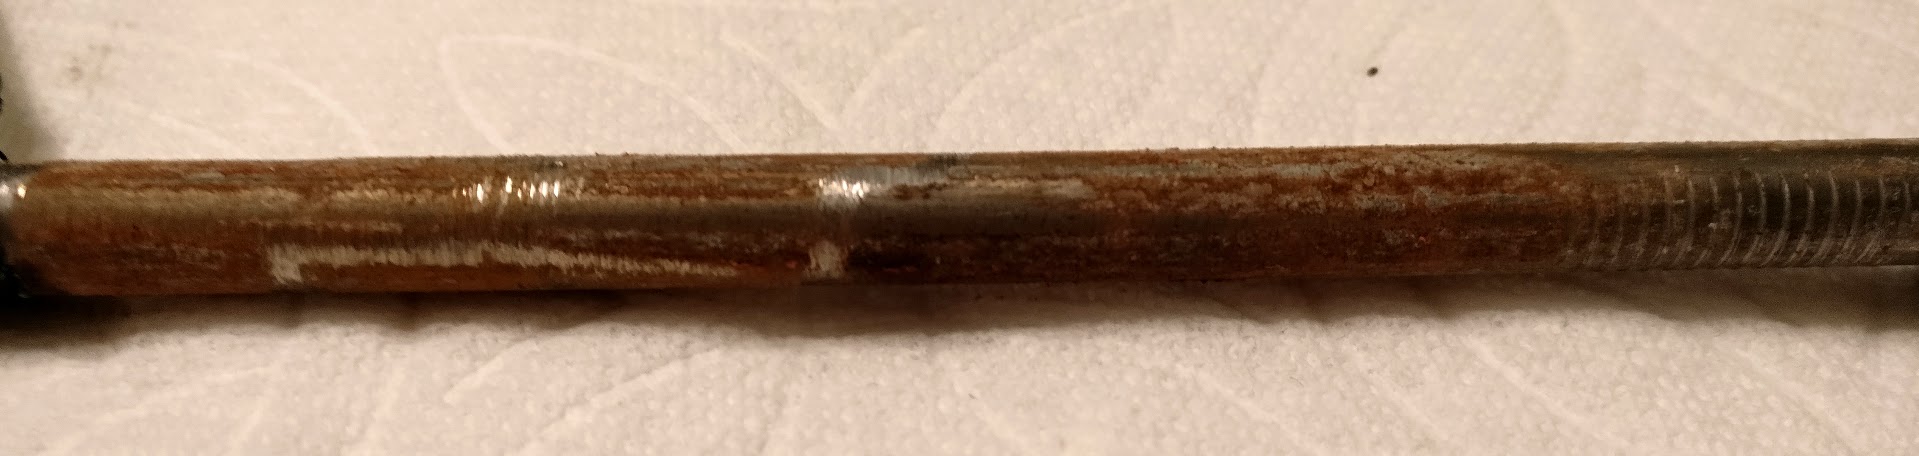
The rust was deposited on the donor metal:
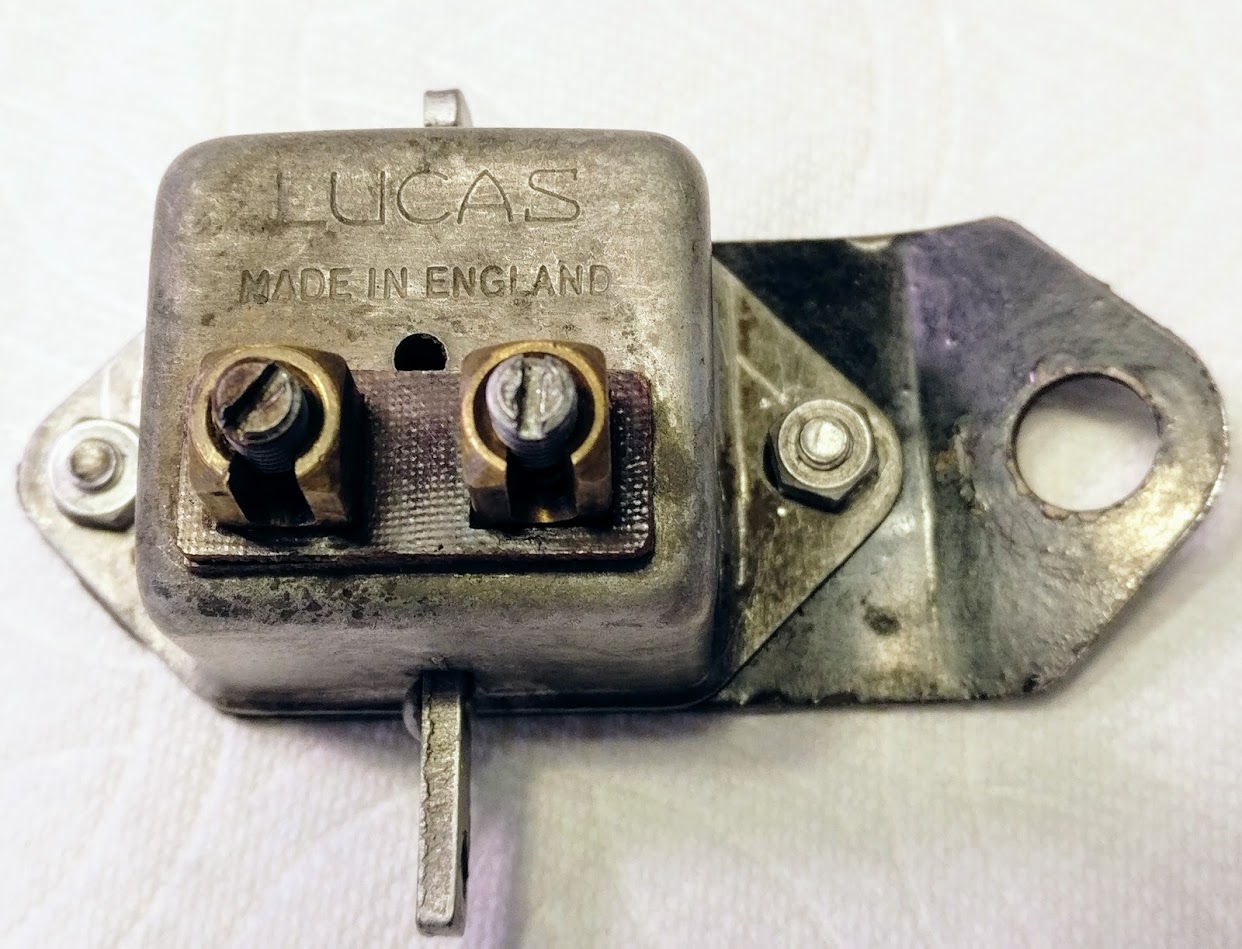
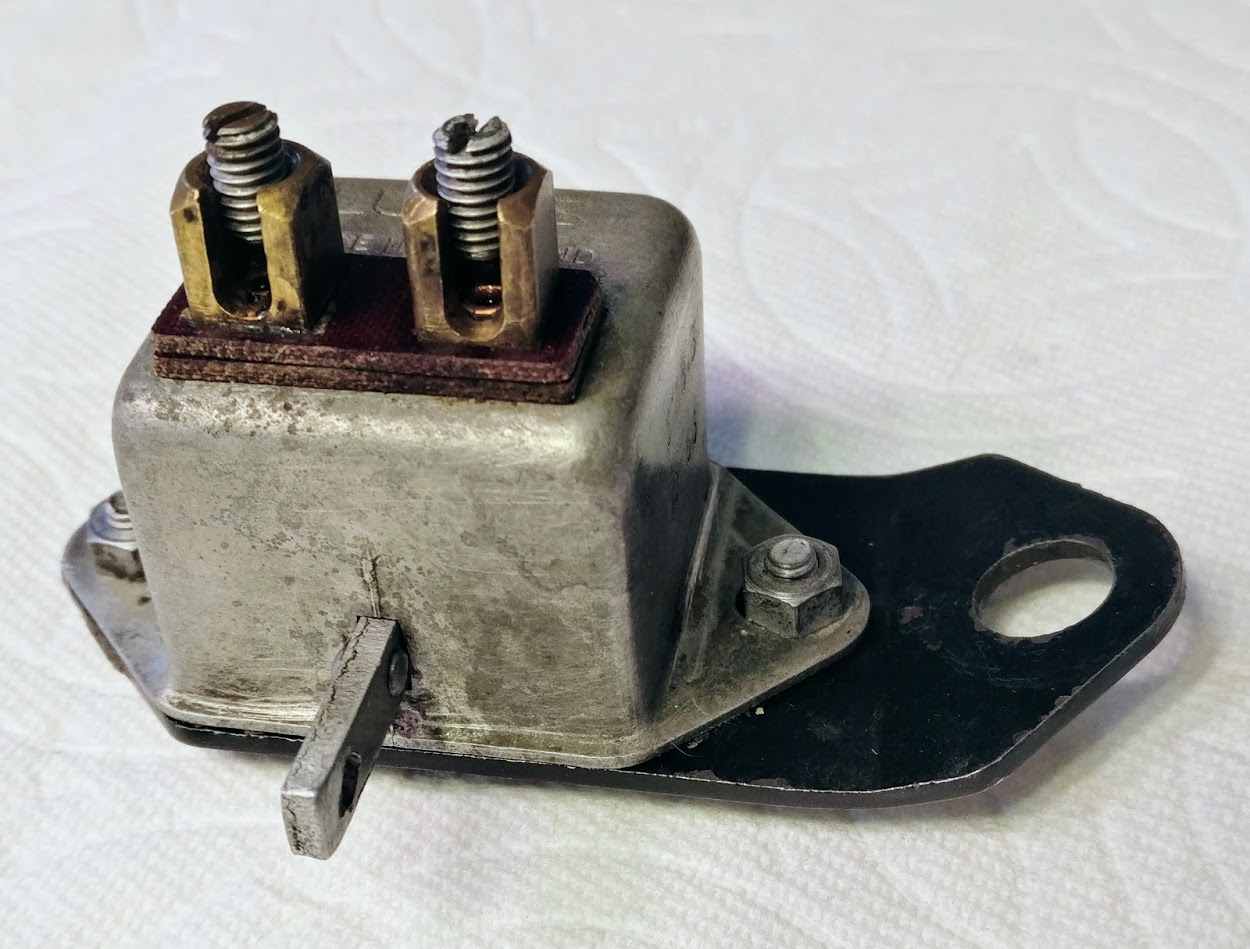
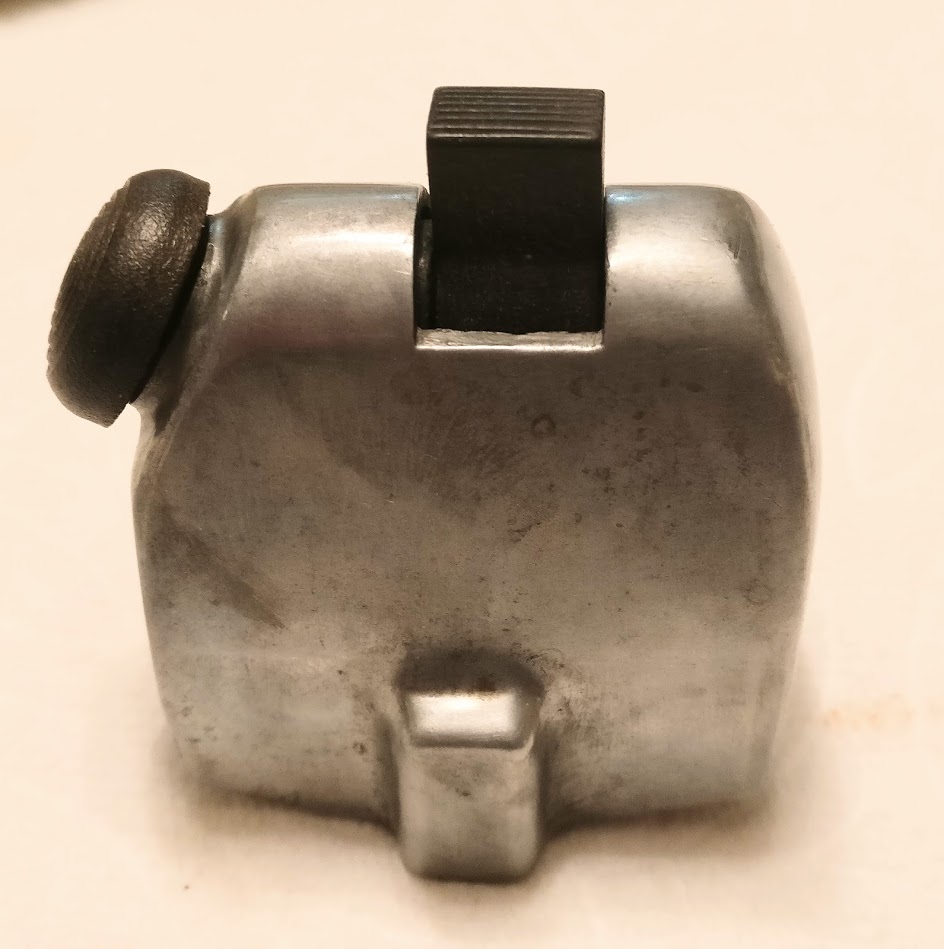
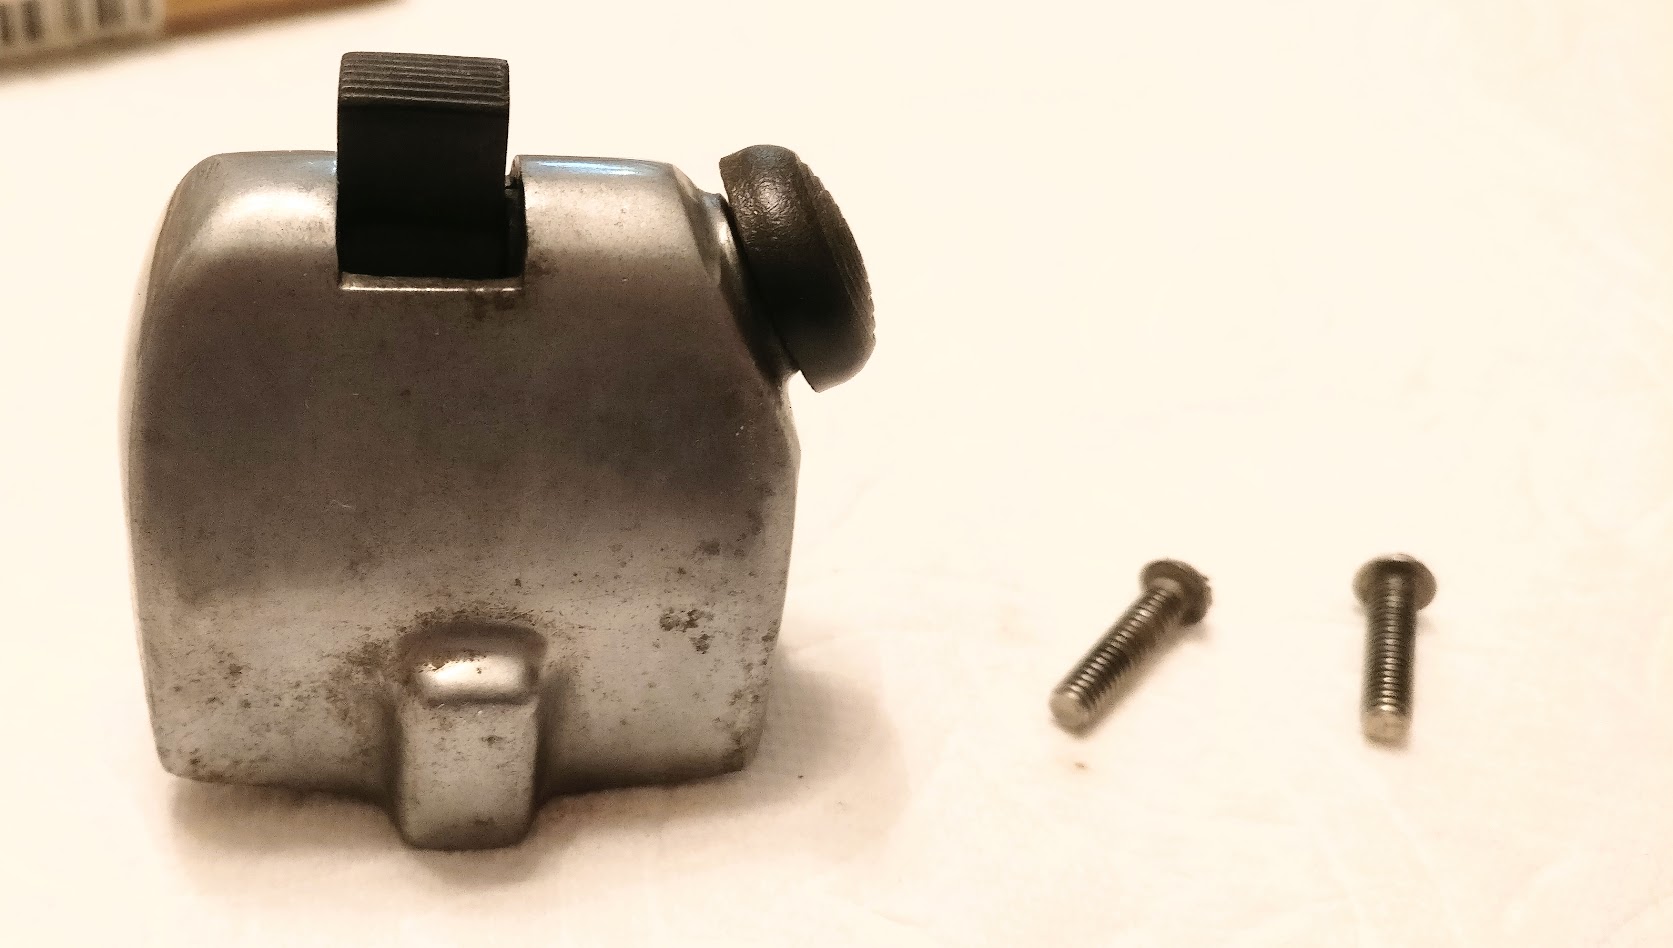
And the end result after a bit degreasing, brass brushing, and glue
Re: My new restoration project
Posted: Sun Dec 31, 2017 10:16 am
by StephenG80
whilst a small part of the overall restoration I bet it was very satisfying restoring that switch - its the little things

-thanks for posting.
Re: My new restoration project
Posted: Sun Dec 31, 2017 2:50 pm
by JimFitz
cfaber wrote:
And then I applied my favorite tool, chemistry
Within minutes the rust was gone, leaving only black iron
The rust was deposited on the donor metal:
Hmmm....... impressive!
What did you use as an electrolyte and what is the polarity?
I can see that one wire is connected to the parts - is the other wire just stripped off and dunked in the tank?
Jim
Re: My new restoration project
Posted: Sun Dec 31, 2017 7:21 pm
by cfaber
Hi Jim,
I use a washing soda in distilled water solution with a 12v battery supplying the speed up. The anode is a large iron nail (positive) and the parts themselves make up the the cathode (negative)
Re: My new restoration project
Posted: Sun Dec 31, 2017 10:16 pm
by JimFitz
Thanks I will give it a try
Jim
Re: My new restoration project
Posted: Tue Jan 02, 2018 8:19 pm
by cfaber
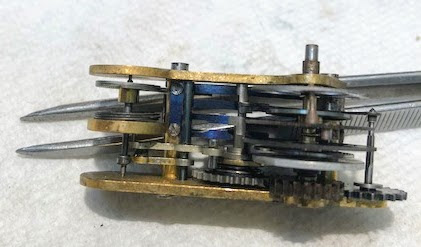
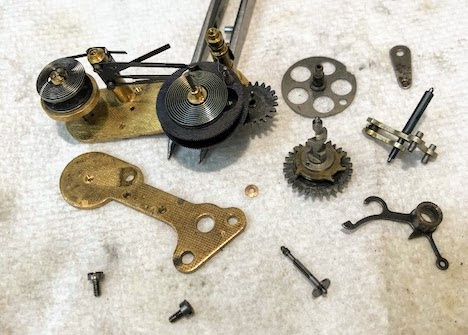
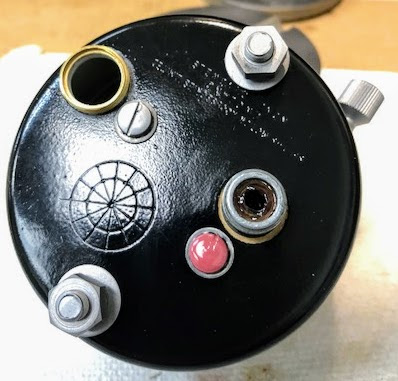
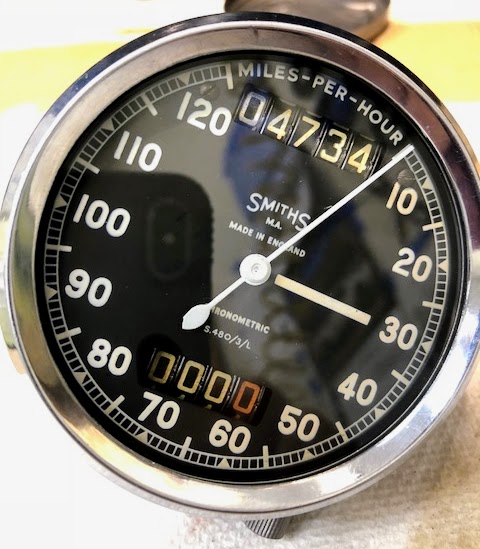
Re: My new restoration project (with lots of pictures)
Posted: Tue Jan 09, 2018 7:03 am
by cfaber
Re: My new restoration project (with lots of pictures)
Posted: Tue Jan 09, 2018 6:56 pm
by StephenG80
looks like a good job!