Page 9 of 15
Re: 1954 18S preservation project (with lots of pictures)
Posted: Sun Apr 07, 2019 6:22 am
by cfaber
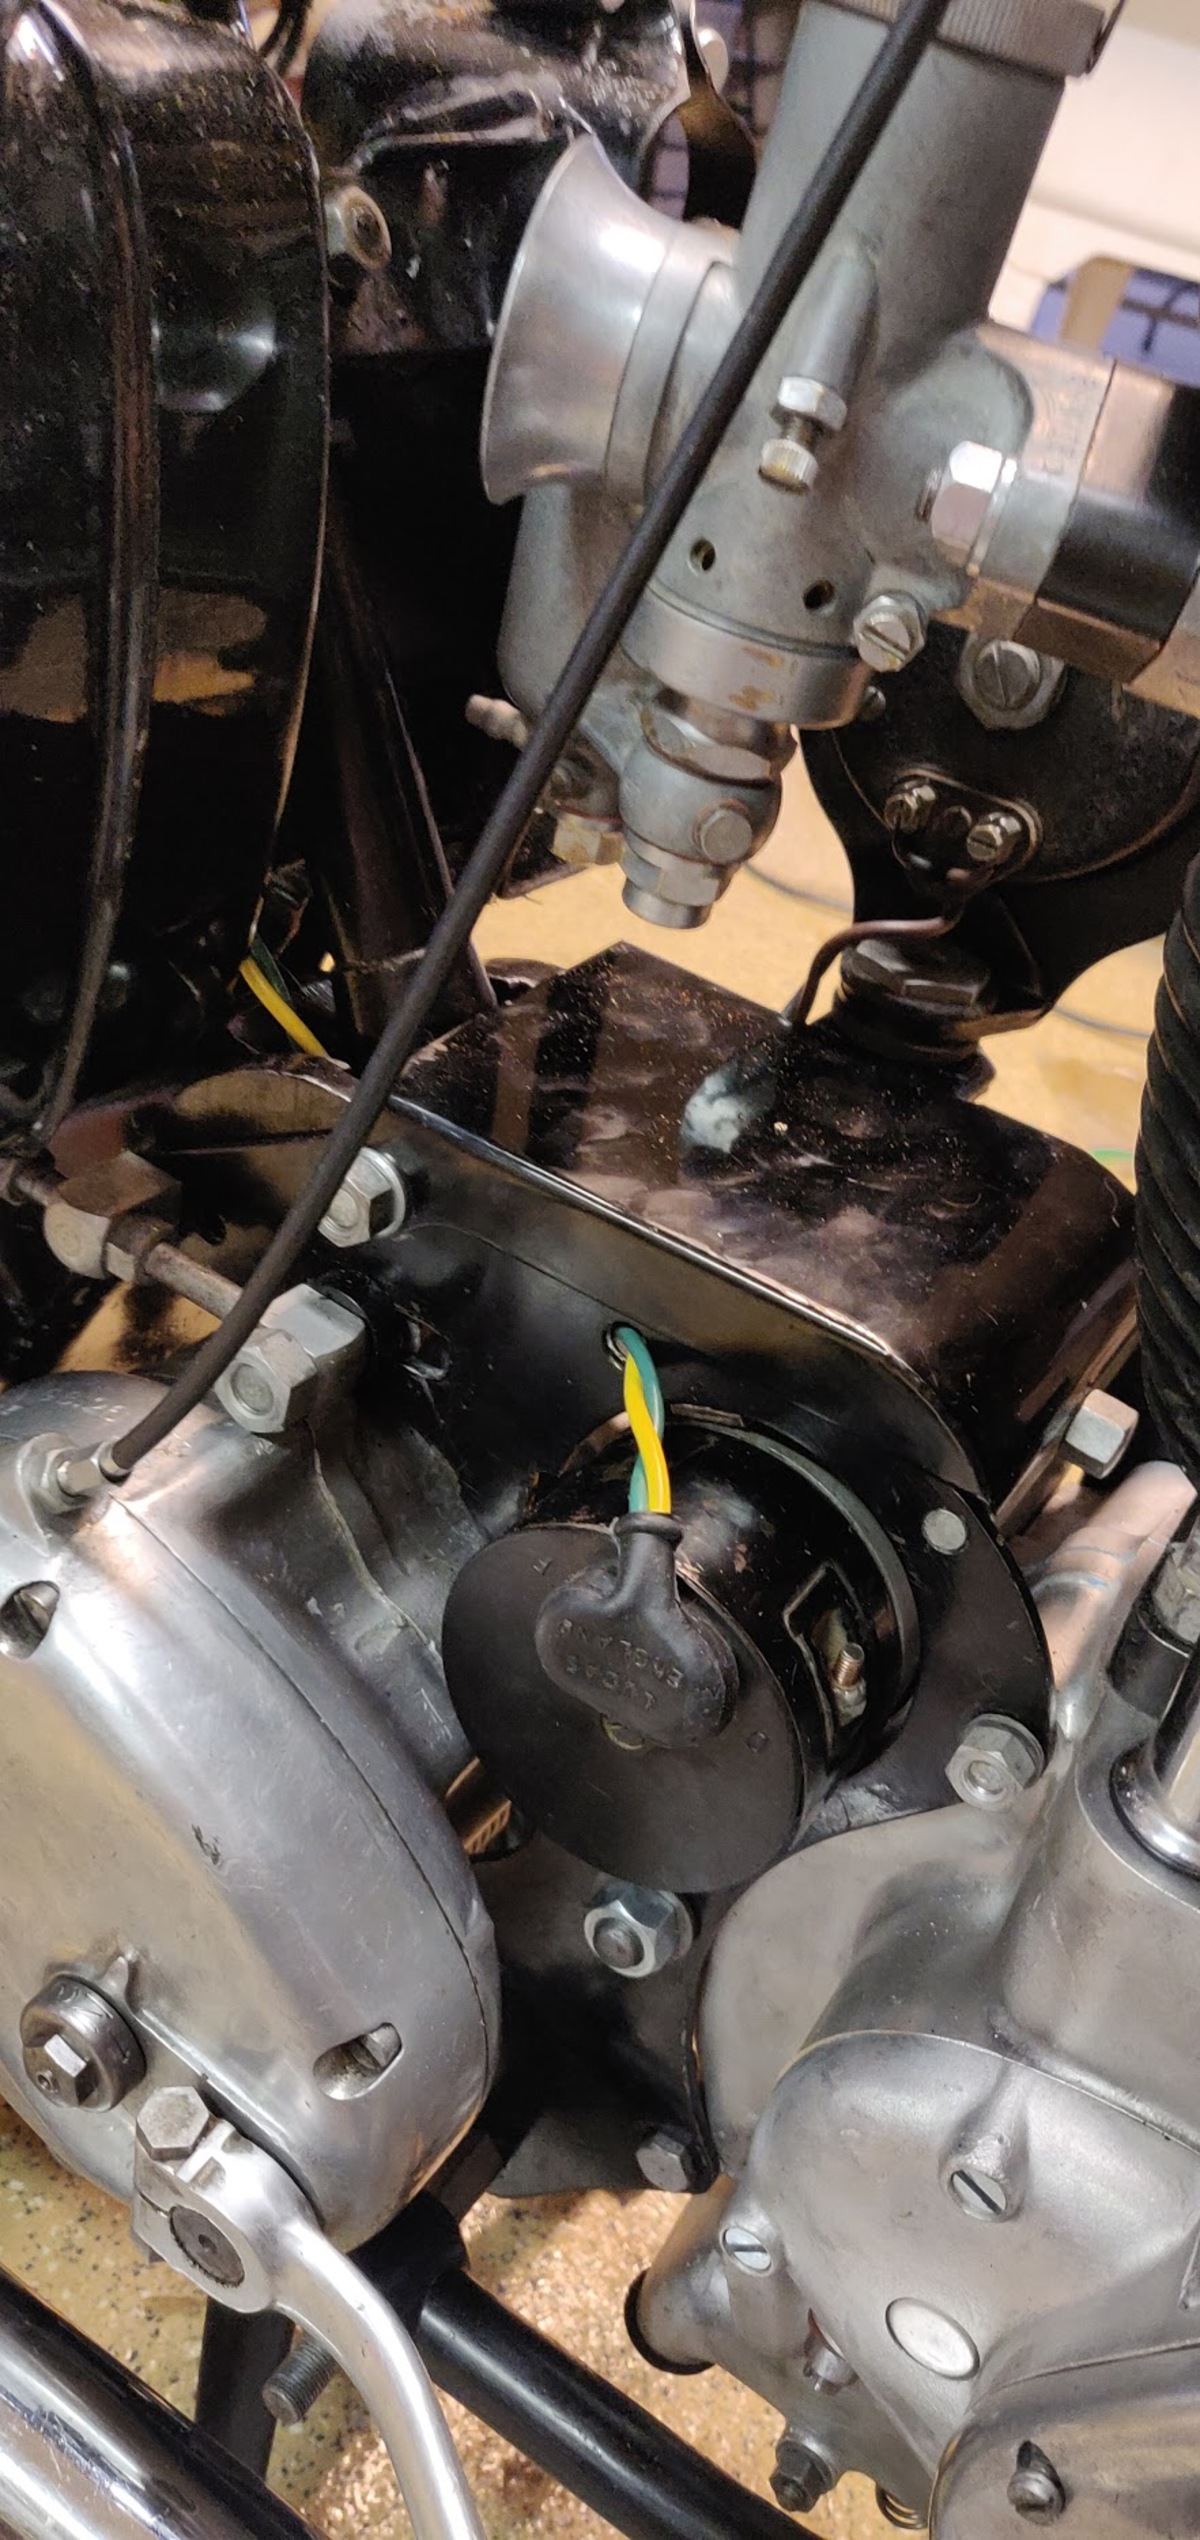
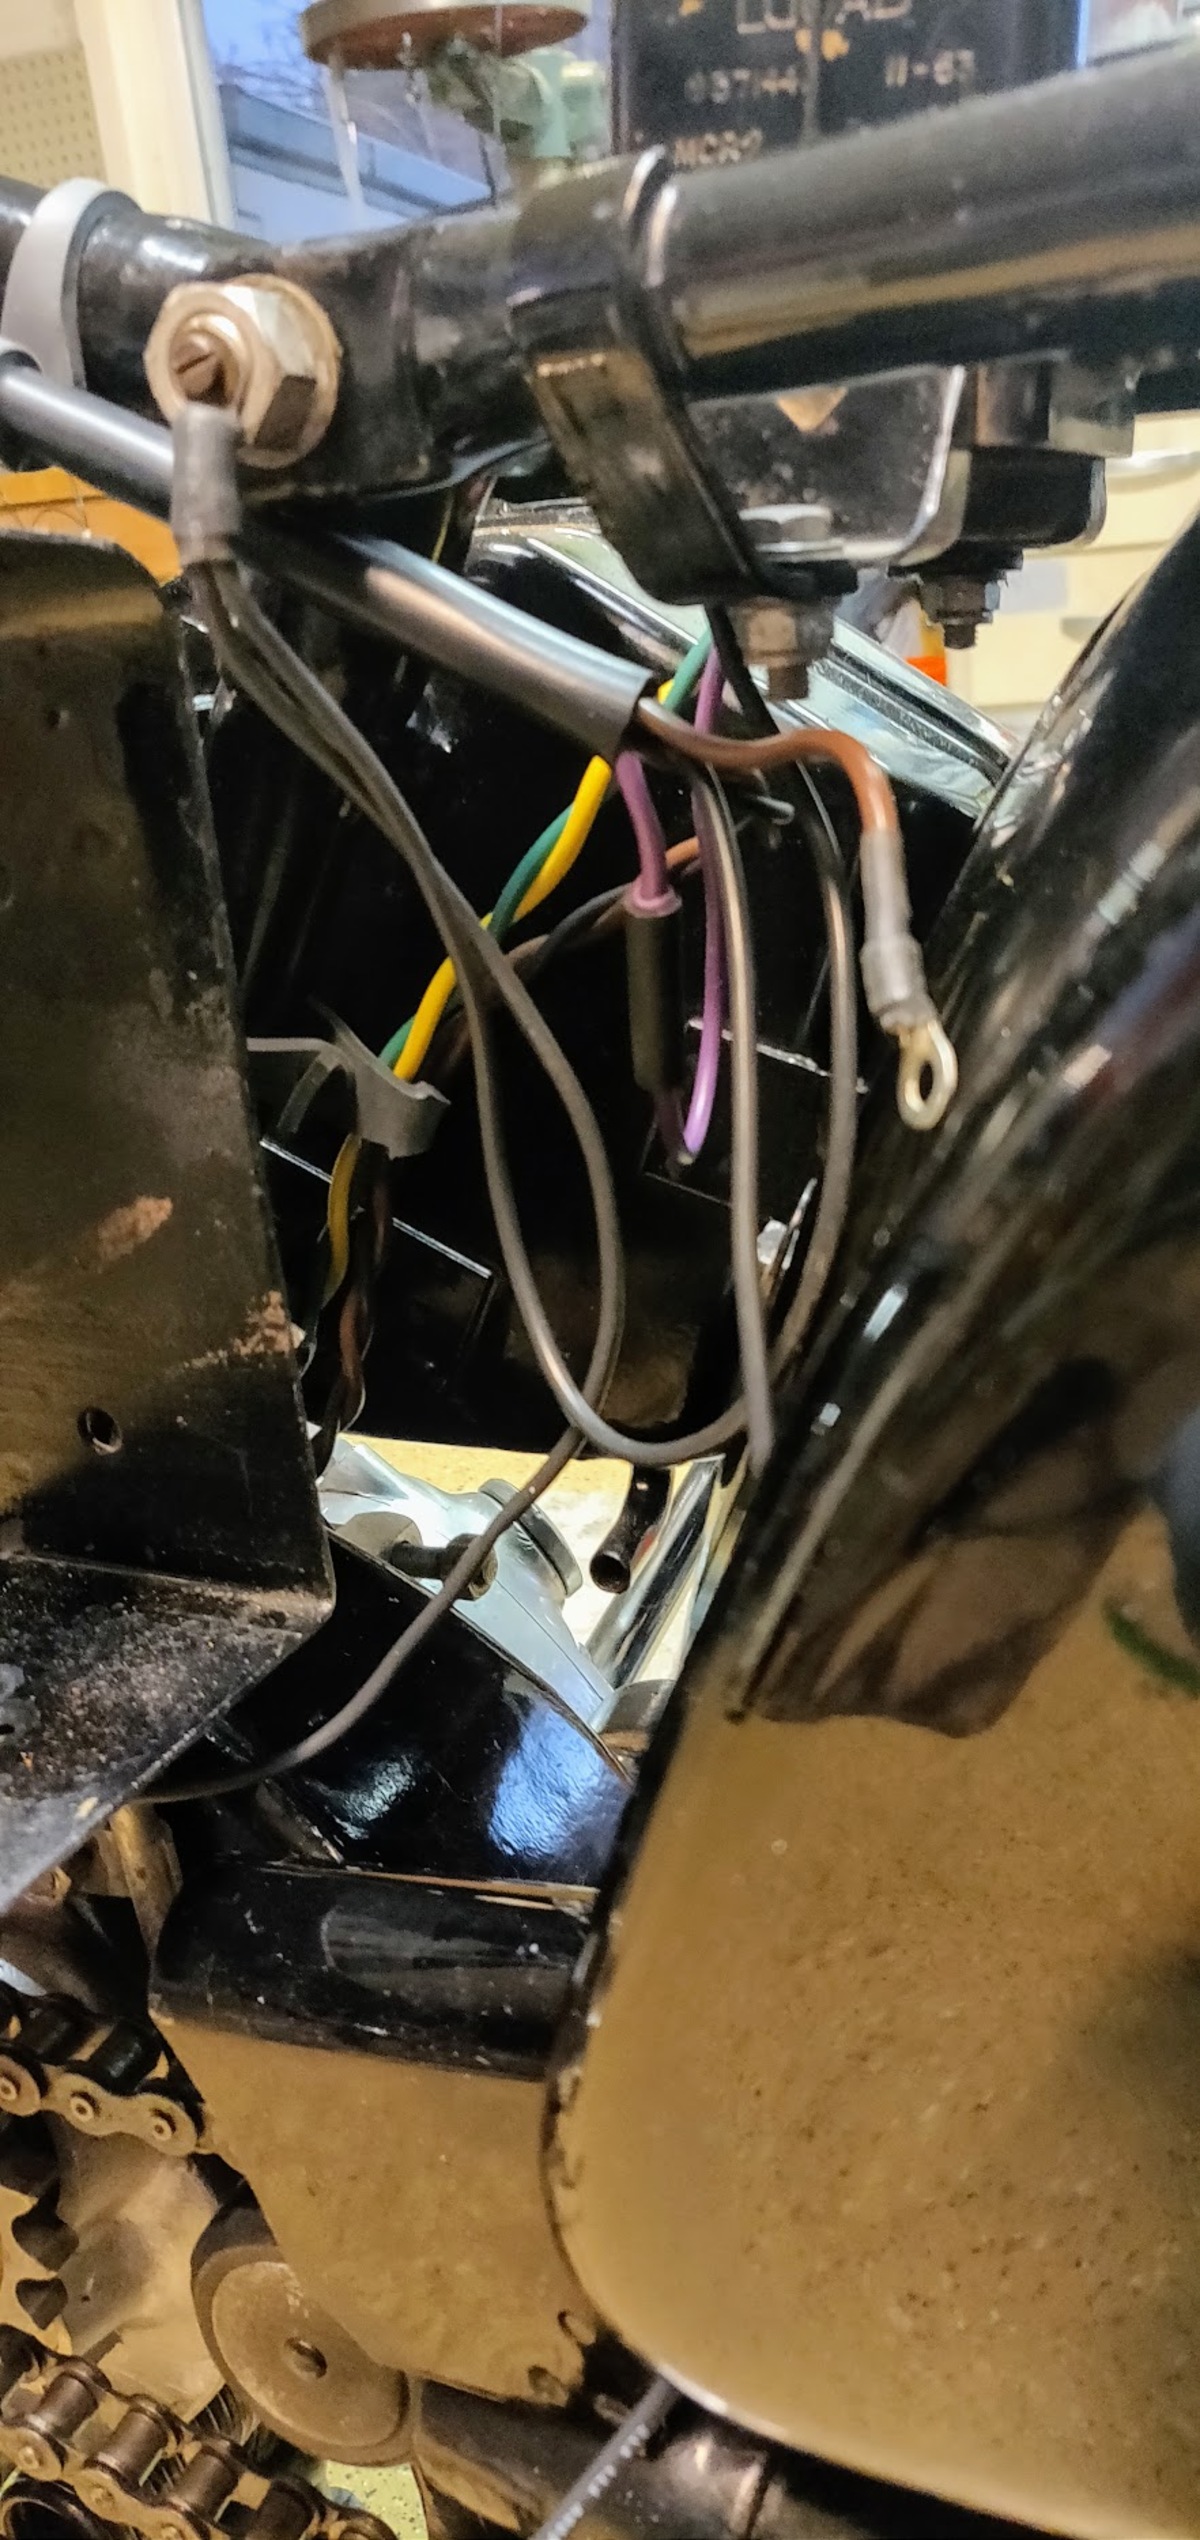
Bit more progress tonight. I've got the carb hooked up again to the throttle and choke control, this really feels good. I also temporarily reinstalled the headlight bucket and started routing the new wiring harness I built sometime back to the correct places. Installed the horn and started plugging stuff in. I've decided that I'm going to repaint the headlight bucket as it suffered some significant damage as a result of the previous owners desire to have a cigarette lighter (electric from an old ford) from the bike

. I also think I'm going to put a bit of hot glue on select parts of the amperes meter so it doesn't rattle when I actually ride it.
My machinist buddy also had these waiting for me today
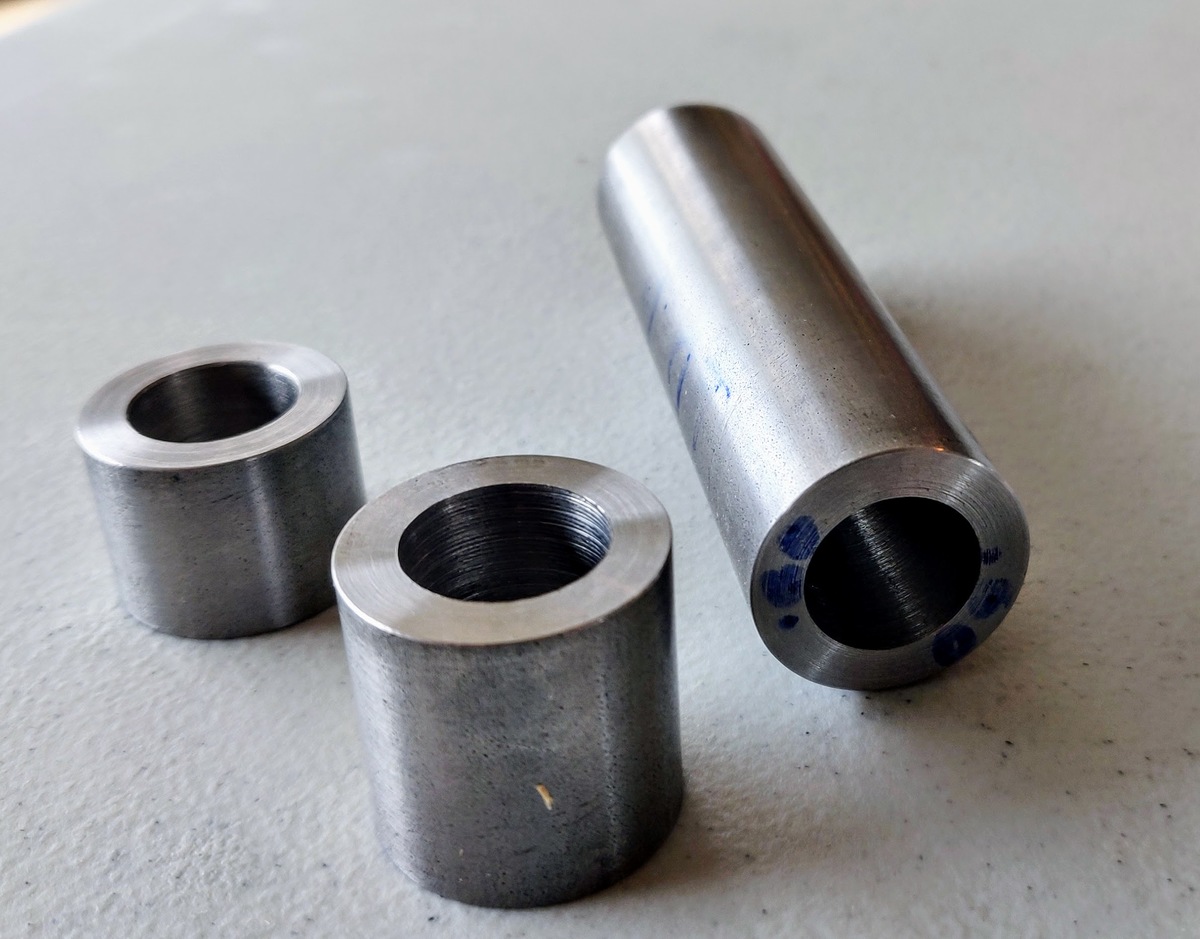
So I spent a bit of time tonight doing this
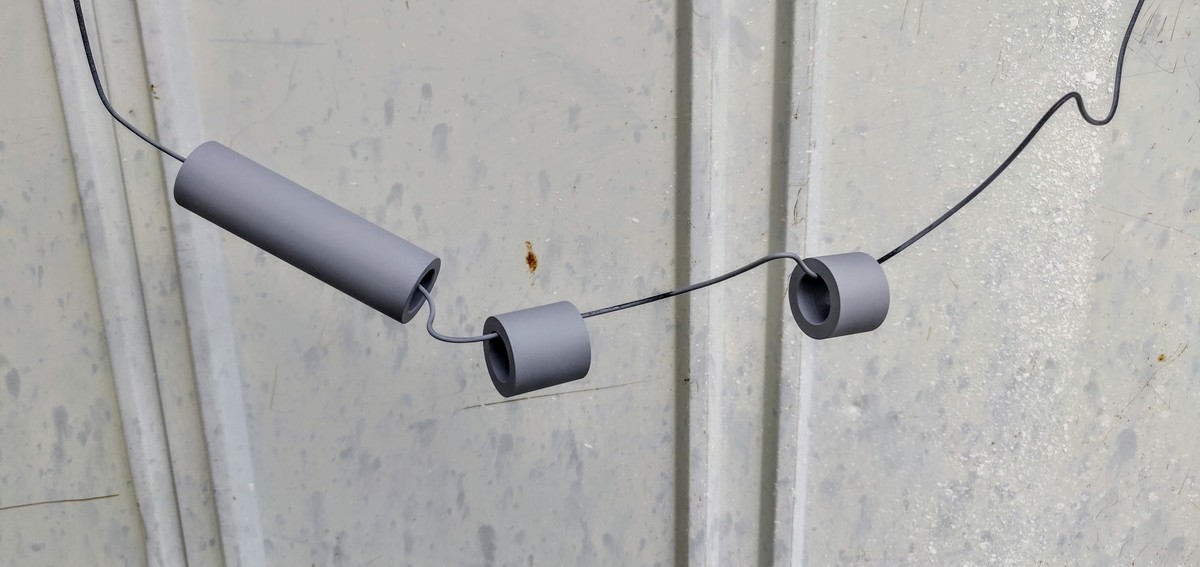
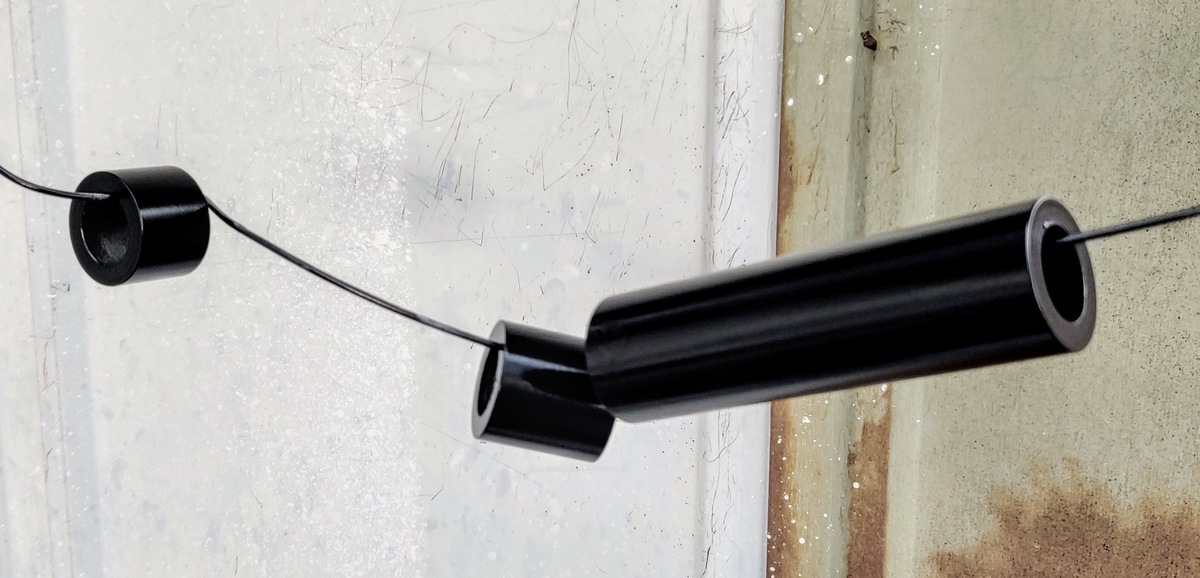
I'll do another coat in the morning then fit them to the bike.
Re: 1954 18S preservation project (with lots of pictures)
Posted: Mon Apr 08, 2019 4:51 am
by cfaber
Re: 1954 18S preservation project (with lots of pictures)
Posted: Tue Apr 09, 2019 6:01 am
by Dixter
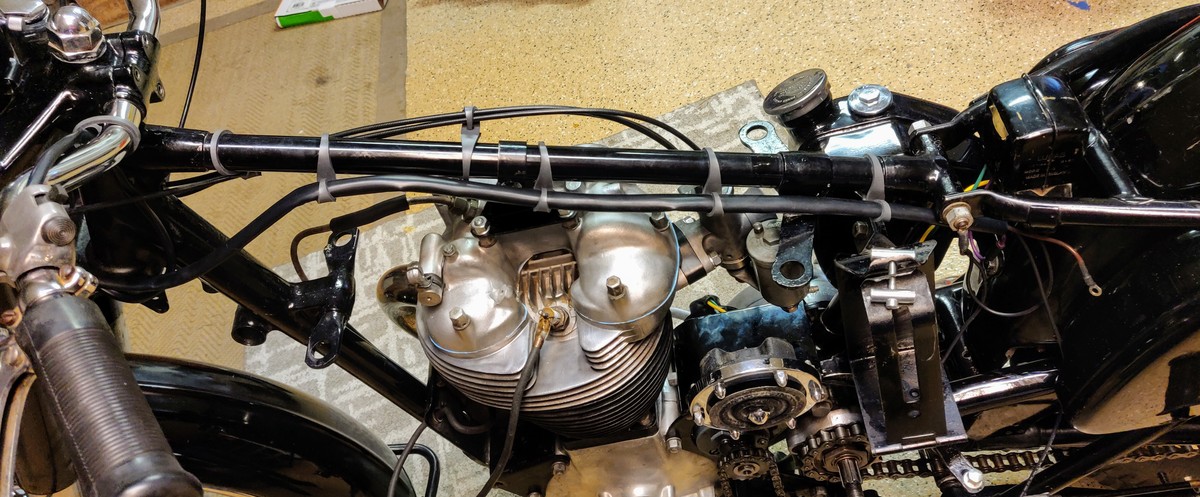
My pennies worth is dump the single rubber tie holding the clutch cable and both carb cables and use a single nylon wire tie, located directly under the tank, just above the head steady. Leave the nylon wire tie loose enough so you can swap out the clutch and carb cables, without having to remove the fuel tank.
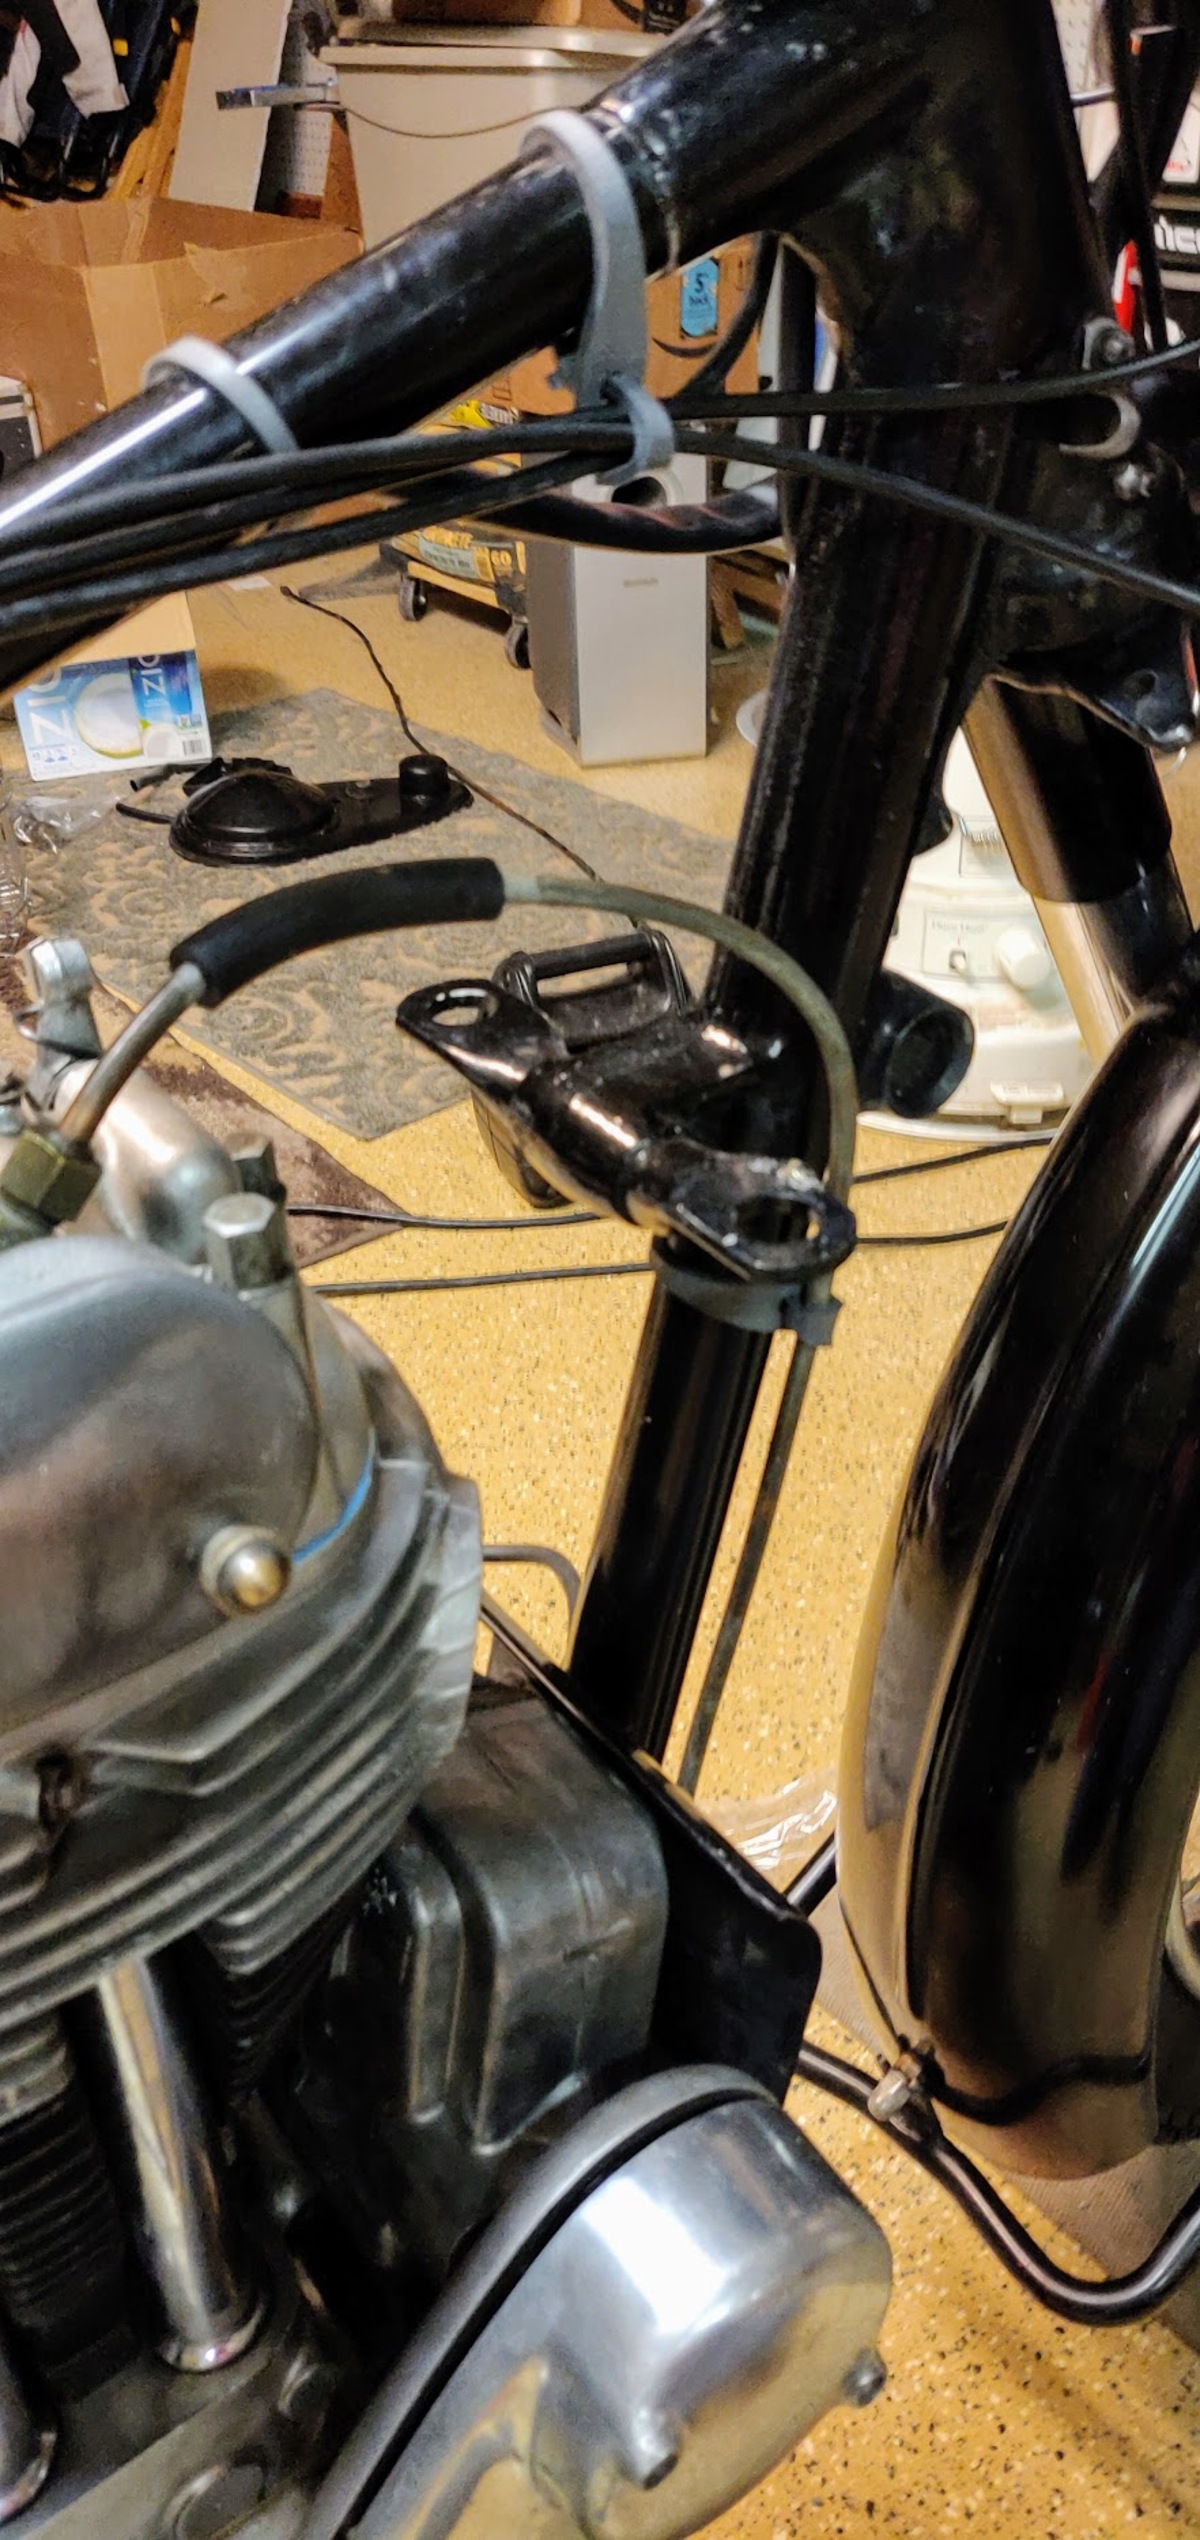
I'd favor routing the clutch cable loosely inside the right front fuel tank mount and not try to bring the cable along the spine tube. A single rubber tie at the front tank mount might be sufficient. The cable continues outside the right fork tube and between the headlight and forward of the forks.
There will come a time, you will want to tie a string to the carb cable, pull it out from under the tank, alter the cable, and use the string as a “Pull cordâ€, to draw the cable back into position.
A general rule on clutch and brake cables, every single wire tie, rubber or nylon, will essentially double the effort required to pull in the clutch or apply the brake. The looser and more free flowing the cable runs, the easier and more pleasant the operation of the control.
Ciao, DC
NB. The wiring looks nice, but I think the rivet counters will be along shortly and smack your knuckles for running the electrical on the wrong side of the headstock and failing to use the proper wire holding metal clamp and associated screw on the “off sideâ€.
Re: 1954 18S preservation project (with lots of pictures)
Posted: Tue Apr 09, 2019 9:32 am
by SPRIDDLER
I'm not into correct or pretty, just practical.
As Dick mentioned, best to leave cable ties loose so that you can pull a replacement cable through (at the roadside most likely) without removing the tank, by taping it to the broken one. To prevent them from slipping out of position each loose cable tie is held in place by another which is pulled tight to the frame tube.
Cable ties loose (640x239).jpg
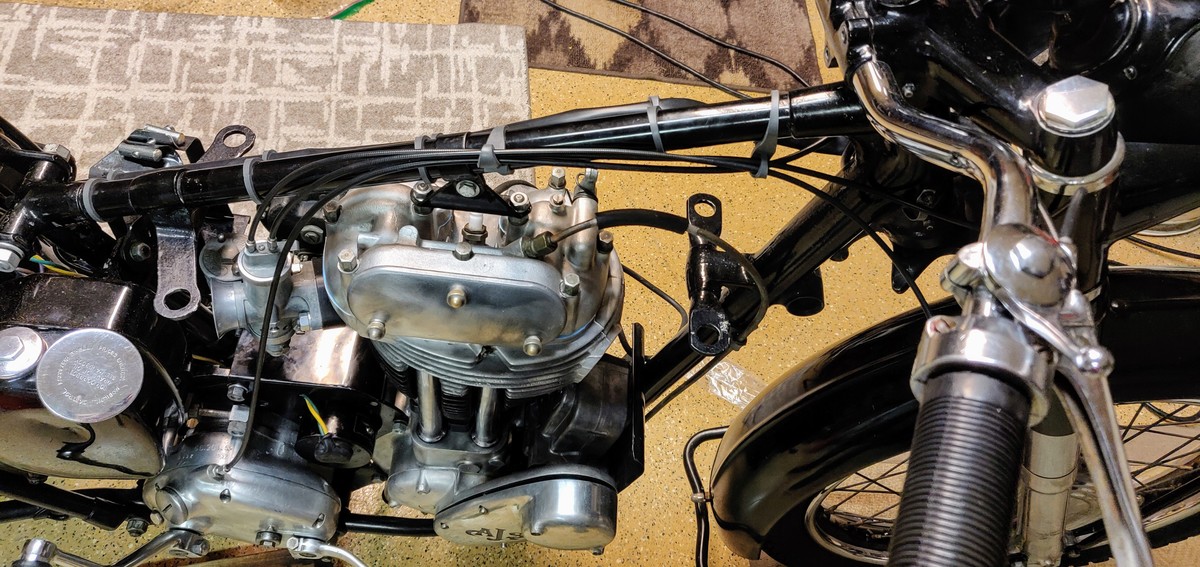
I have to operate the clutch with just my little and ring fingers so I've routed the cable outside everything with a small bracket on the acorn nut at the rocker inspection cover and which holds it away from the hot cyl head. The h/bar lever action is as light as a feather.
Clutch cable route (640x424).jpg
Re: 1954 18S preservation project (with lots of pictures)
Posted: Tue Apr 09, 2019 6:15 pm
by ajscomboman
SPRIDDLER wrote:I'm not into correct or pretty, just practical.
As Dick mentioned, best to leave cable ties loose so that you can pull a replacement cable through (at the roadside most likely) without removing the tank, by taping it to the broken one. To prevent them from slipping out of position each loose cable tie is held in place by another which is pulled tight to the frame tube.
Cable ties loose (640x239).jpg
I have to operate the clutch with just my little and ring fingers so I've routed the cable outside everything with a small bracket on the acorn nut at the rocker inspection cover and which holds it away from the hot cyl head. The h/bar lever action is as light as a feather.
Clutch cable route (640x424).jpg
Likewise Nev, done exactly the same on the cables of my Comps, nice little bracket and smooth cable run and operation.
Re: 1954 18S preservation project (with lots of pictures)
Posted: Tue Apr 09, 2019 6:39 pm
by Mick D
Hi
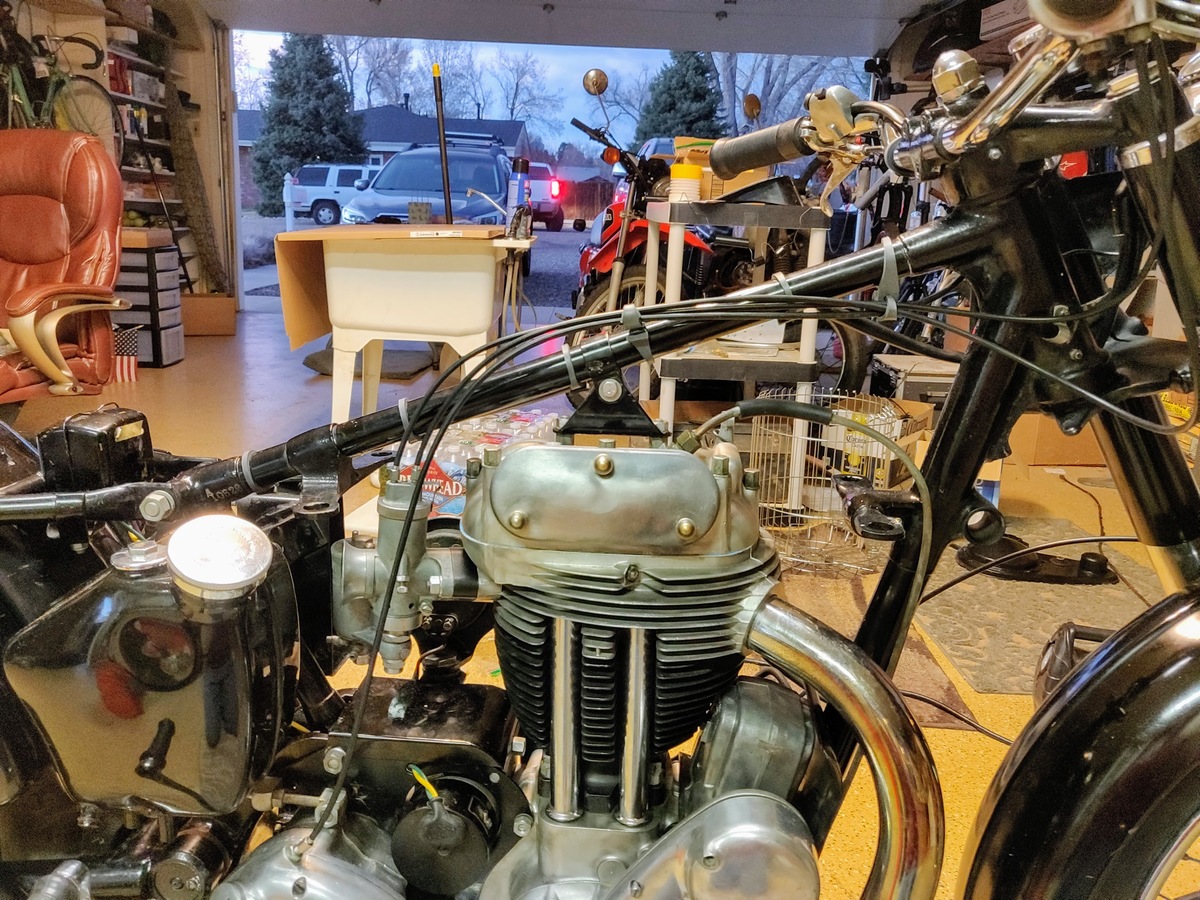
I don't try to bunch my control cables, I let them follow as natural a route as possible:
For example, my throttle goes down the RH side of the top tube, through the head steady, where as the choke goes down the LH side and over the top to the carb.
Regards Mick
Re: 1954 18S preservation project (with lots of pictures)
Posted: Tue Apr 09, 2019 9:11 pm
by cfaber
Thanks for the advise guys, I'll reroute the cabling.
How about the decompression cable? Which side should the lever go on? It appears based on cable length it should be on the left side, however I've noticed that its a bit long and drags some because of the bend angle headed toward the engine.
Re: 1954 18S preservation project (with lots of pictures)
Posted: Tue Apr 09, 2019 9:45 pm
by SPRIDDLER
cfaber wrote:Thanks for the advise guys, I'll reroute the cabling.
How about the decompression cable? Which side should the lever go on? It appears based on cable length it should be on the left side, however I've noticed that its a bit long and drags some because of the bend angle headed toward the engine.
On the left, then you can decompress and operate the twistgrip at the same time. E.g. some like to turn the engine over a couple of times with the engine decompressed and the throttle open to get a fresh charge into the cylinder.
(Some do it out of devilment at rally siesta time since if the engine fires with the valve lifted you can get a very satisfying mighty bang!

)
Re: 1954 18S preservation project (with lots of pictures)
Posted: Wed Apr 10, 2019 3:23 am
by cfaber
SPRIDDLER wrote:cfaber wrote:Thanks for the advise guys, I'll reroute the cabling.
How about the decompression cable? Which side should the lever go on? It appears based on cable length it should be on the left side, however I've noticed that its a bit long and drags some because of the bend angle headed toward the engine.
On the left, then you can decompress and operate the twistgrip at the same time. E.g. some like to turn the engine over a couple of times with the engine decompressed and the throttle open to get a fresh charge into the cylinder.
(Some do it out of devilment at rally siesta time since if the engine fires with the valve lifted you can get a very satisfying mighty bang!
)
Thanks, sounds like a great way to burn up valve seats =)
Re: 1954 18S preservation project (with lots of pictures)
Posted: Mon Apr 22, 2019 4:40 am
by cfaber
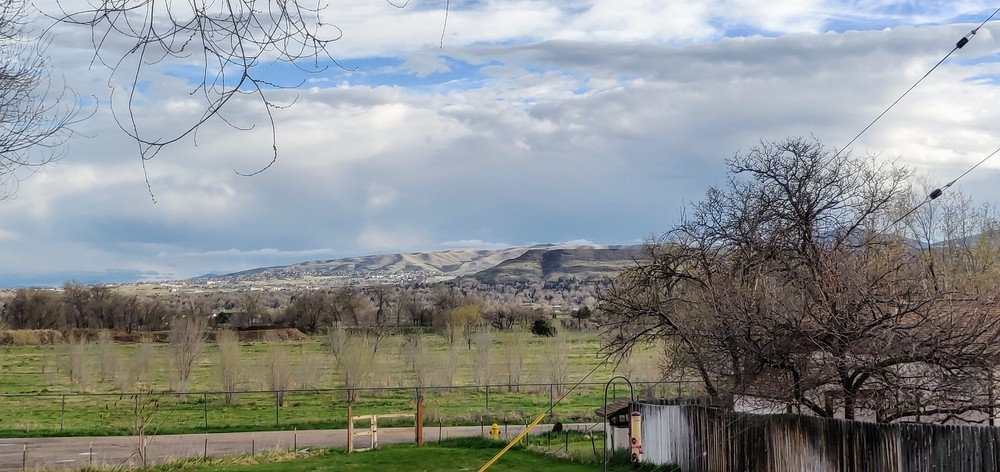
Was a lovely Sunday here with the family. Wonderful weather!
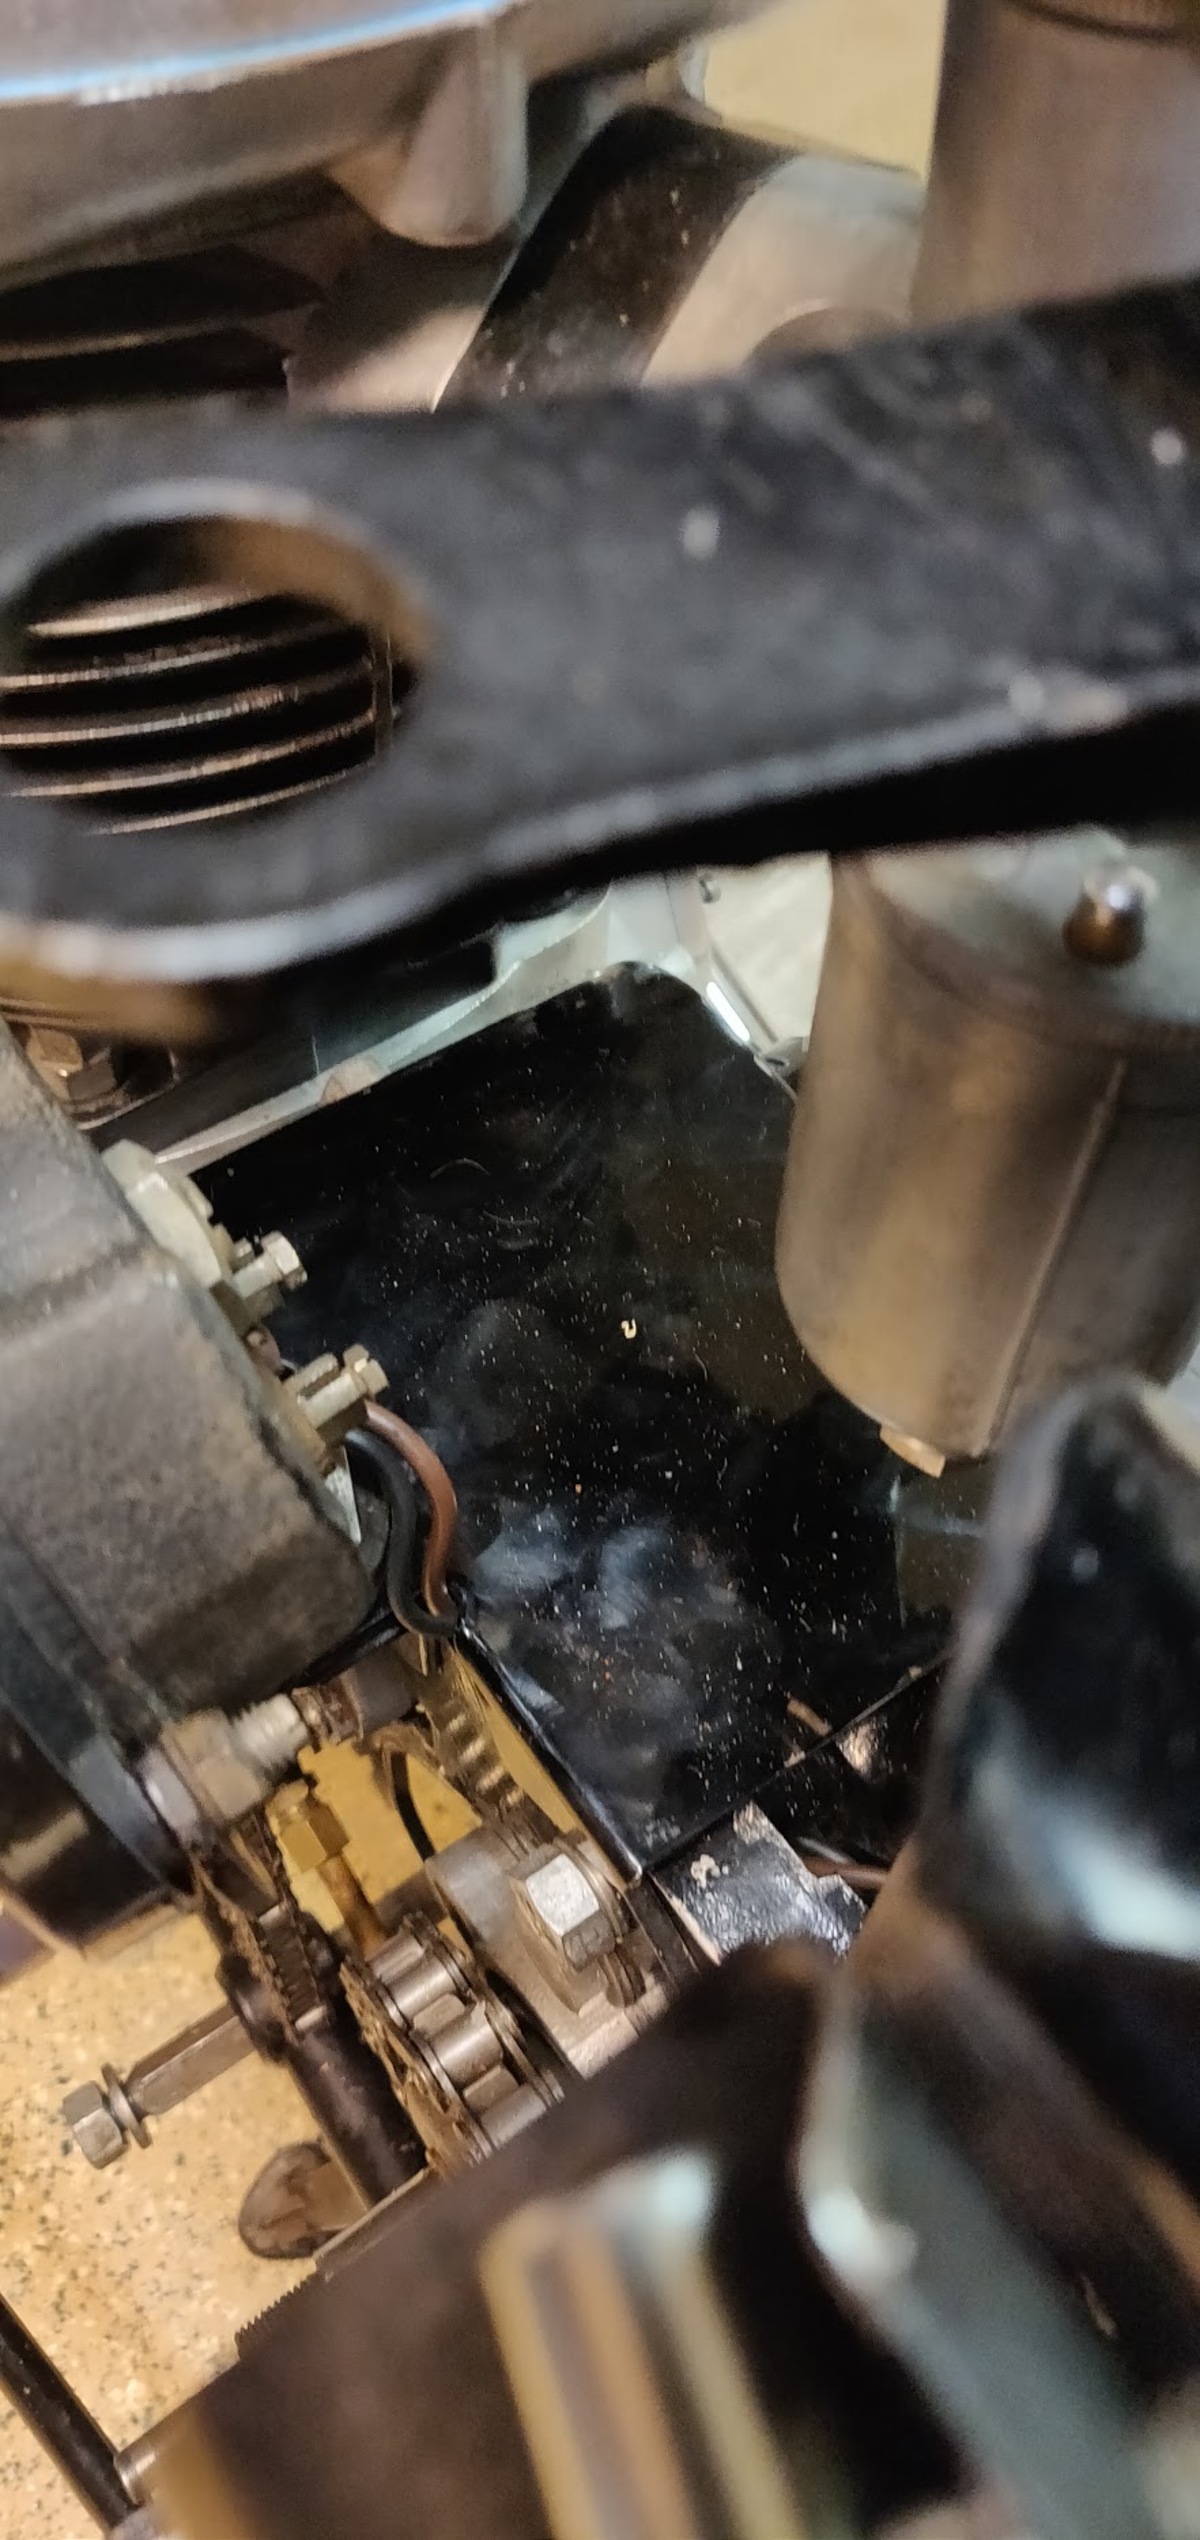
I did get a few minutes to work on the AJS tonight, installed and tensioned the dynamo and primary chains.
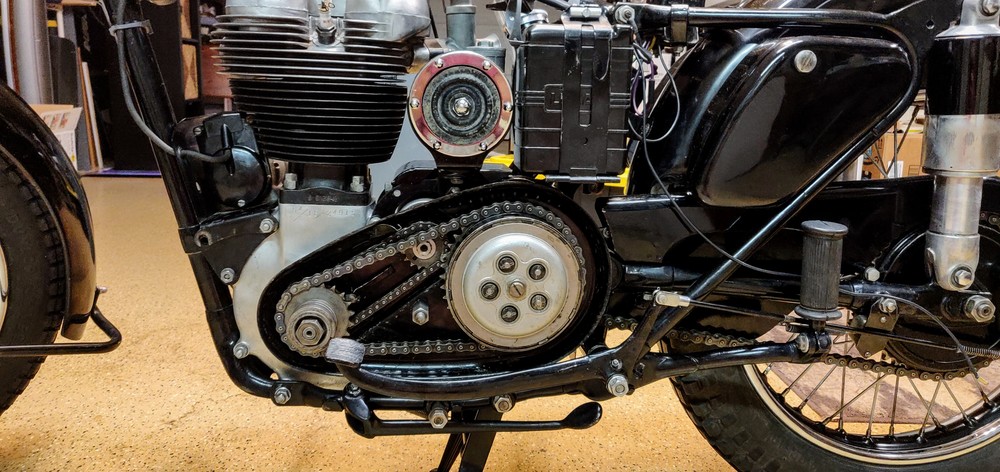
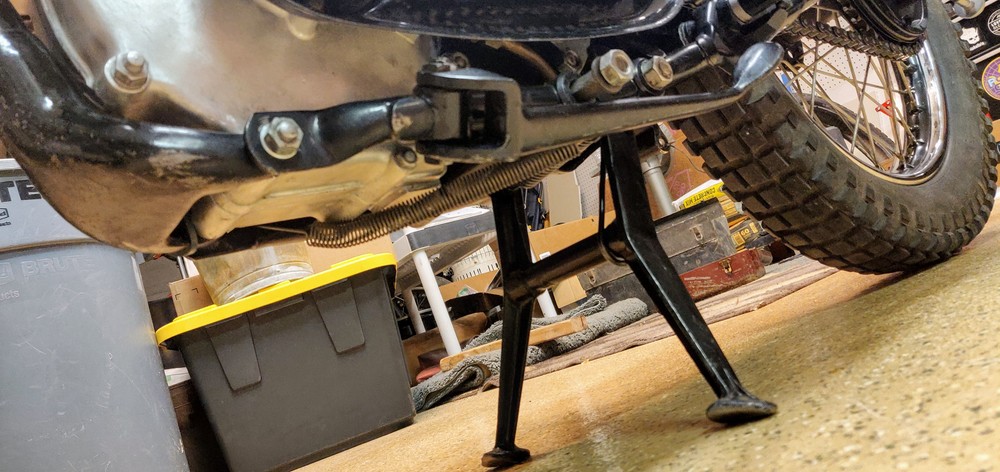
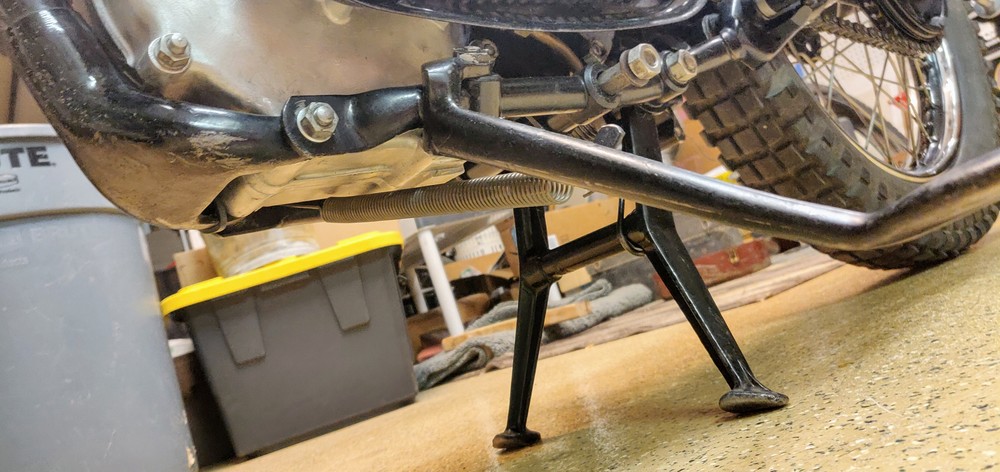
Also, is this the correct position for the prop stand spring?
I've also got the timing in the neighborhood. I'm still waiting for parts... Day 20 today

So I can get the stud installed on the mag base and call that finish.
Oh and I picked this guy up for $10
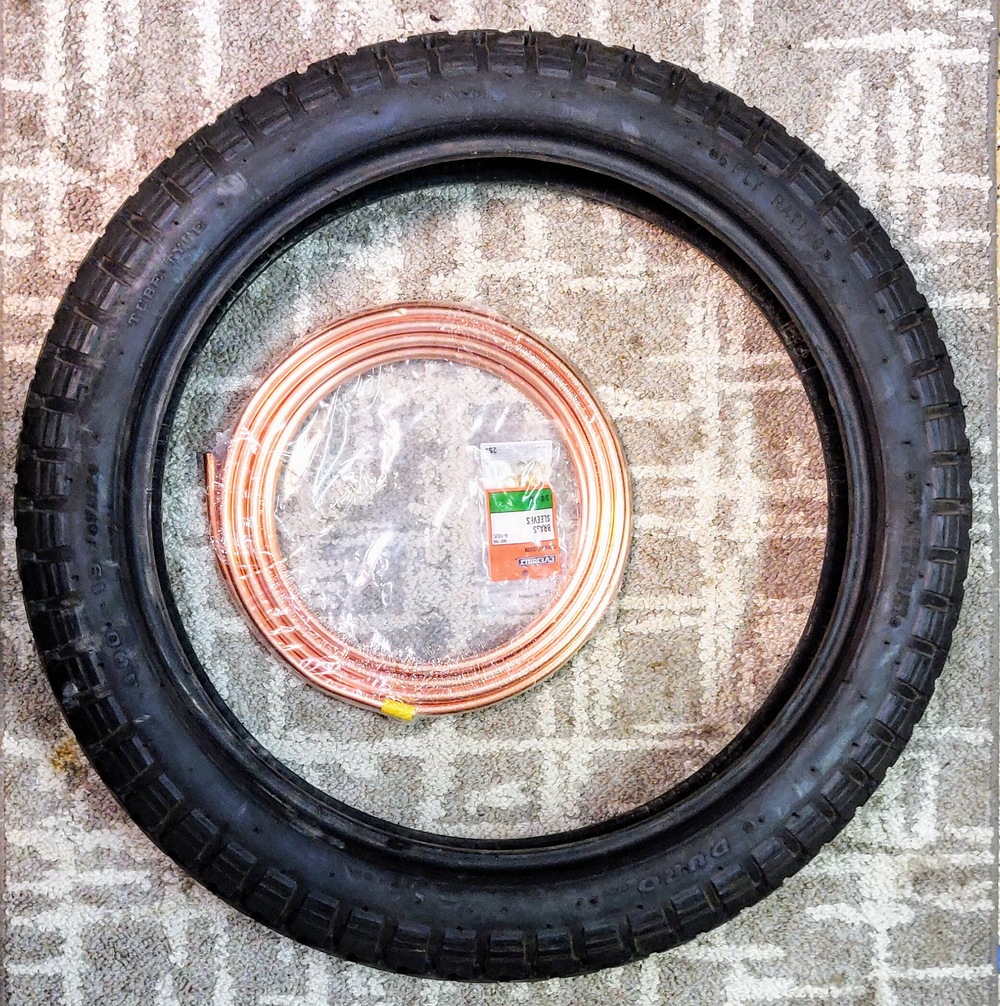
Brand new, never mounted DOT tire